Lab Notes 02
(05/03/20)
[Note: This page will now only feature lab notes from the current episode. Previous notes are in the Archive...]
While waiting for the new granny cart wheels I played around with how to set up the two biggest pieces of gear for camp, the bike and the cart, and seeing that I can make my own tent...
These pics start right after putting out the latest episode...
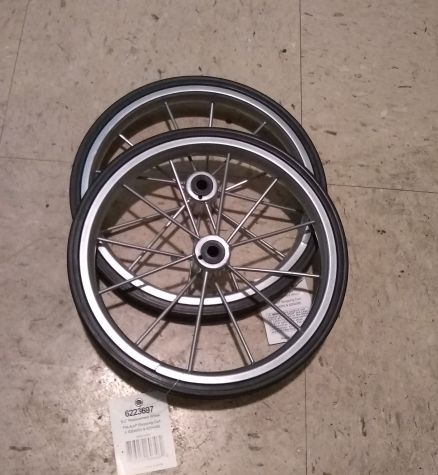
The weakest part of the $20 granny cart, wheels with plastic spokes. I doubt these would carry more than 50 lbs...
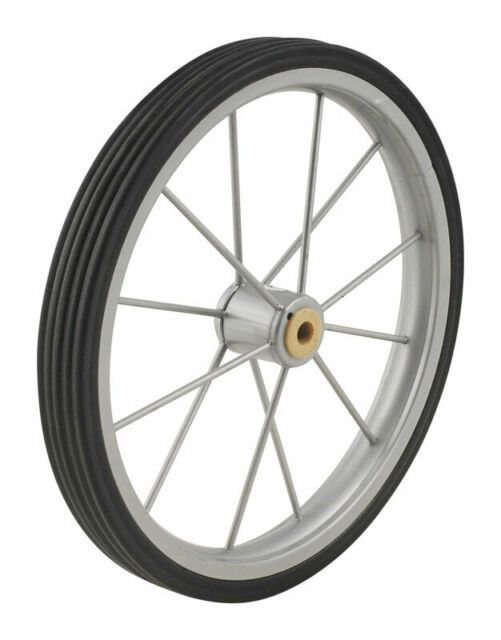
Ace Hardware has the same size replacement steel and rubber wheels that the sales copy says has 150 lb. carry capacity. The steel spokes here are properly attached to the rim. The upgrade will make the granny cart a real cargo trailer...
The steel wheels came in a few days early, so I rode over to the Haight-Ashbury Cole Hardware store (which reminded me that I need to do more riding regardless of the lockdown) and picked them up...
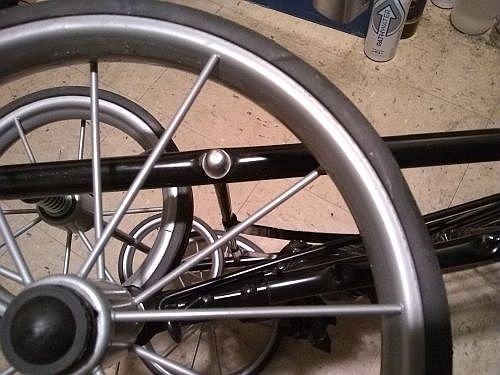
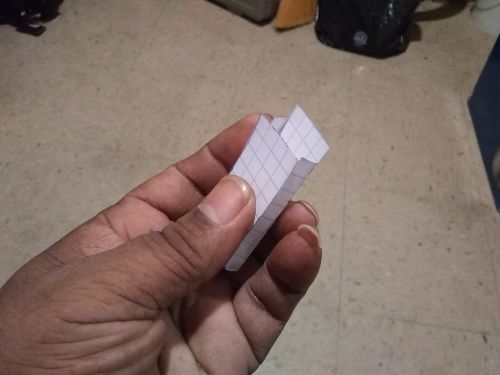
The new wheel installed. When I checked the old plastic spoke wheel with the magnet again to compare, I discovered that there is a metal something in that plastic, but the spokes are thinner and the magnetic pull is much weaker than the actual steel spokes. The side weld on the rims, however, are much sloppier than the cheap wheels, even though the new rims are thicker...
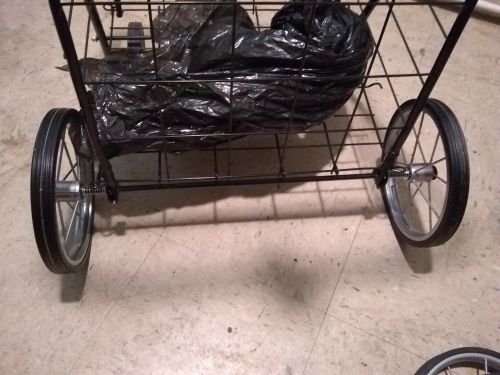
With the wheels installed, the cart can supposedly handle well over 100 lbs. now, so it should handle my sculpture studio and power plant just fine...
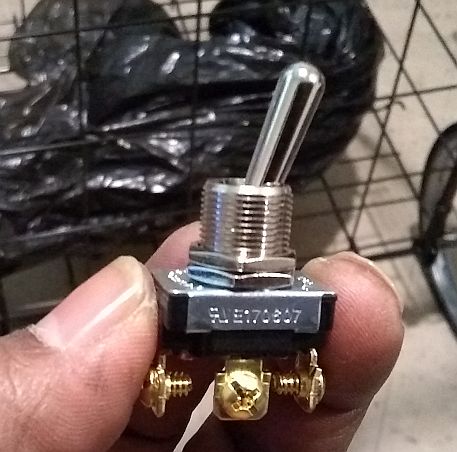
The store itself seemed very well equipped, so I checked and found a 15A SPDT On-Off-On toggle switch for the mobile power plant control panel. I'll have to make another trip to see what electronic gear they may have...
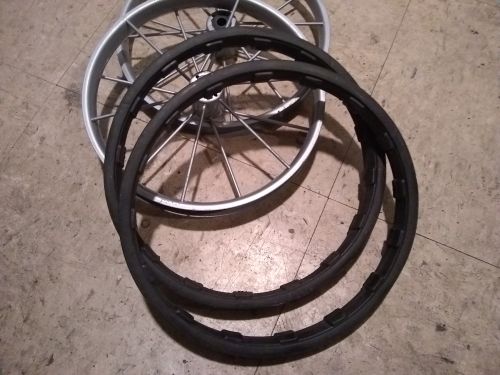
The solid rubber tires from the cheap wheels are perfectly good spares...
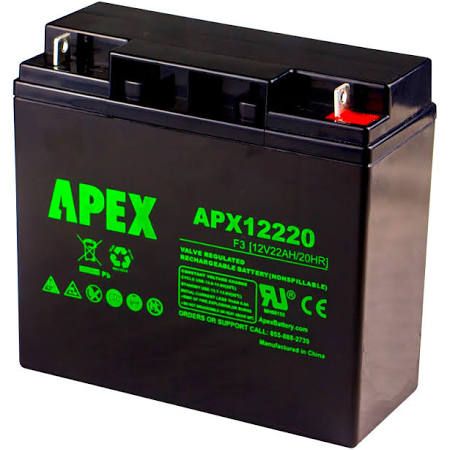
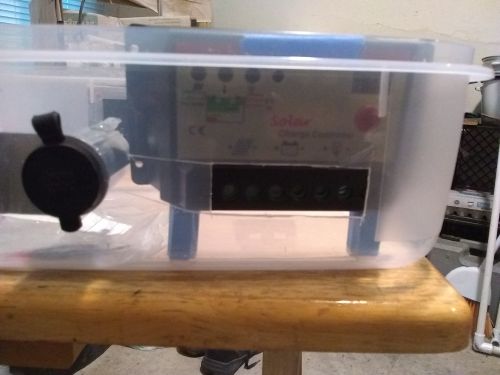
Re: the mobile power plant, the remaining components are the batteries and solar chargers. A good 12V 22Ah leisure battery is the Universal Power Group 12220, sold under Apex and a few other names...
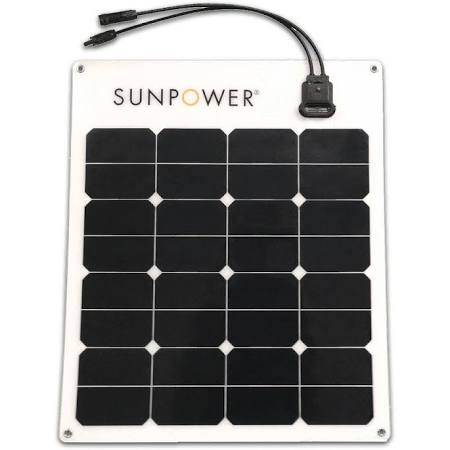
This is a good example of a 50W hikers and backpackers type solar panel. This could fully charge a 22Ah battery from 50% to full in 4 Hrs. of sun, so the power plant should always be available for a few hours each night...
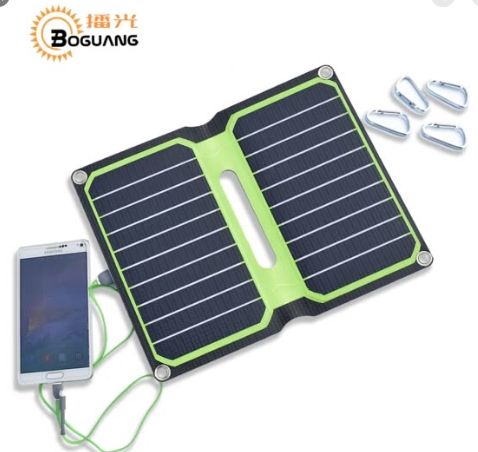
Since the power plant is mostly for the laptop, the smartphone or tablet should be a separate 10W 5V portable unit that would be charging the phone while in use all day. This portable folding panel could hang from a light backpack or be attached to the handlebar sling...
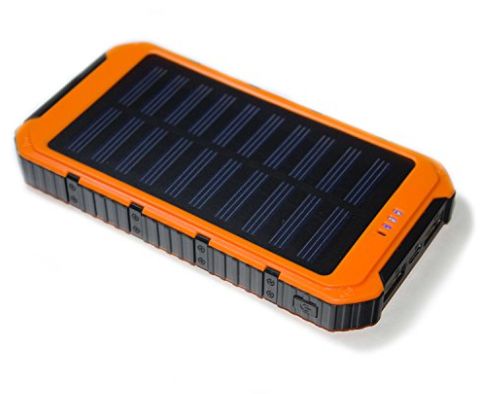
This generic solar power bank charger is more compact and a bit more expensive; some have two USB ports...
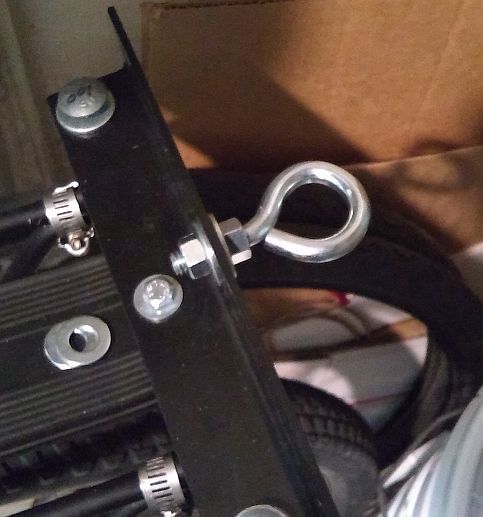
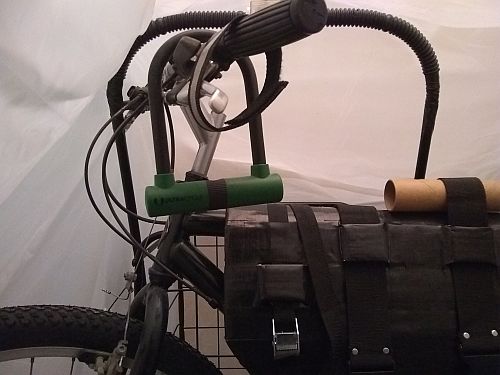
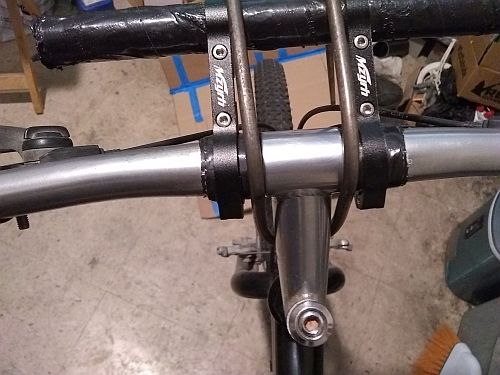
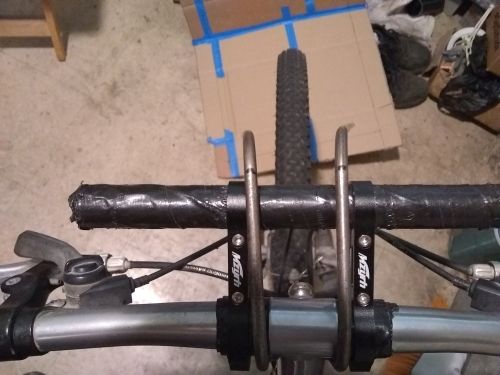
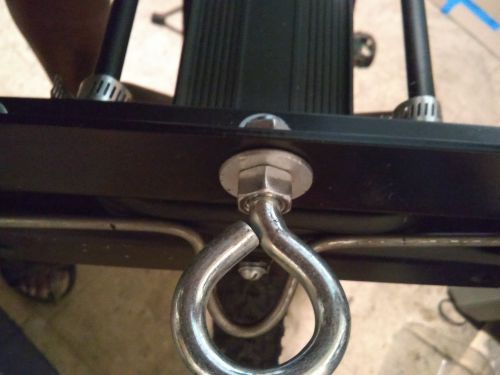
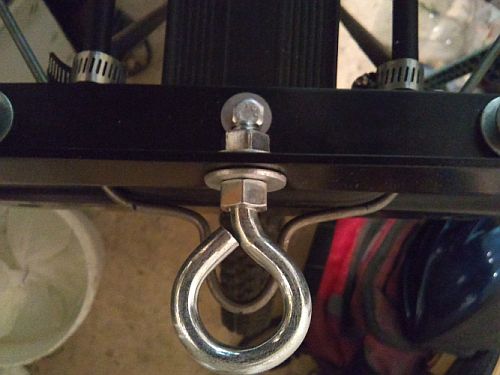
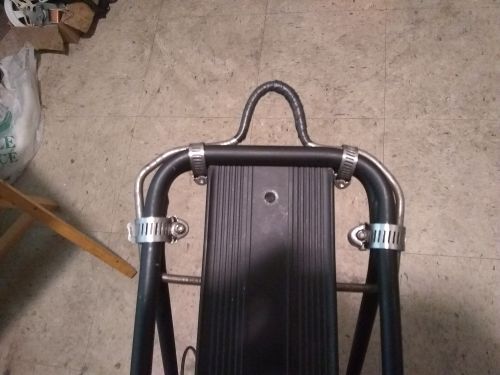
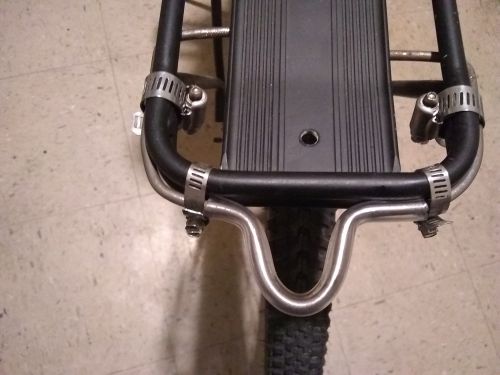
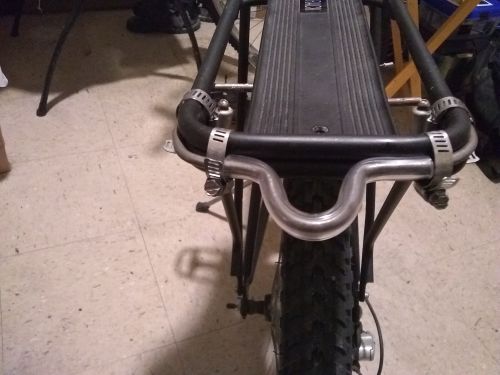
After another hardware store run, I replaced the long eyebolt with a restocked shorty that allows the rack bag to just fit...
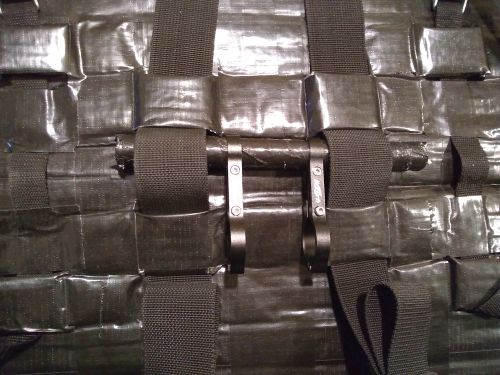
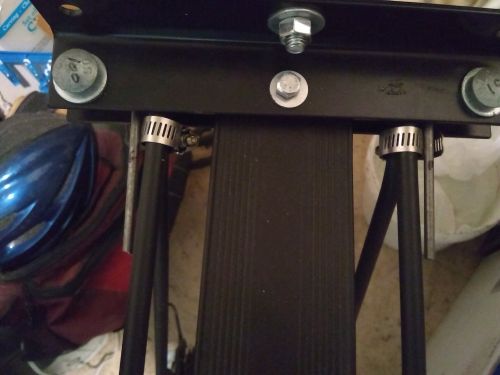
The handlebar extension bracket only extends 2.5 in...
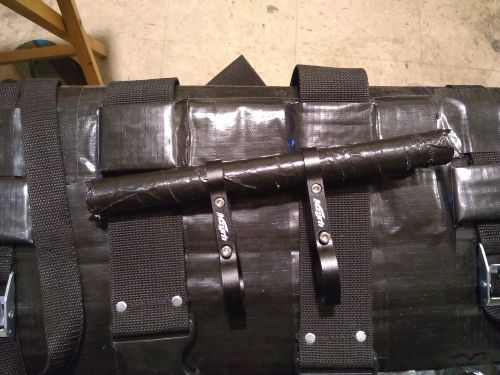
The PVC bar now fits the sling...
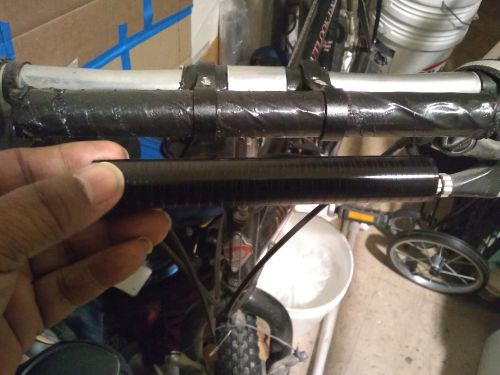
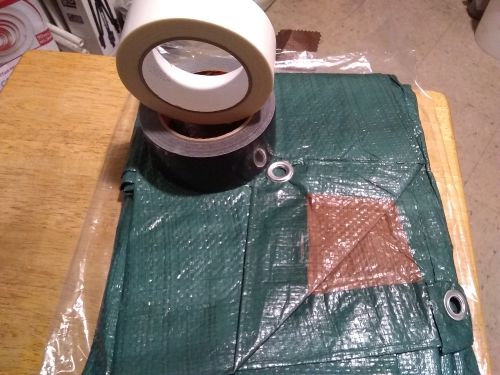
The too short carbon fiber bar was replaced by a 9 in. PVC section wrapped in one layer of tape to provide bite...
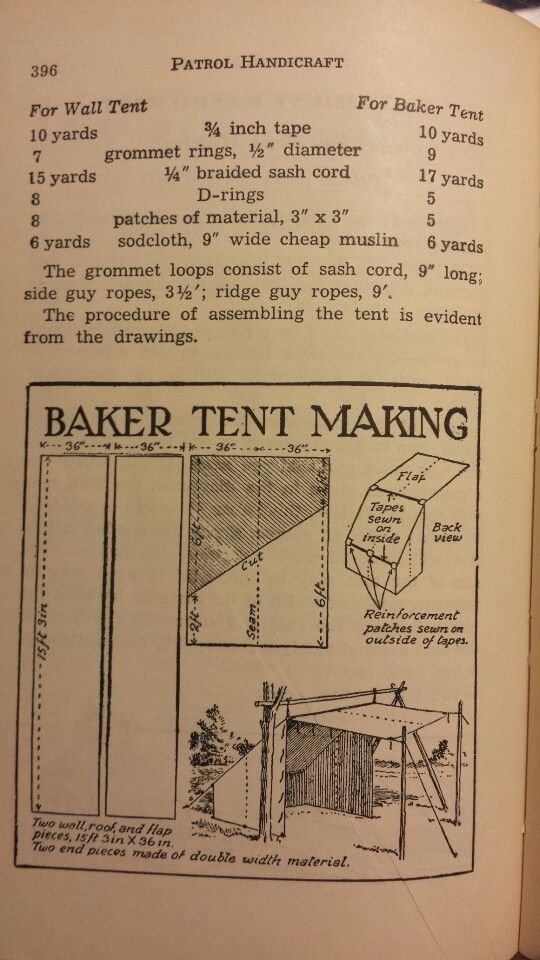
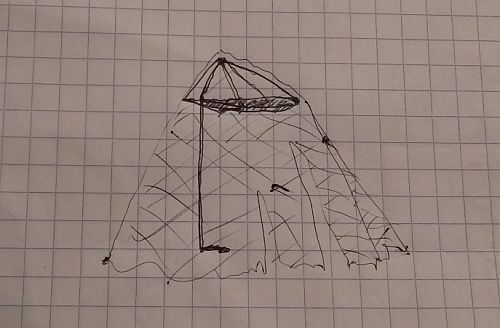
Example of an old school Baker Tent, from Boy Scouts 'Handbook for Patrol Leaders 1949'...
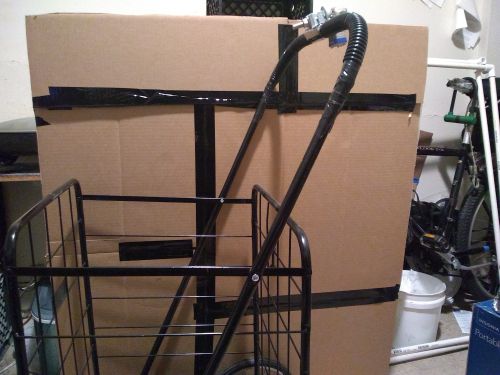
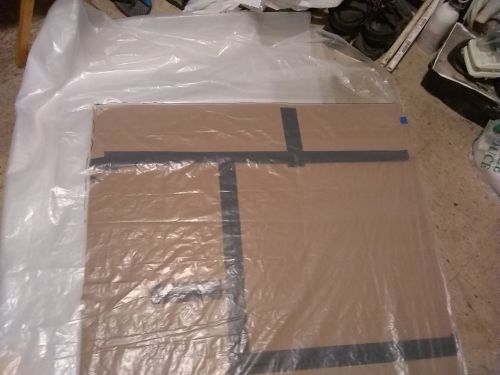
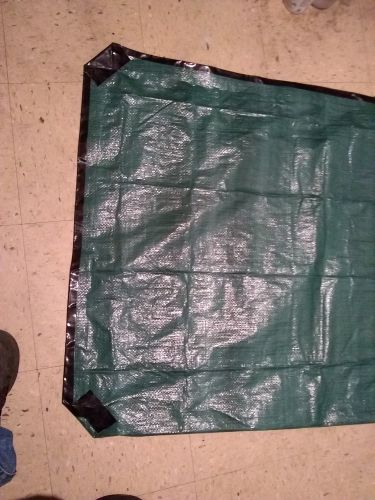
A 9 x 12 ft. painter's drop cloth draped over the bike and cart as a mockup for a custom tent...
A rough approximation of the space taken up by the bike and cart to be covered by the DIY low profile tent...
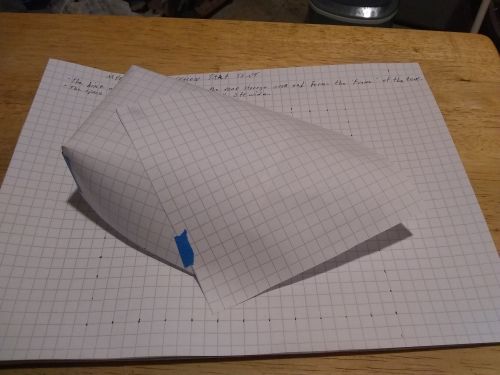
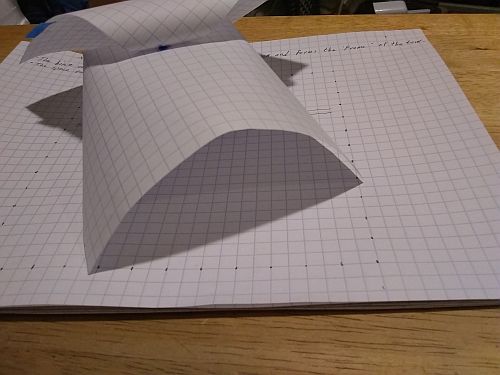
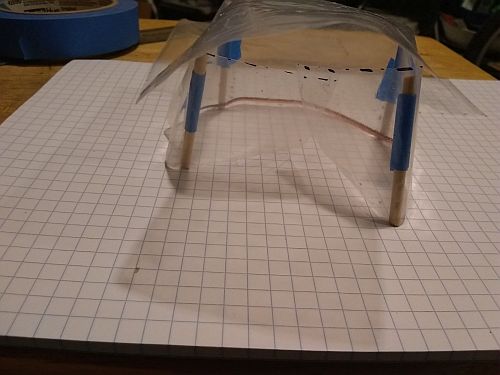
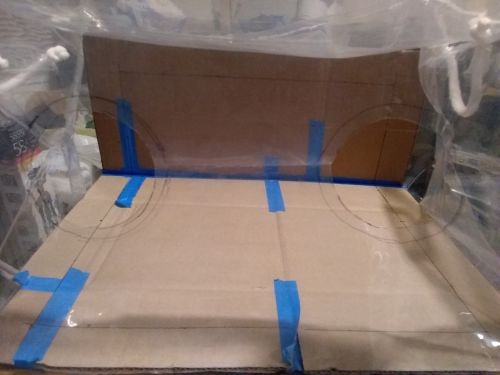
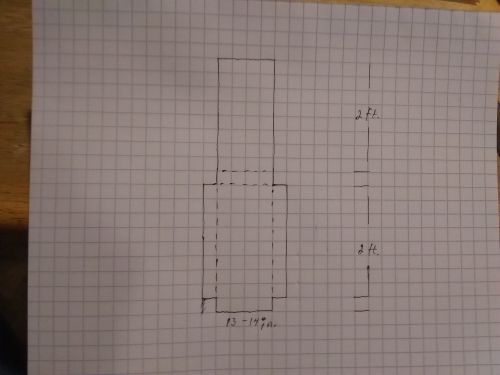
A tent jig of sorts, 3.5 ft. H, 3.0 ft. W, to mark the rear sides of the tent...

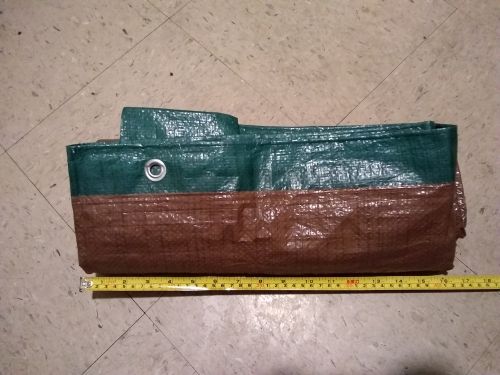
The simplest design would use a box tarp (original size 12 ft. W and anywhere from 12 - 16 ft. L), providing a sleep space of a minimum 2.5 ft. to a max of 6 ft. W. I left the sides off to show the sleep space...
A design with the sides down, with an extra tarp as a rainfly/porch (8x10 or 10x10, for ex.)...
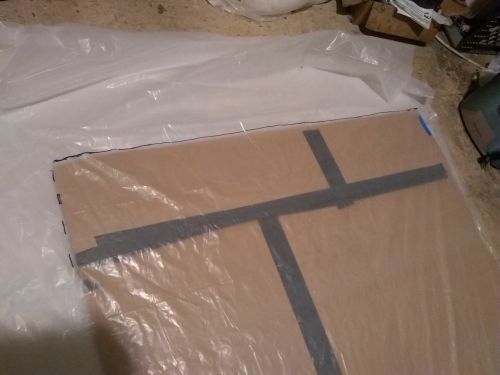
The non-box end by itself just needs a few stakes and guy lines on the tarp grommets to have the tent open or closed...
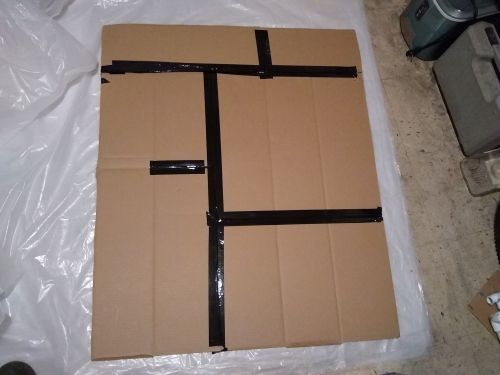
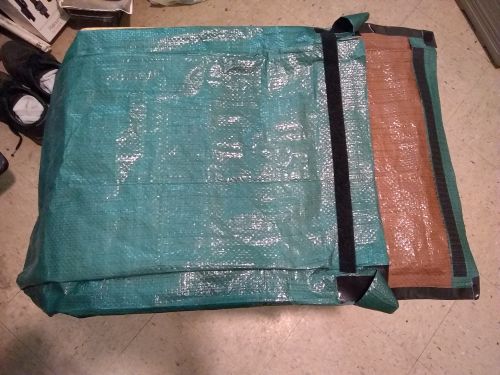
The tent jig laid out on the tarp. There's just barely enough floor space to work with...
Lining up the corner for marking...
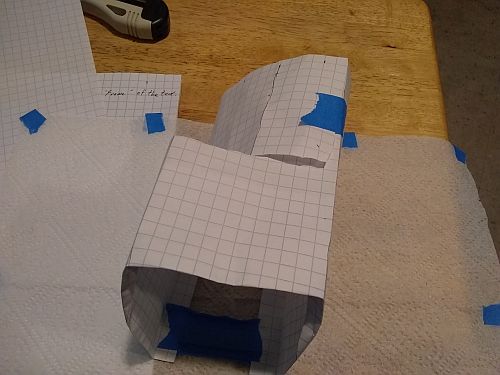
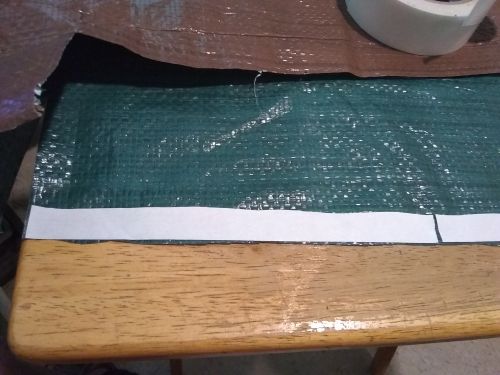
I put tape on the 3 corners and marked the cut and fold lines with a sharpie...
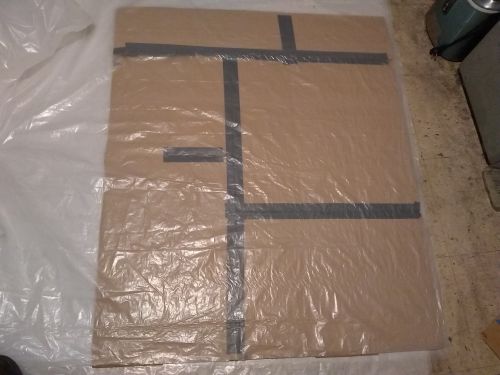
After refolding the tarp to double check the sides, I taped and marked off the other corner. This is a good place to stop for the show; after taping the sides up, testing the mockup tent will require taking it to a park with mockup tent poles and setting it up to see what's what...
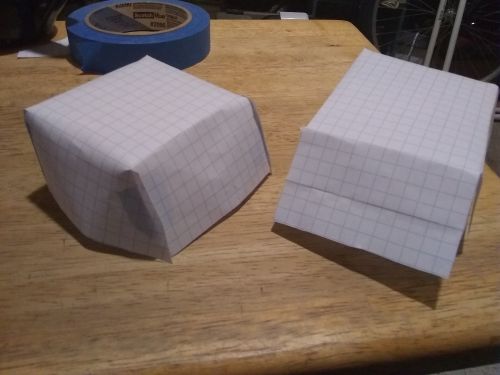
Two other mockups of a one-tarp bivy design. The proportional size of the tarp on the left is 12 x 12 ft., 12 x 16 ft. on the right, leaving a sleep space of 6 x 2.75 ft. and 6 x 4 ft. with the front closed...
(05/25/20)
For a couple days after doing the show I played around with the 'Baker Bivy' designs. You can go from three pairs of tent poles to no poles, just guy lines and stakes. Six poles allows a small Baker-style rocket stove campfire...

This is the 14 x 16 ft. scale design that has 4 x 6 x 8 ft. inside. A heavy duty tarp would make this an all-weather shelter...
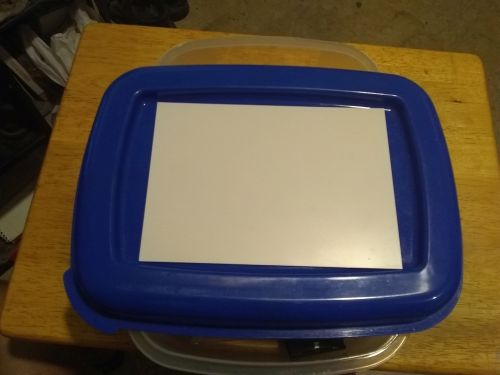
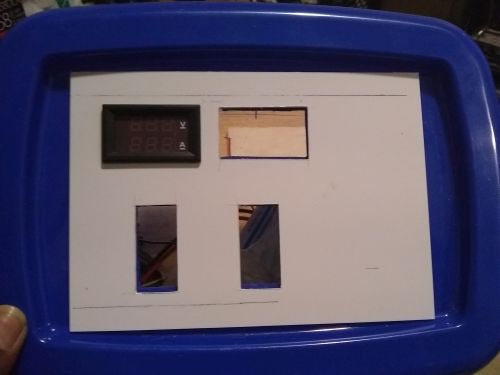
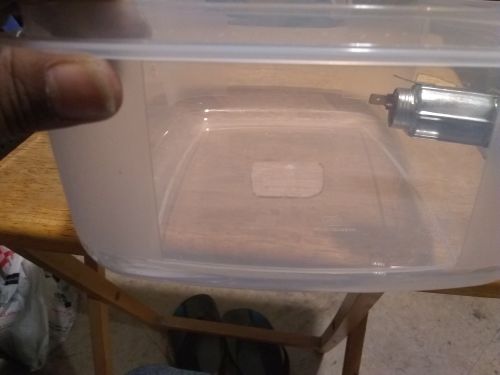
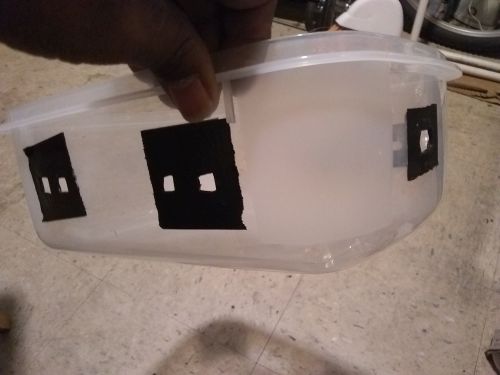
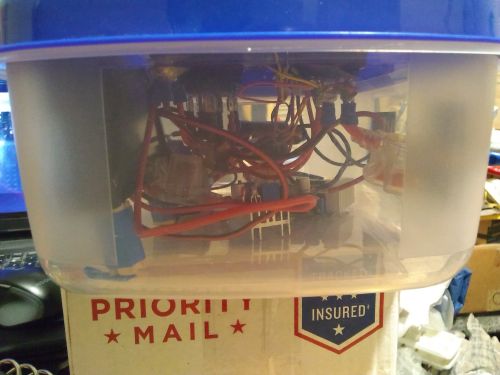
While shopping for the tarps, next up is the mobile power control panel. These cheap plastic dollar store tubs tend to crack and split easily, so I cut a piece of Plastruct to hold the actual components. This is the last piece from my ill-conceived powerbox project (I don't remember what I was gonna do with 600V DC strapped to my hip once the Ac part stopped working...)
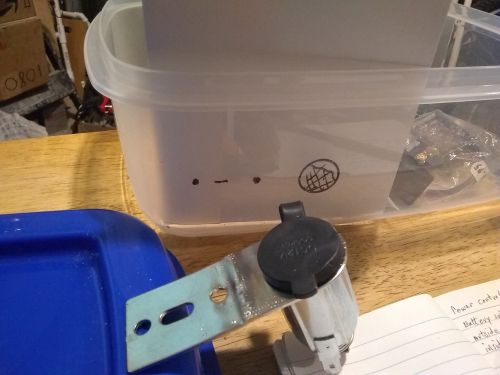
The DC outlet mount...
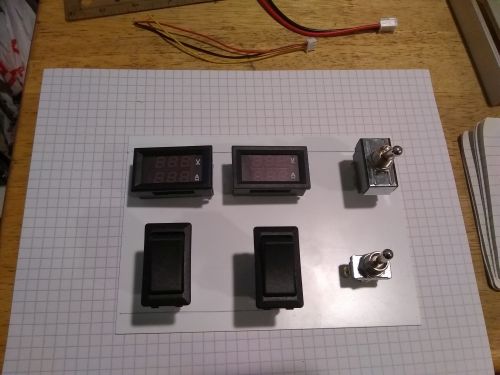
The components placed with enough room for labels...
The instrument mounts had to be done using millimeters to stay within a 1mm margin...
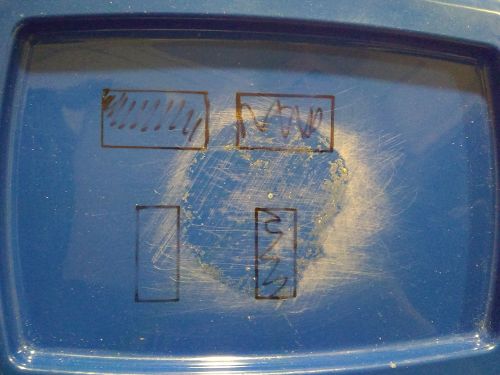
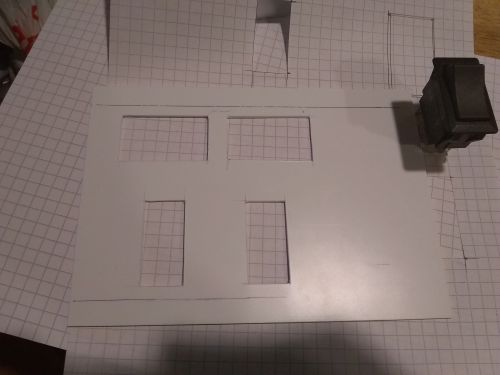
The starting templates for the ugly top...
Dry fitting components one at a time...
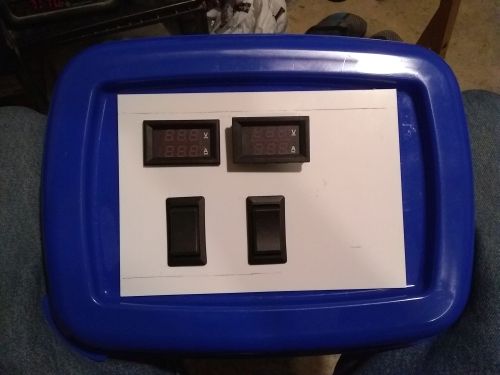
After trimming the top with an exacto, the switches snap in snug, the meters very snug, so much that taking them out cracked the lid between them...
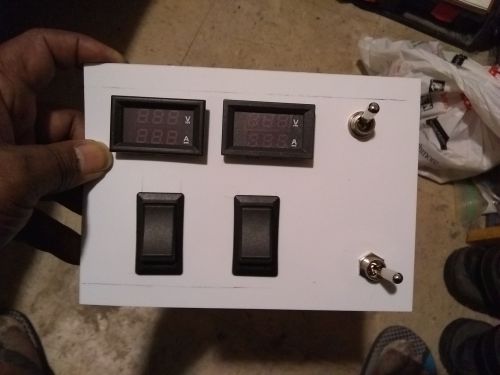
The dremel helped shape the toggle switch holes...
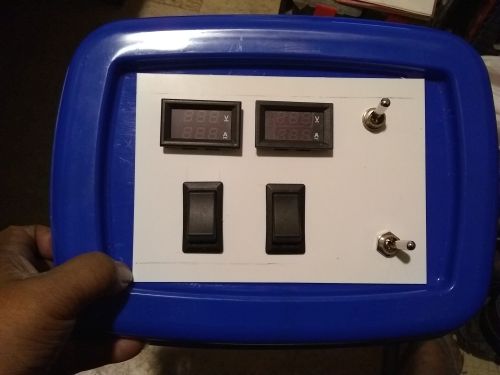
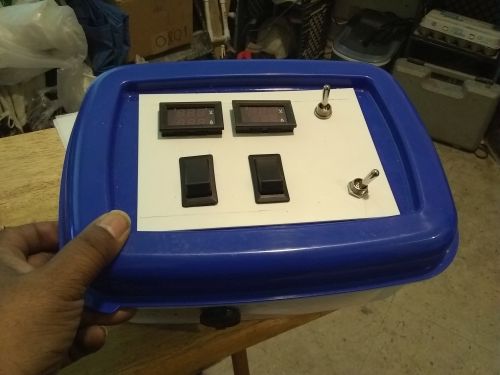
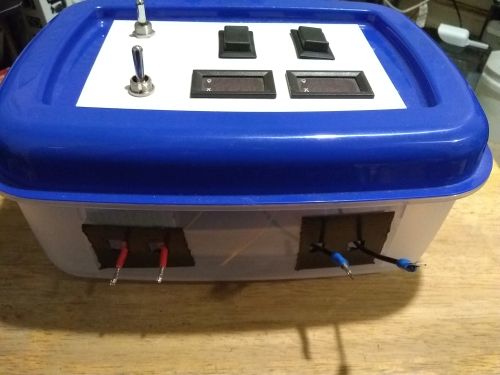
Complete control panel dry mounted...
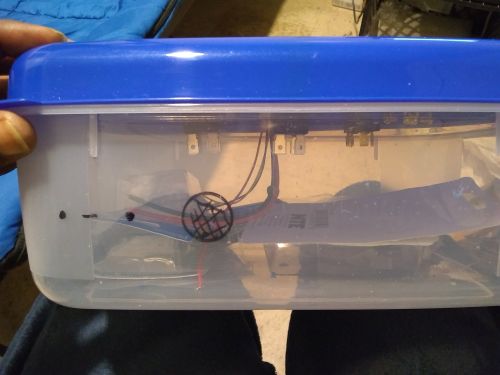
Inside view - plenty of room for the hardware and wiring...
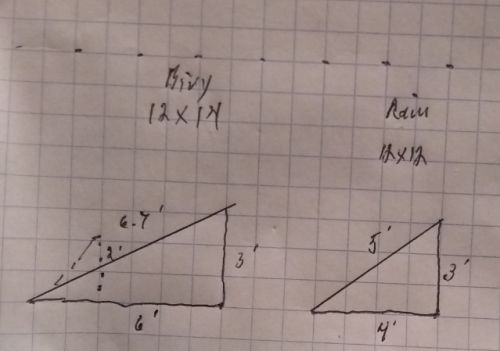
An example of uncut tarps using only two poles, placed between the rear 'vestibule' and the sleeping space, with back, sides and front staked and guyed down. A pair of two or three ft. poles placed at four feet provides more encolsed headroom in the 12 x 14 bivy; a 10 x 12 rain tarp works as well as it would be more openly staked...

The 14 x 16 design done this way wastes a lot of tarp, but this one shows the bike and cart 'vestibule' area - 4 x 6 x 3 ft., and how the tarp would be staked, guy lines not shown...
The control box with installed outlet...
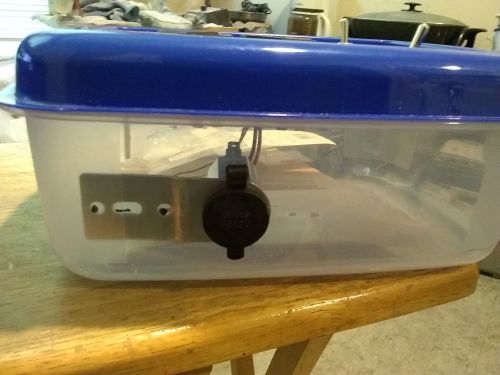
Instead of bolts, a couple zip ties and duct tape could secure the outlet...
On the left side, the ports for the backup battery cable to the backup switch...
The front ports for the battery lines...
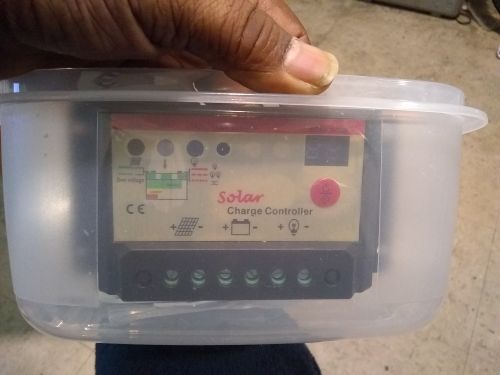
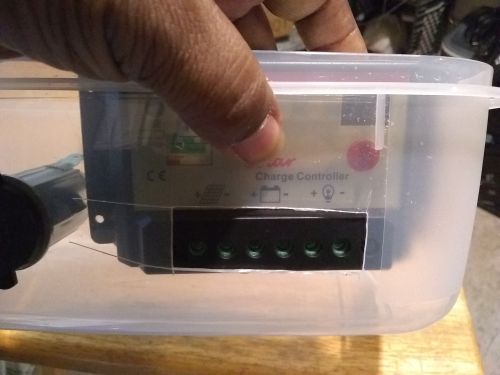
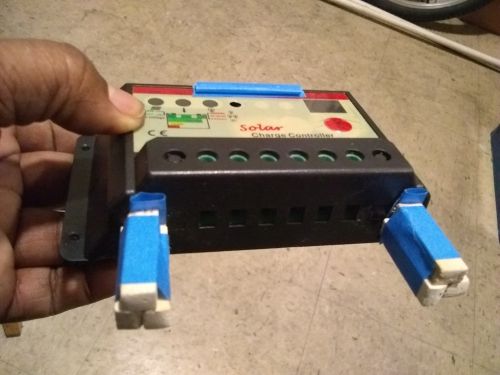
The charge controller can be mounted this way, with a big slot cut to fit the terminal block through...
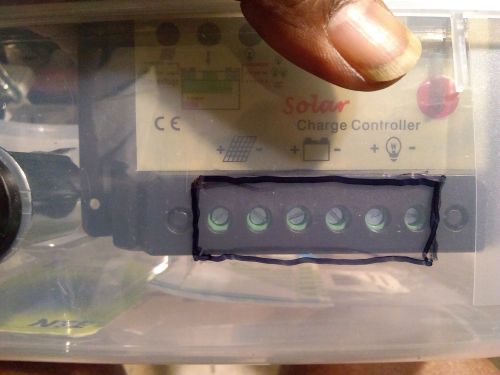
Instead of the side, I'll put the controller in front, next to the outlet. The access port should be high enough to accomodate the thick wires...
Access port cleared...
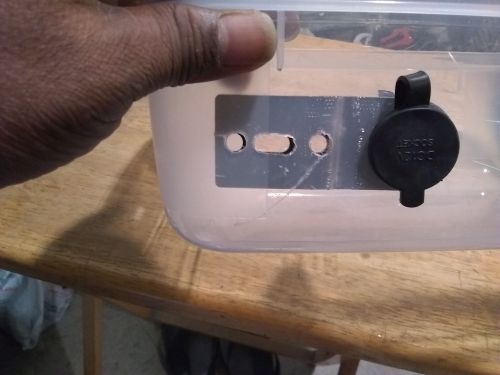
12V outlet ports cleared...
Backup battery port cleared...

Battery cable ports cleared...
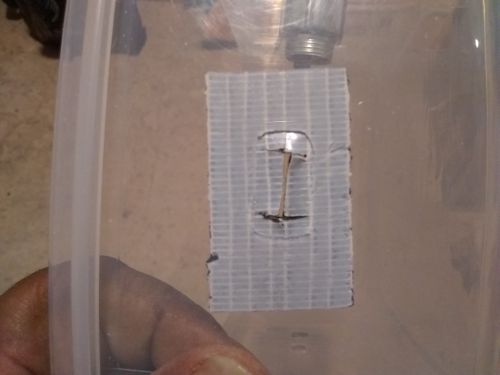
Reinforcing the plastic with duct tape patches inside and out...
All cable ports reinforced...
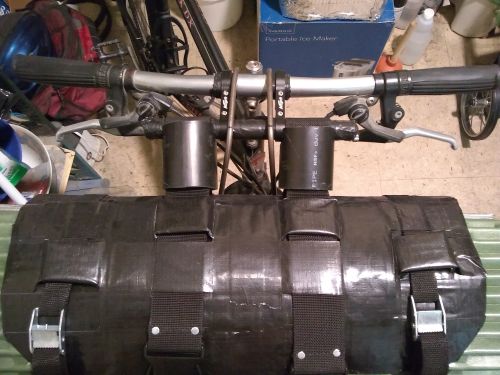
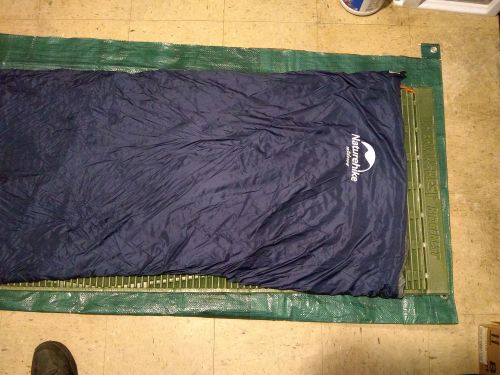
Last Tues. my sleeping pad came in a day early, so after washing hands, unboxing, washing hands, I fit it to the handlebar sling...
The support strap buckles fixed with duct tape braces...
Second fitting...
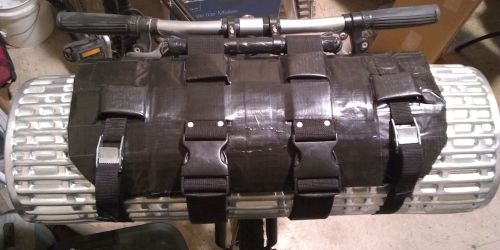
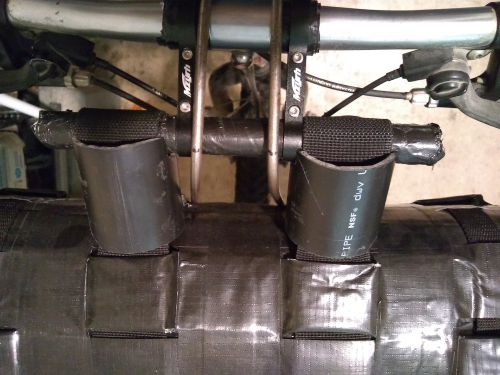
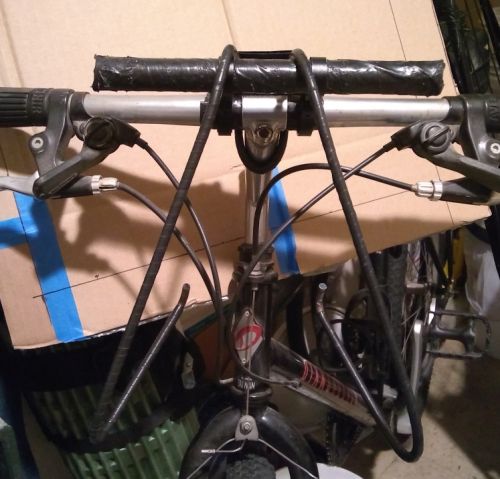
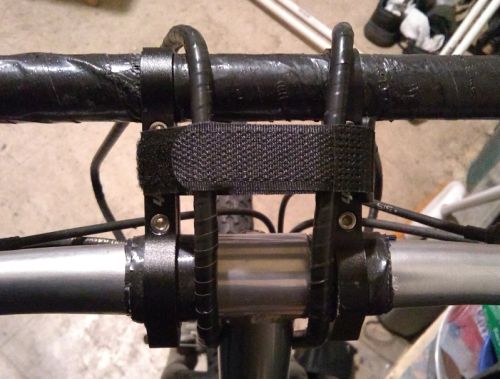
The sling mounted to the bar, not too wide up front. The pad is 14 oz...
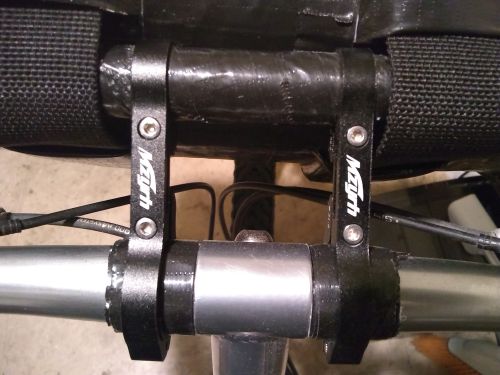
A standoff will be needed to keep the sling off the front cables...
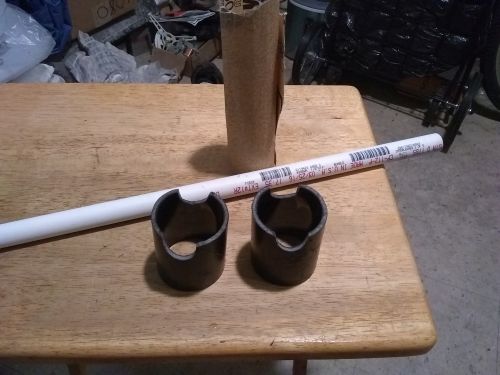
Last Wed. I got a foot of 2" wide plumbing PVC, marked, cut and sanded two 3" standoffs for the sling...
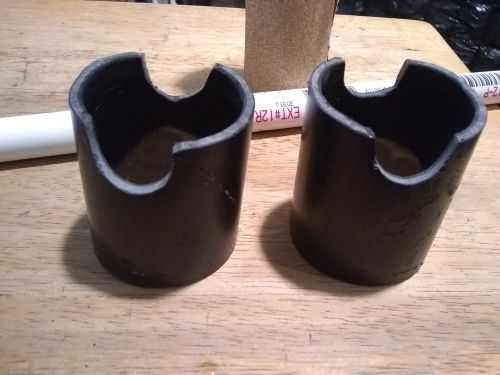
Detail...
Dry fitting...
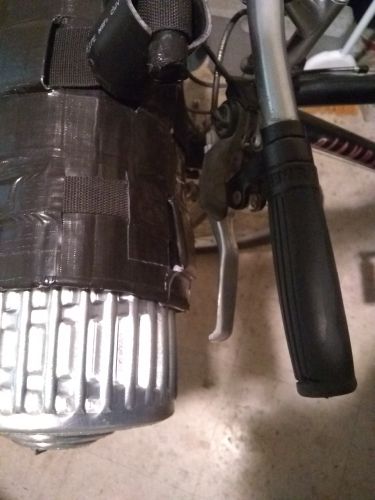
The standoffs clear 2.75" from the bar, enough to move the sling body off the brake and shifting levers, though it still rests against the cables...
The cables need their own standoff...
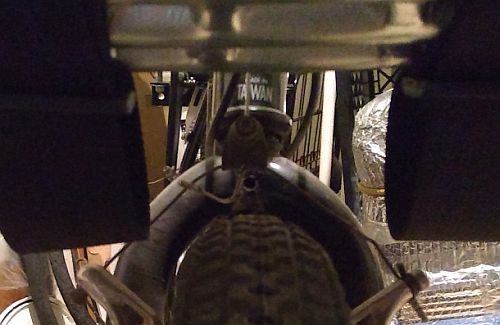
There's enough clearance for the eventual fender, straps aside...
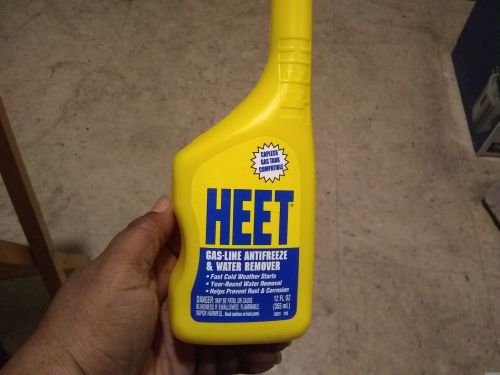
I got two bottles of yellow Heet, the most efficient and economical alcohol fuel...
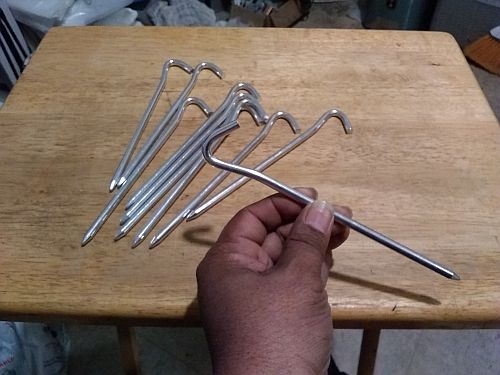
10 aluminum tent stakes for the tarp...
(06/12/20)
------...
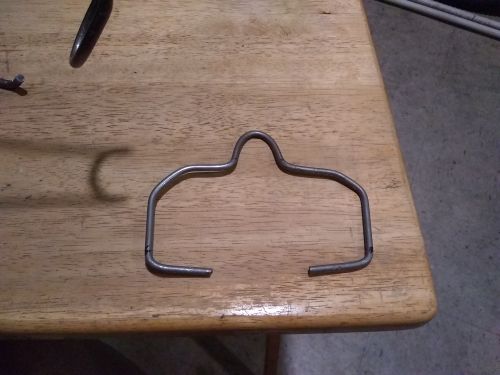
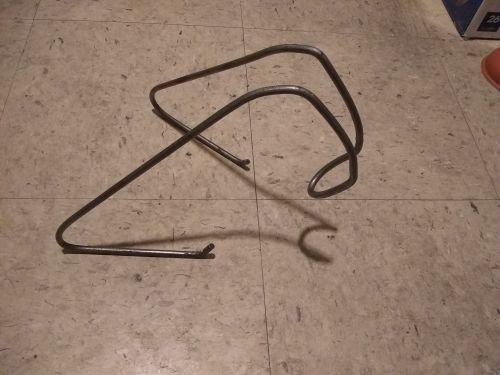
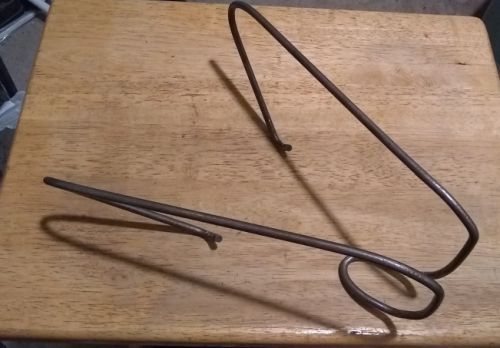
A mockup of the rear rack cargo hitch 2.0 using a leftover welding rod, designed to wrap around the back of the rack...
A pair of mockup legs for the charge controller that might be glued to the tub's bottom...
A better look. This is the least fiddly and most space-saving mount I came up with...
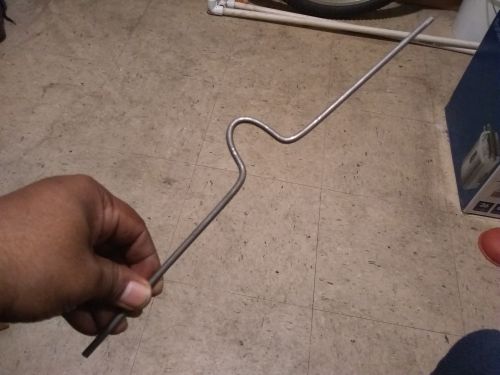
For the handlebar sling support rack, I got a 1/4 in. 4 ft. steel rod and started bending with my vise...
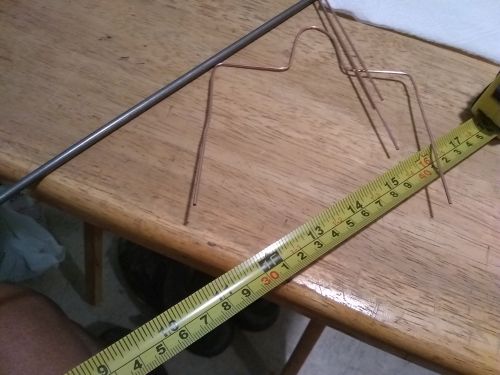
For the rack hitch I'm using a 3/16 in. steel rod cut to 15 in. long...
The beginning form, which won't be perfect in the end, but can be adjusted...
First fitting...
Detail...

That's about a foot of excess hang...
Rough fitting with the sling...
The steel rod easily holds the sling off the front cables...
First rough fit of the rod on the rack. Two small hose clamps will lock it in place laterally...
Second fit around the corners...
Third fit. The existing hose clamps wil lock the sides...
Final form of the hitch, also not pretty but it'll work...
The rear struts will tie the ends off at the handlebar stem. The adjustments have only begun...
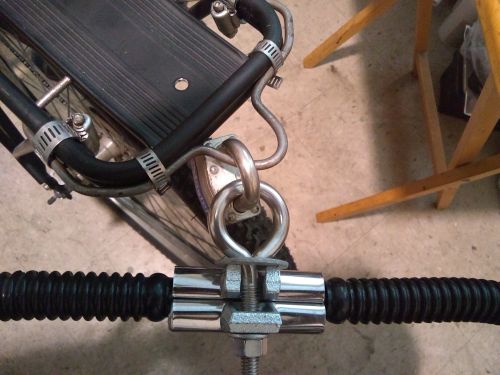
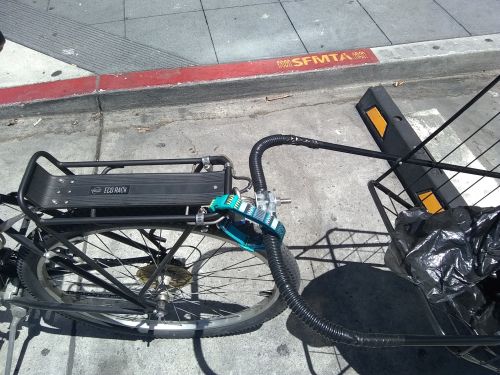
The obvious reason for hitch 2.0 - the big mount is fine for city cargo hauling, but not for touring/bikepacking. The new hitch will be invisible to the trunk bag panniers, and the trailer's weight limit is well within the steel rod specs...

Detail...
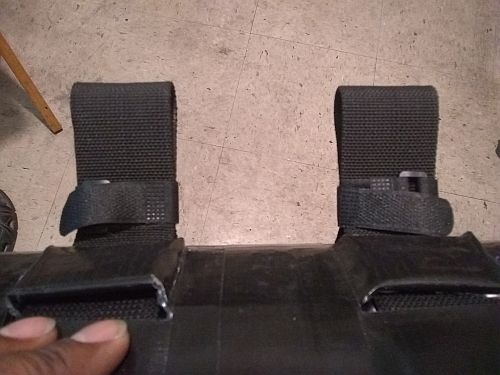
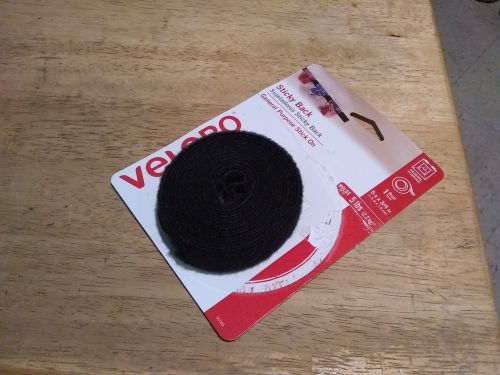
Small velcro straps bind the belts within the spacers so they don't collapse if the sling needs to be removed from the extension bar...
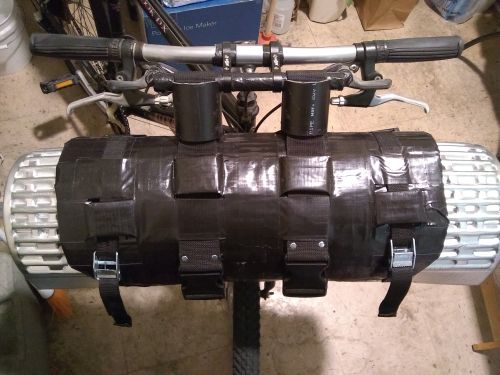
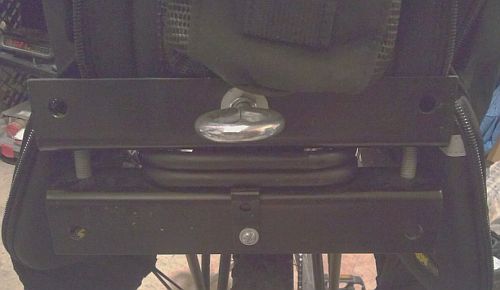
Rear trailer hitch 2.0 installed and checked for fit. It feels solid for now...
A little electrical tape around the business end to muffle metal noise...
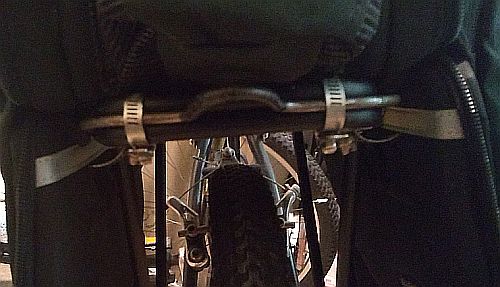
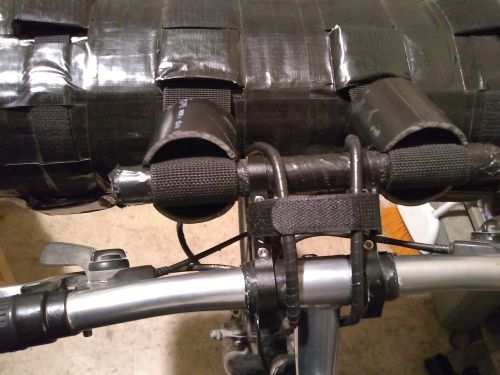
The trunk bag panniers fit nicely around the new hitch...
I rigged up the trailer outside the crib for the shakedown ride with a light load...
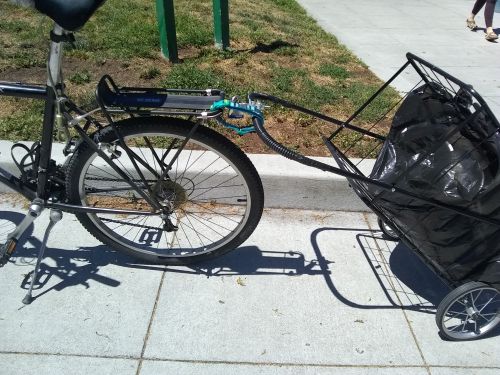
I went as far as the small park where the Golden Gate Park 'wiggle' starts going uphill, then turned around to go back downtown...
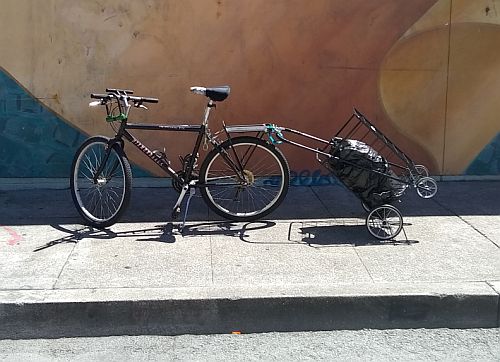
A full shot at the big mural where the wiggle starts for a 6/4 Twitter post...
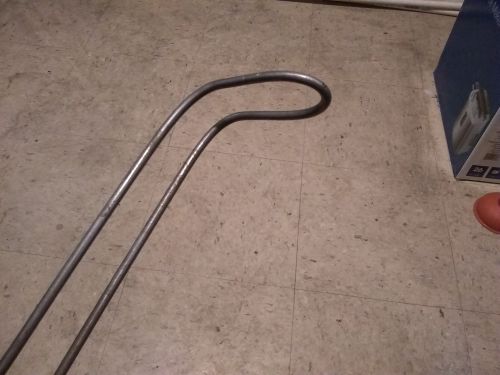
The front support rack with the bends finished...
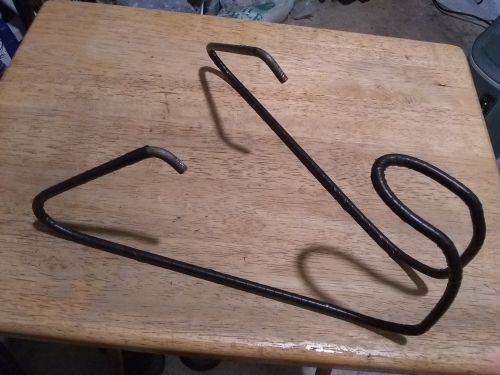
Wrapped in electrical tape. It's solid enough to work as is, but I want a tiedown that isn't permanent...
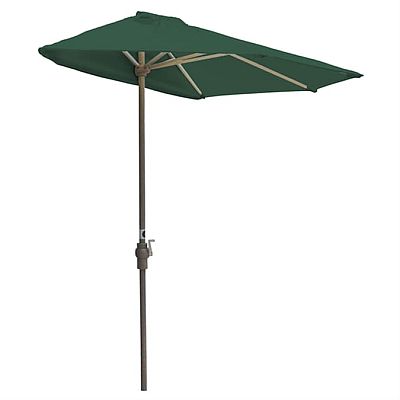
After much dithering over tarps and poles for an outside workspace, I like a portable patio half umbrella that sets up and breaks down quickly...
A bug net staked down and spread out could give me 6 x 6 ft. of space and catch any flying stone chips. A tarp floor would make cleanup relatively easy...
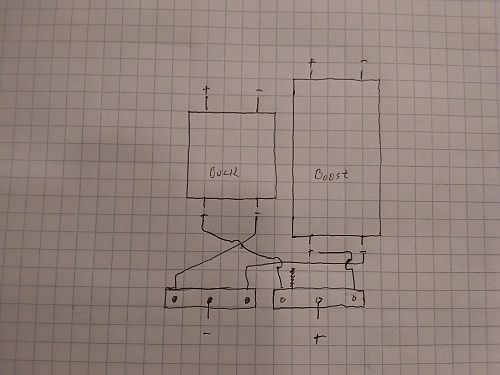
The rough idea for a 200-400W Benitez device: hooking up two separate CC CV DC Converters to get higher voltage from the booster and higher current from the buck unit...
Final fitting of the rack...
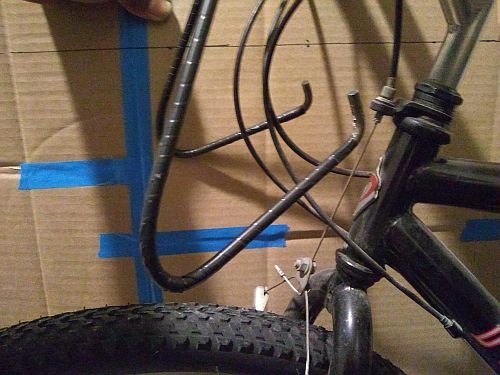
The flying wings are clear of the cables they're protecting, but it looks a bit wild...
Instead of tying the ends to the stem, a small velcro strap makes a nice removable mount...
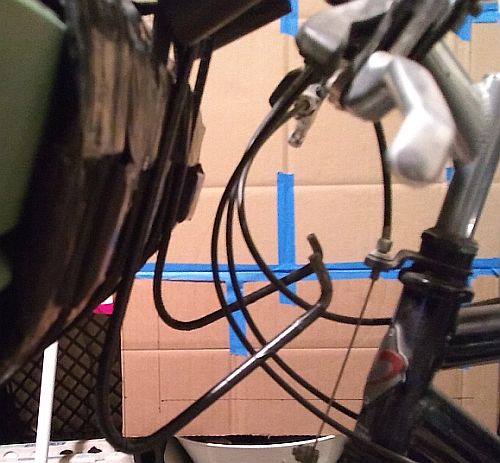
Another view underneath...
Rider's view...
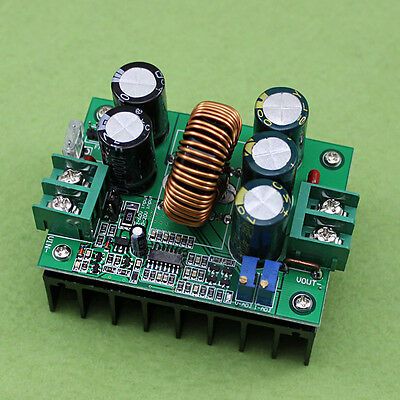
An example of a 1200W 20A CC CV DC Boost Converter...
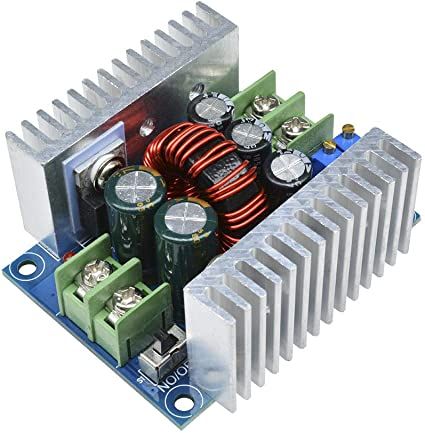
Example of 20A 300W CC CV Step Down Module...
(06/26/20)
Not a lot of progress in the lab, but moving on...
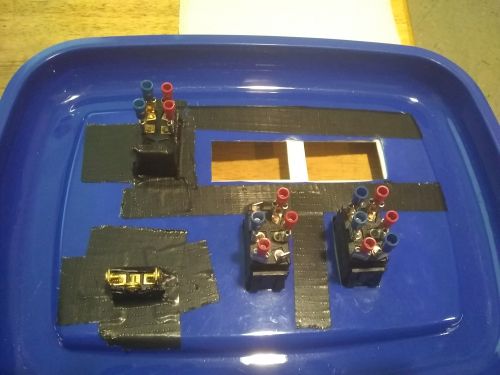
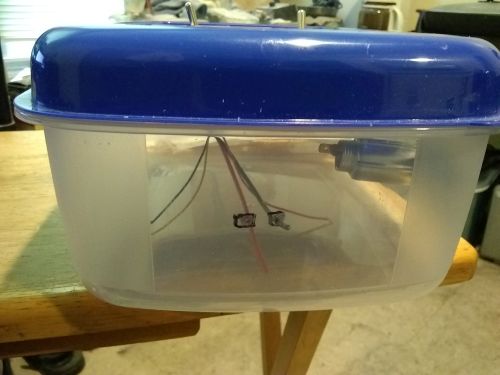
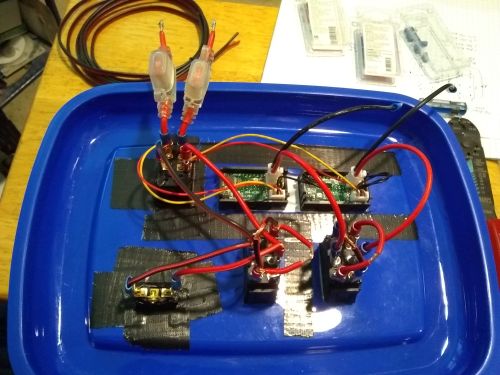
Beginning the control box wiring...
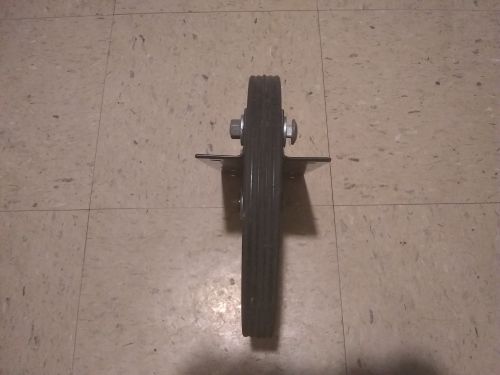
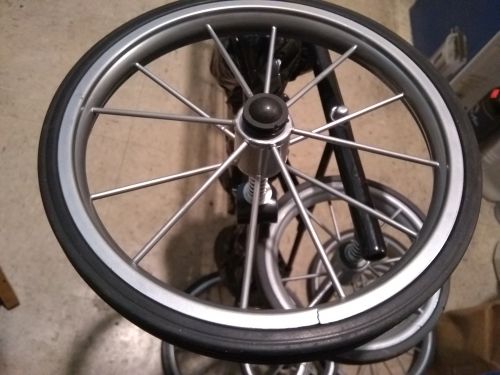
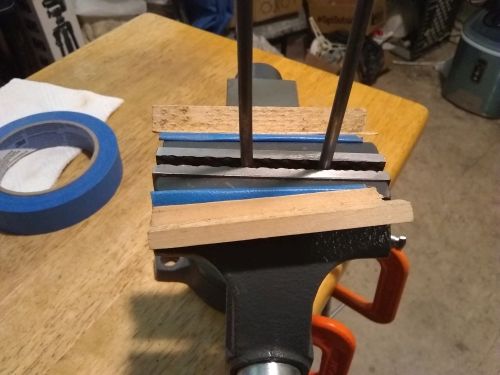
One of the steel wheels has a warp I tried to fix by clamping it for 12 hrs...

This by itself didn't do much, so I'm looking at 10" plastic wheels that have a larger weight limit......
The + and - battery switch junctions...
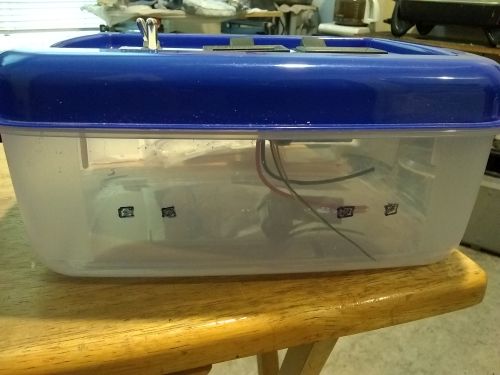
The meters snapped in place...
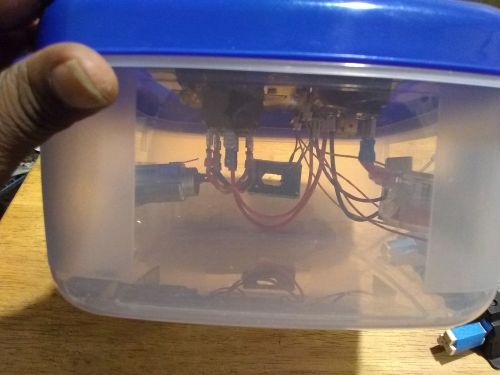
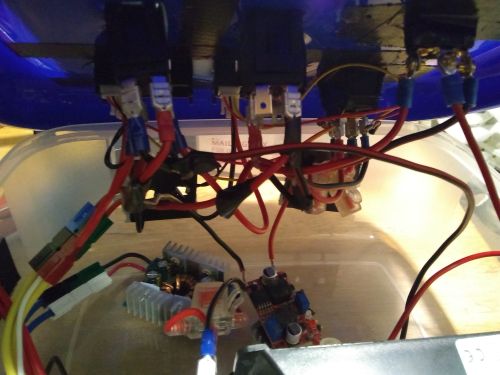
Checking the clearance space for the DC converters...
Initial wiring of the lid...
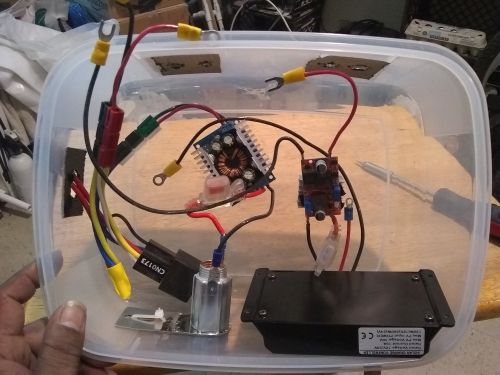
The rest of the circuit parts have enough lateral space...
Checking where any wires may rest on a heat sink or cause a short...
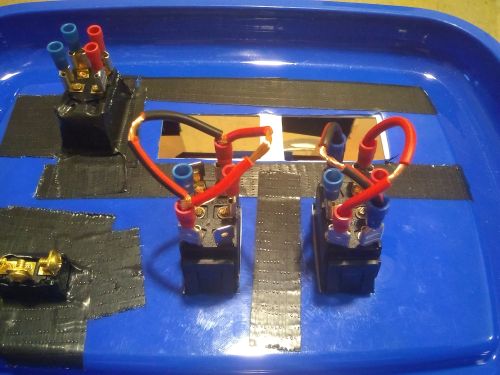
The replacement wires for the booster are soldered and the remaining power connections finished. After this, continuity testing showed that I didn't need to reverse the pinout with the switch upside down, so I swapped the switch junction wires...
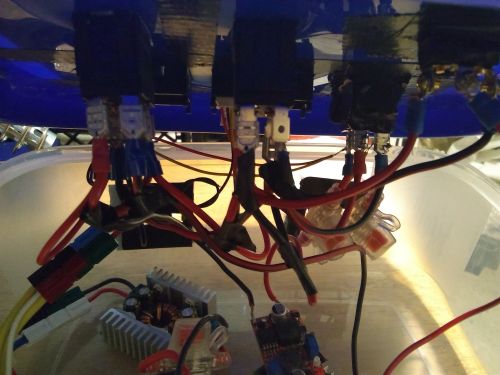
Post swapping, the continuity check was fine...
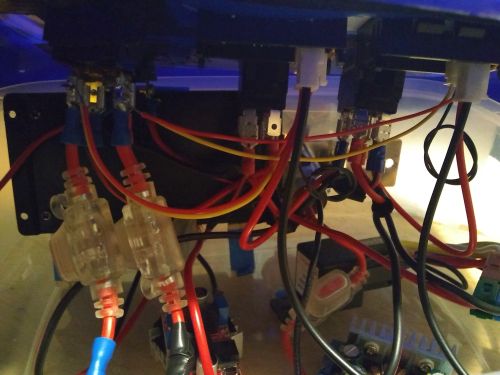
The power meter wires tied into the power taps...

The rough mock-up is almost ready for a quick power test...
(07/03/20)
The summer begins, meanwhile a few short baby steps in building bikepacking gear and checking the mobile control panel...
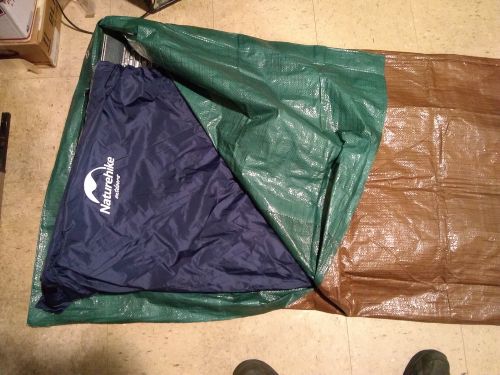
On Mon. I bought the items for my DIY tarp bivy bag for the sleeping bag, copied from the YouTube video by Nampahiker. I'm using it as a tent inside the condo tent. An 8' x 10' tarp, double sided carpet tape and gorilla tape instead of regular duct tape...
I took the rear hitch off and un-bent it to slip some vinyl tubing over the loop. I also tried to fit the steel around the rack better, resulting in a 1/4" offset that won't affect the trailer. Still ain't pretty...
The loop is vertically even now...
5' long velcro tape finishes the bivy items. Total cost about $30, less than half the cheapest entry-level bivy bags at the sporting goods stores...
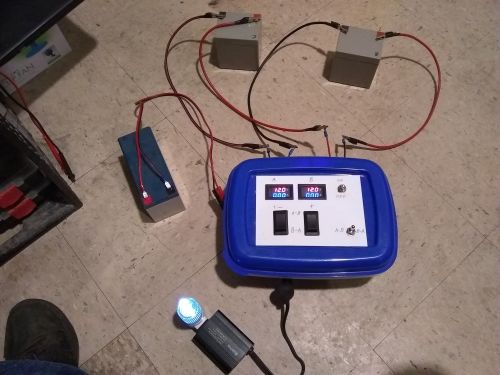
After the continuity tests, a quick power test of the meters and the backup line. The 4Ahr batteries haven't been charged up cause I don't need to run test the system again until I have proper 22Ahr units...
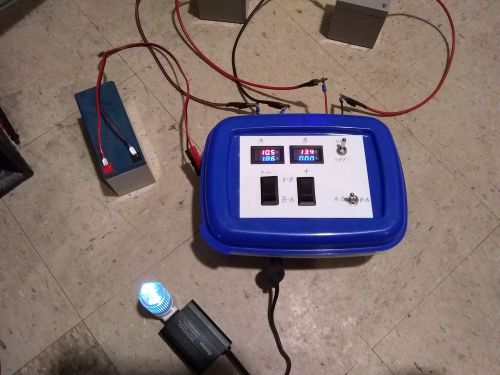
Power testing the A to B lines...
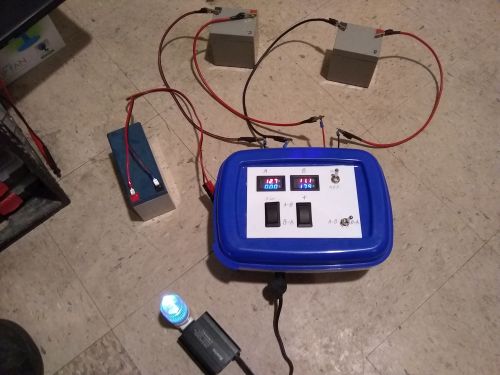
Power testing the B to A lines. The components hadn't been glued down, just in case something started smoking...
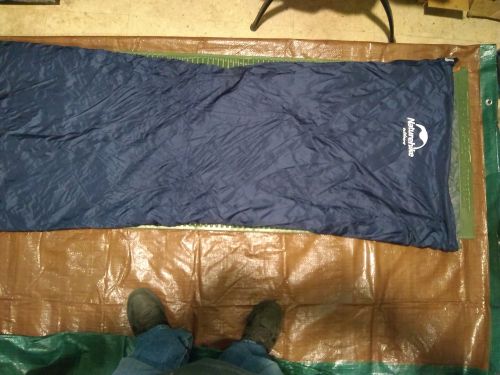
Laying out the tarp with sleeping pad and bag in the cramped space...
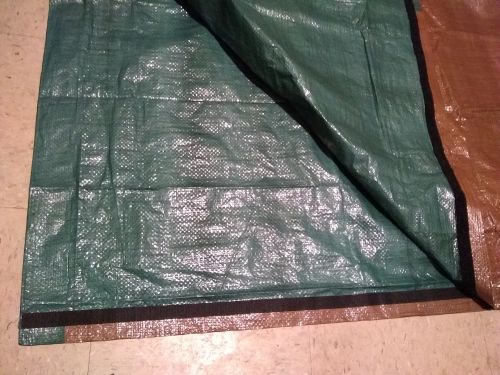
After trimming the tarp is a raw 8' x 6'...
After sealing the seams with carpet tape and gorilla tape, it's ready to turn inside out...
With the pad and bag inserted, I wiggled in and confirmed that I have enough room for comfort...
More carpet tape and velcro to finish off the bivy...
The bivy itself weighs less than a pound. I'll roll it up with the pad inside, maybe the bag as well as long as there's no condensation issue...
(07/03/20)
Fabricating the portable sculpture studio past the hammer and chisel phase...
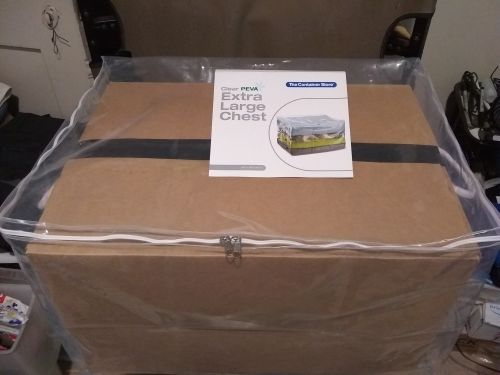
The Container Store has these plastic fabric sweater and comforter chests for $10; 24" x 18" x 15" high...
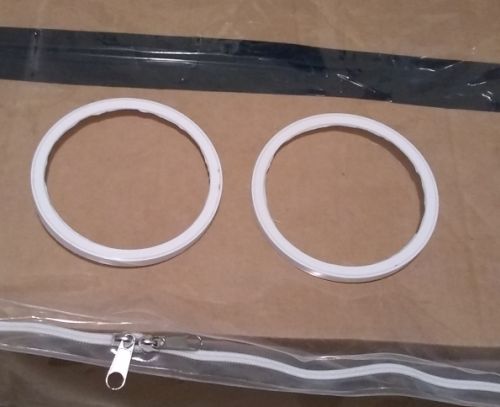
IForms for the arm holes...
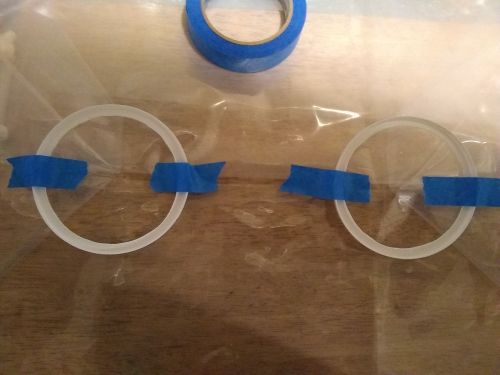
I centered the holes on the corner where the sides fold in...

Ready for cutting out...
The holes are placed at a comfortable width...
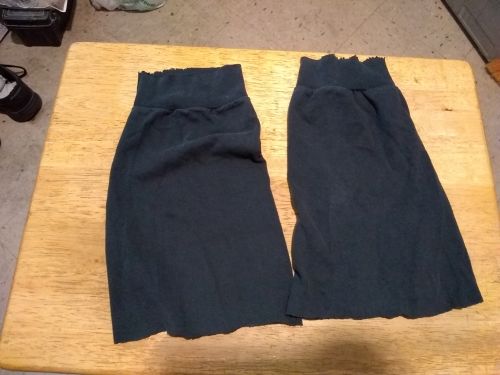
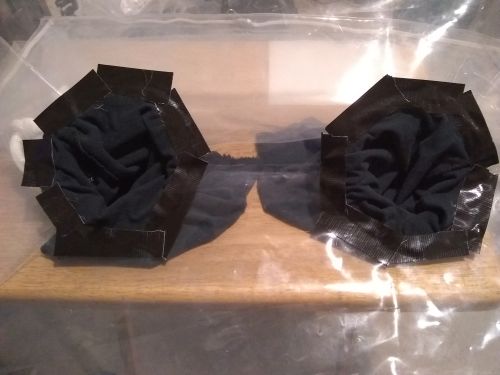
Sleeves from an old T-shirt...
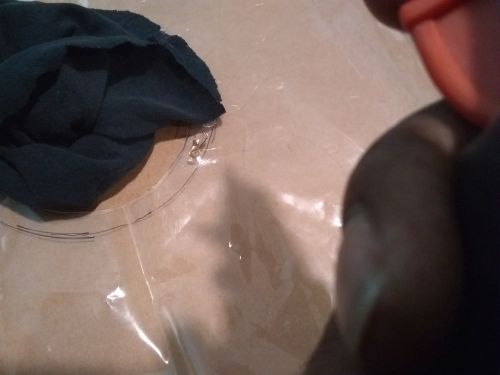
I rolled the sleeves up inside out and applied hot glue...
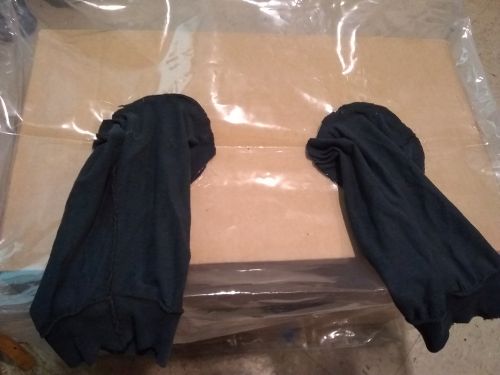
Sleeves attached...
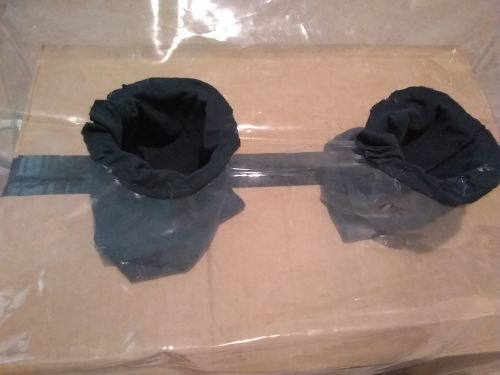
The modification to the box is done, maybe a border of duct tape to clean up the ends...
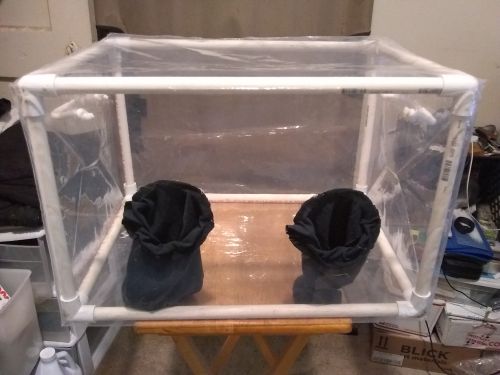
I fabricated two different frames for the box - quick cardboard frame and this 'stone camp frame' using 1/2" pvc...
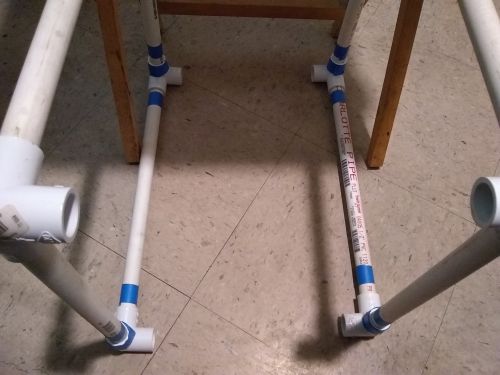
The bottom segments marked for easier assembly...

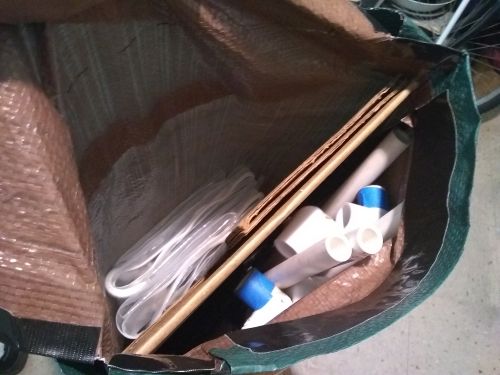
The pvc frame broken down for travel...
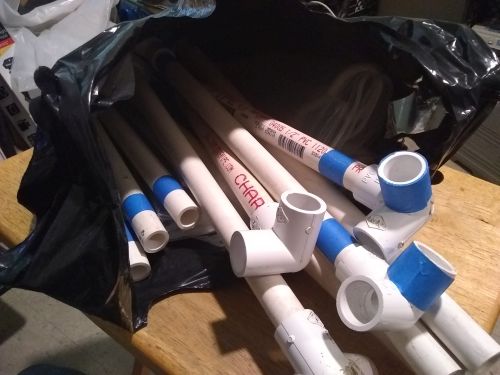
The parts pack down well enough to fit in a plastic bag...

The quick frame fabricated using the existing 24" x 18" x 14" box...

The cardboard folds down and fits in the same plastic bag with the pvc frame...
Basic pattern for the tarp bag...
Rough mock up that suggested small changes...
The measured and cut pattern was taped up bivy bag style with the double sided carpet tape and gorilla tape...
The finished studio bag...
Inside view...
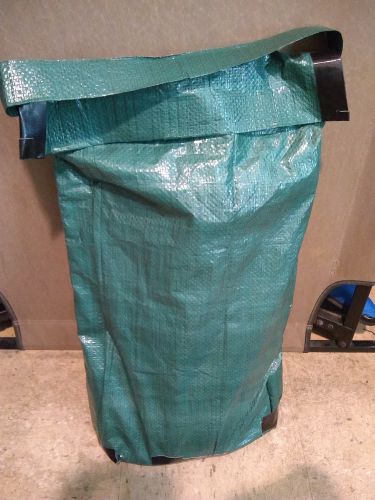
Outside view. That's a handle, not a shoulder strap...
Gorilla tape to roughly finish the arm holes...
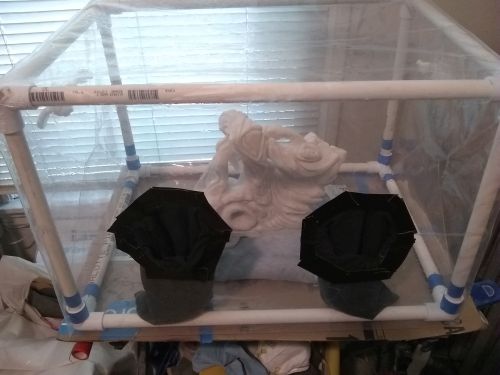
The mobile studio dust box easily accomodates the stones I'm currently working on...
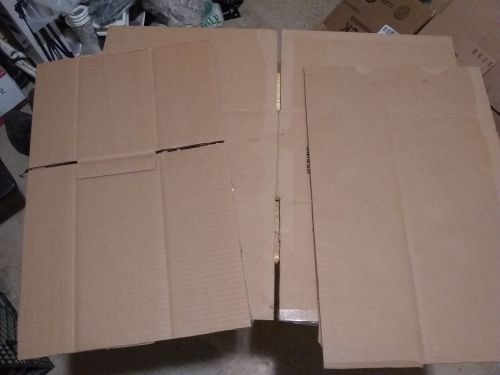
For the dust box platform, I cut a folding base with each side 13" x 21.5", then cut an extra two panels as reinforcement...
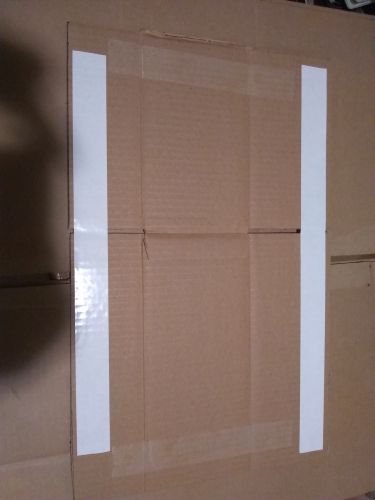
Carpet tape around each panel...

The top of the finished platform...

The box sits inside the tape borders of the platform. It also fits in the carry bag...
(07/24/20)
This time out it's a very brief situation report of where the overall power plant and bug out bike projects are, with only a few pics...

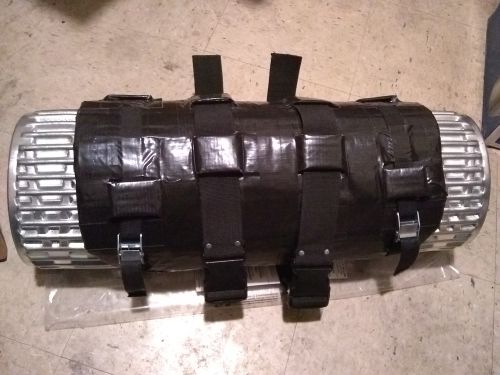
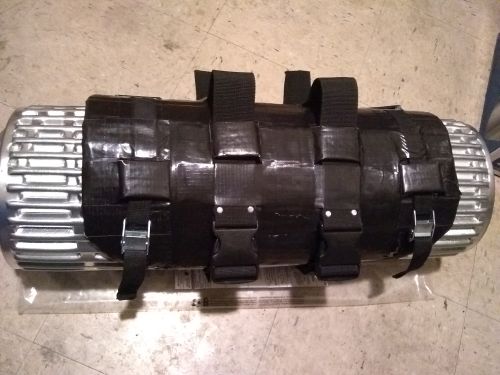
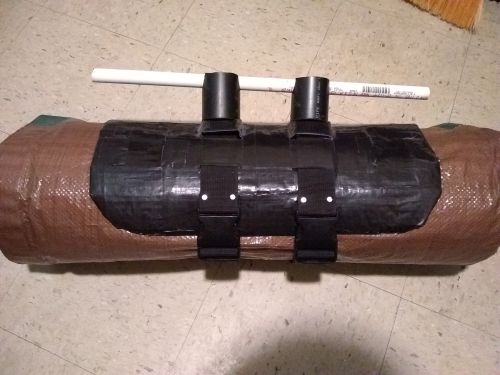
The big work table for stone carving is broken down for storage and to clear space...
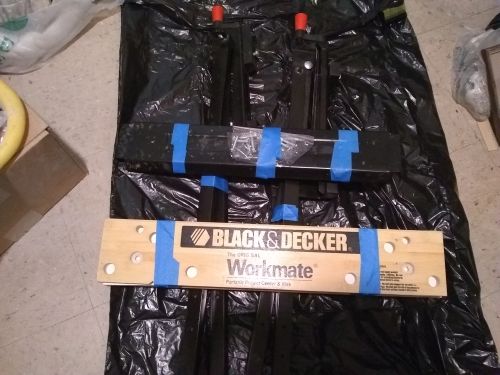
It can be carried in the cargo trailer this way...
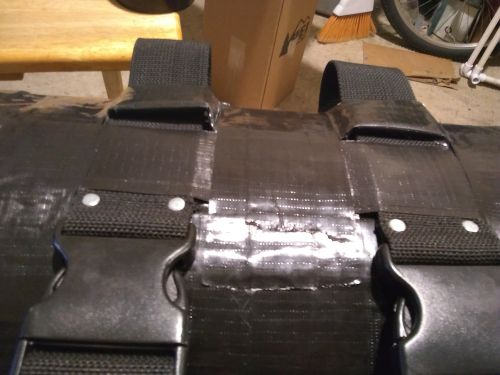
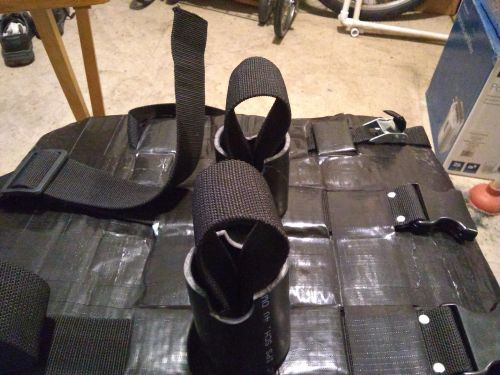
The smaller straps are removed from the handlebar harness without affecting it's utility...
(08/12/20)
This being a very slow time in the lab, there's only one picture, a small update of the planned upgrade to my mobile power plant...

The 25W power loop booster, the 300W output buck unit, and the footprint of the 1200W output booster on the stripped project board to size up the components. The buck unit was salvaged from the in-house grid-tied emergency power switch project, before I decided to go bug out bike walkabout. I don't know if the new parts would actually fit in the current plastic enclosure, but the answer is closer than ever...