Lab Notes
(11/20/20)
The disjointed limbo of the year froze the lab for a while, but with the election things have shifted. I'm feeling an urgency to get my bikepacking gear squared away in order to get my West Cast Walkabout going next year...
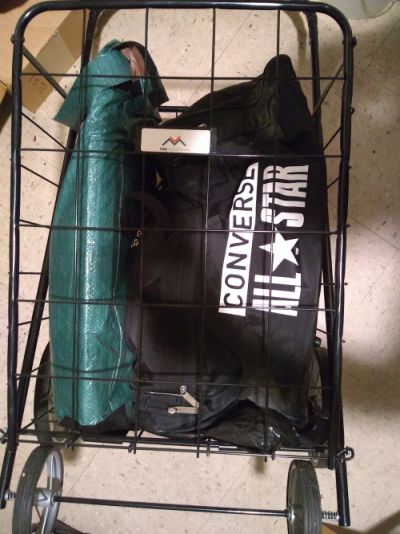
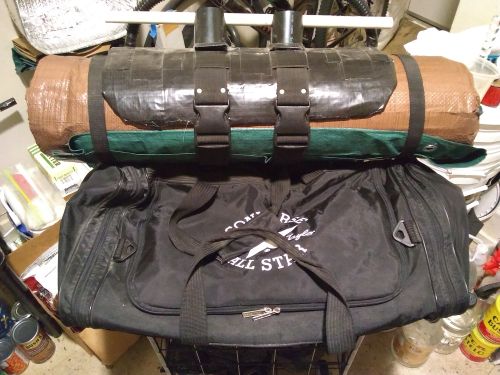
For expediancy, I'm no longer focused on buying fancy gear. First check, the sport duffel bag and the studio bag easily fits in the shopping cart cargo trailer...
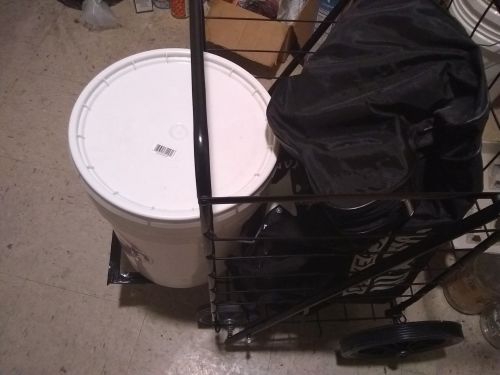
With a camp chair, table and 5 gal. bucket DIY bear canister for boondocking added, the duffel bag still works but the trailer is a bit overloaded...
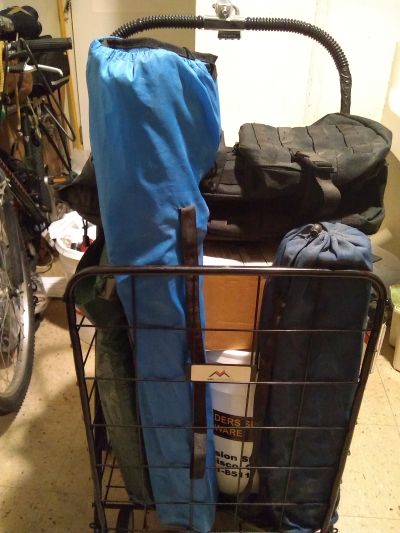
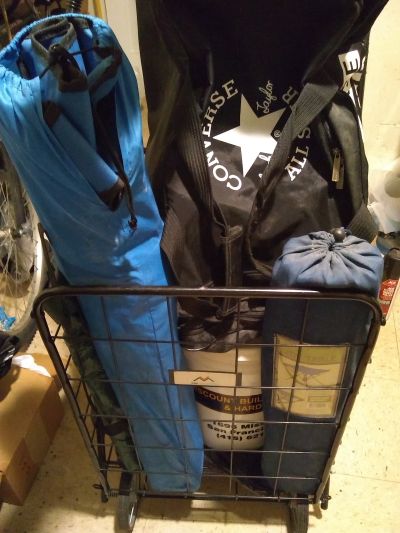
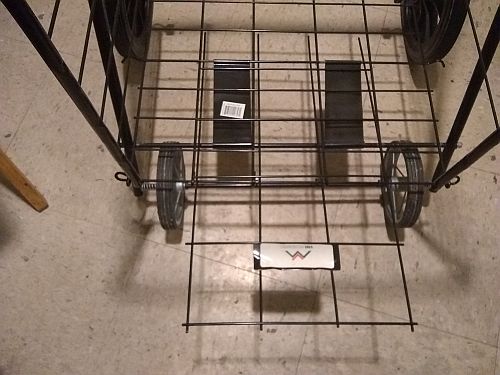
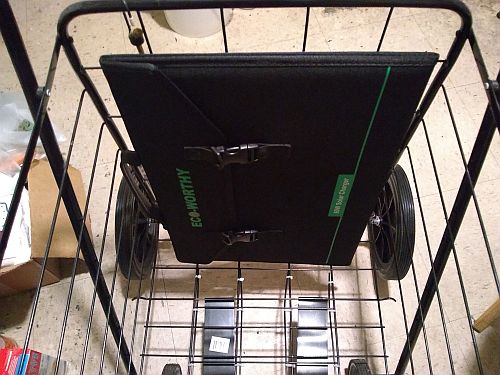
This variation has a box to simulate the space the power plant and batteries would take up, along with the big backpack I used for stone camp. More balanced and easier to strap down...
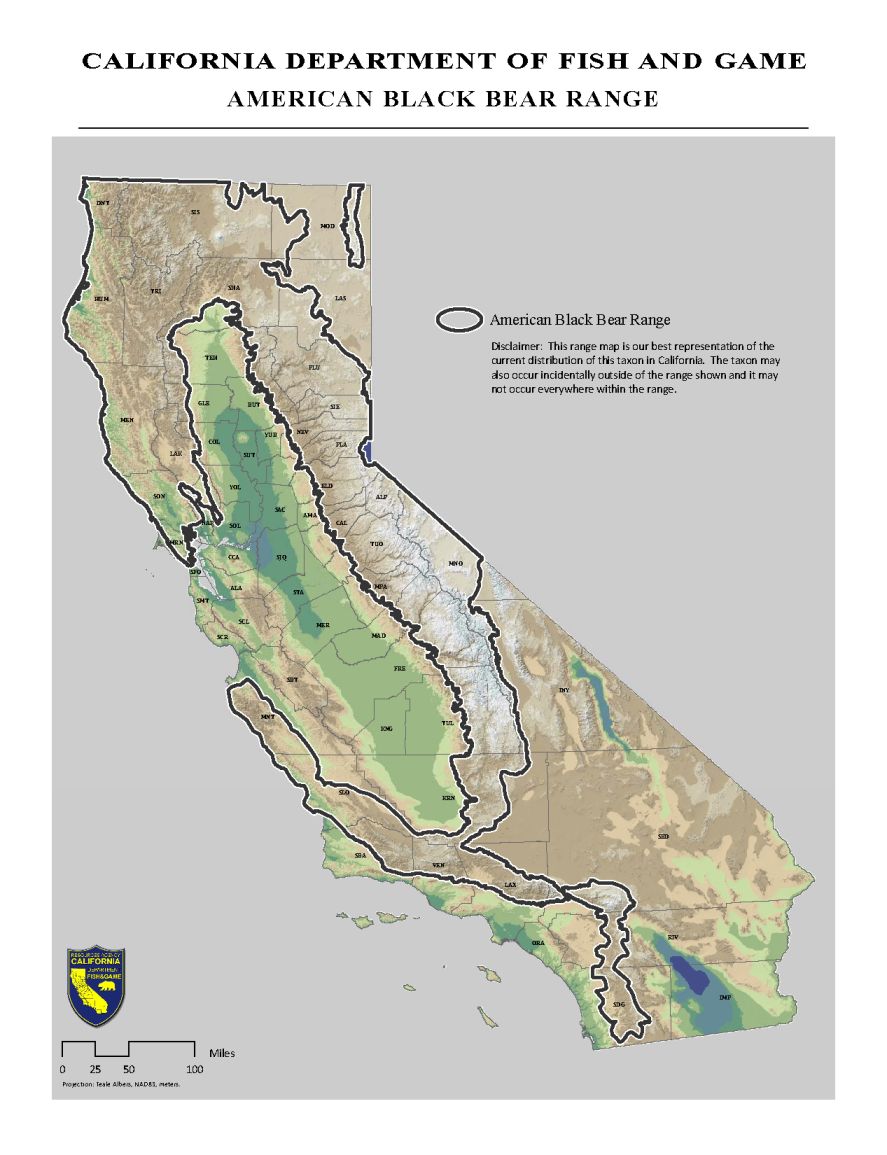
California Dept. of Fish and Game map of estimated black bear range. The area of interest runs down the central coast and the Pacific Coast Bike Route - Monterey down Big Sur to San Luis Obispo. A 5 gallon bucket DIY bear canister will work here...
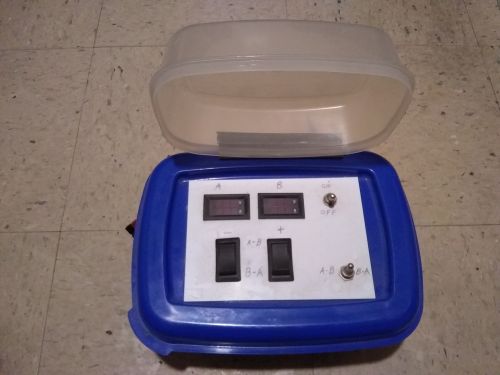
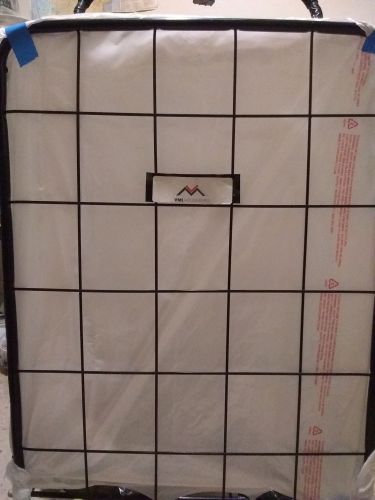
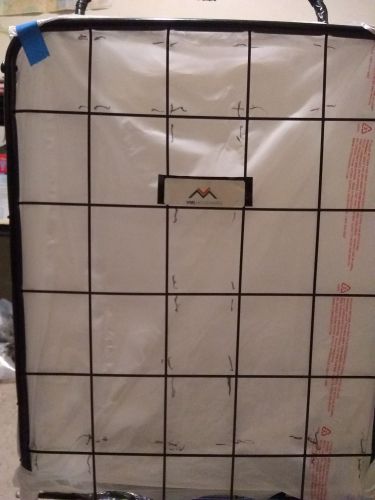
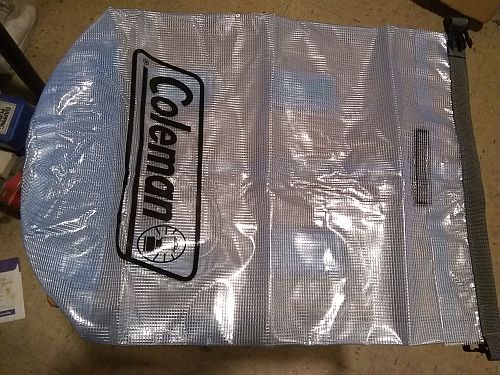
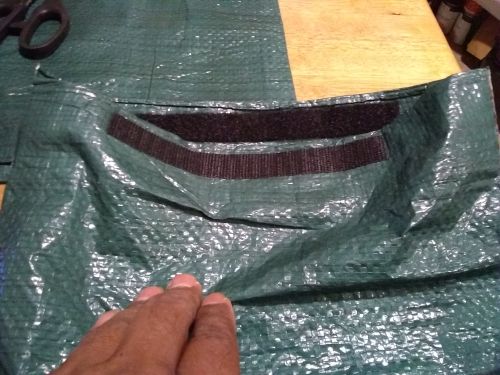
DIY travel cover for the 100W power plant control panel...
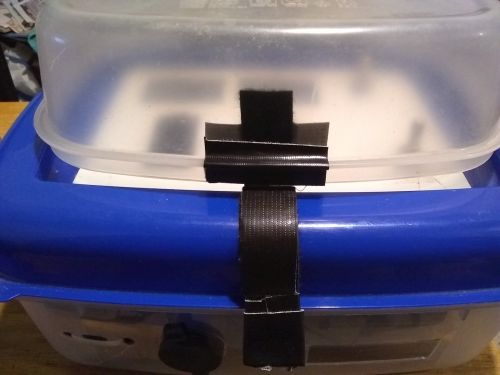
Simple velcro closure for the power plant cover...
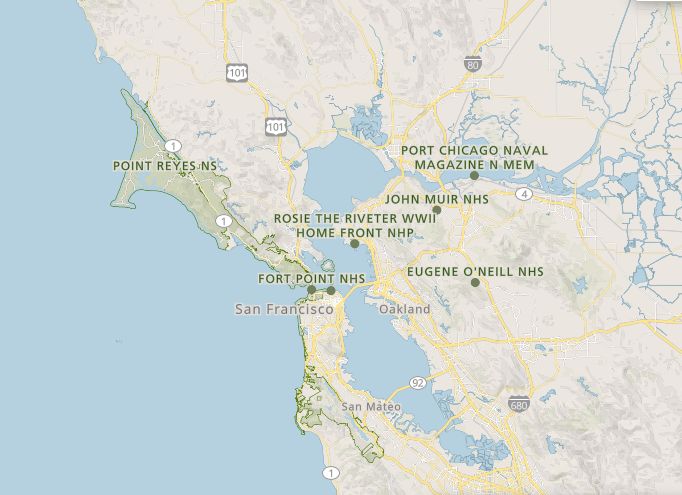
Point Reyes Nat'l Seashore Campgrounds - the closest official site (35 mi. N) of the city to practice camp...
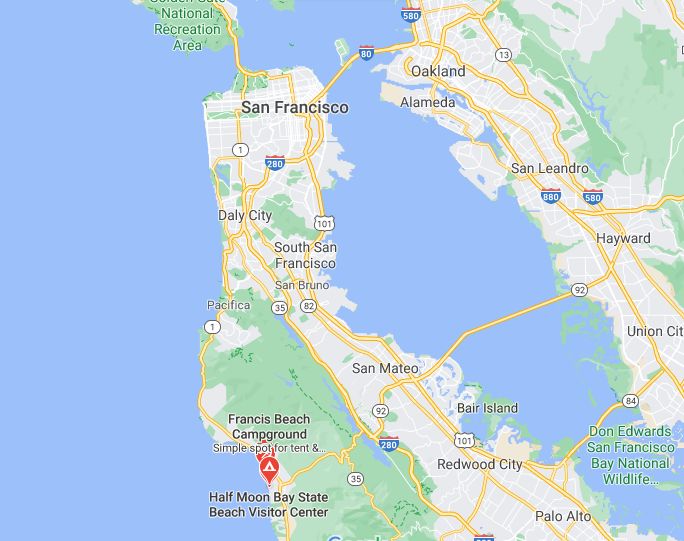
Half Moon Bay State Beach, about 28 mi. down Hwy 1 from SF, has hike and bike campsites open...
(11/20/20)
As we continue to experience the fallout from the election, my pollworker paycheck came in and went to a few critical pieces of walkabout gear...
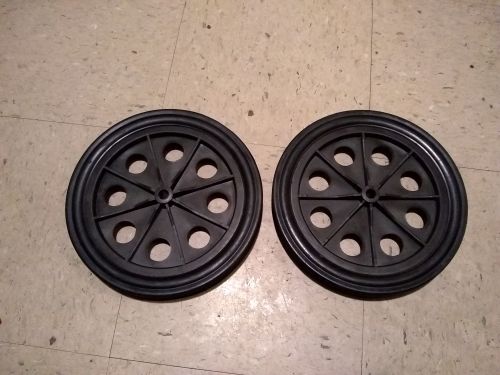
On Sun of holiday week I picked up the 10" cart wheels from a downtown Ace Hardware. Heavier, solid, no warp...
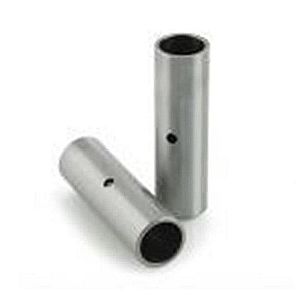
3/8" to 1/2" bushings I got a while back allows the bigger cart wheels to fit the smaller cart axle...
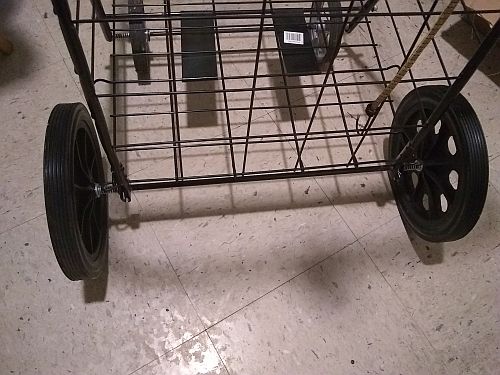
The wheels installed makes the cart a solid cargo trailer...
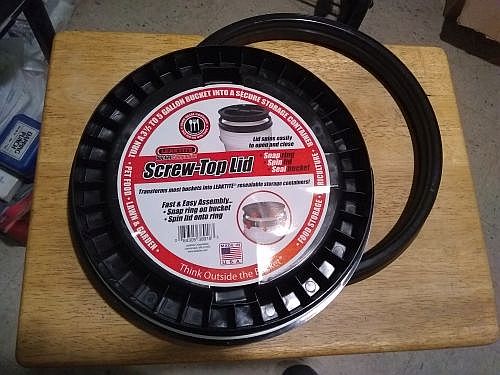
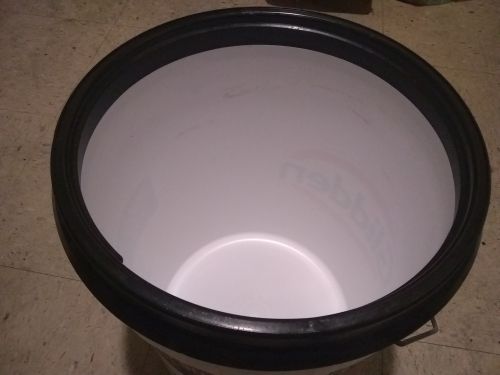
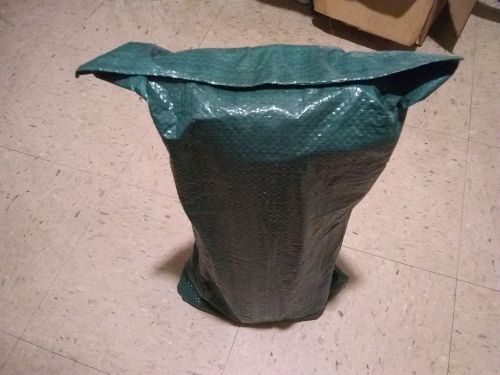
Mon. - An Ace Hardware in Lower Nob Hill had the last 3.5 - 5 gallon bucket screw lid in stock; I'm halfway to my DIY bear canister...
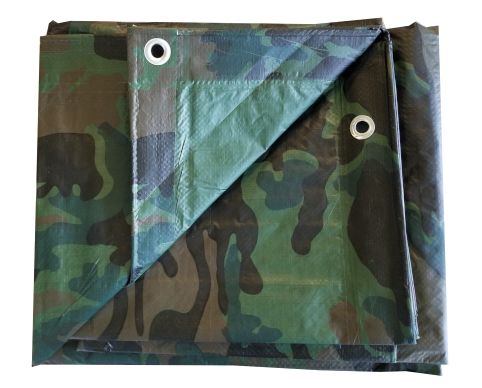
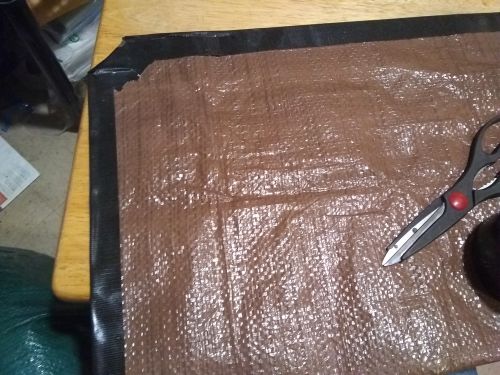
Two 10 x 12 ft. camo tarps from Tarps Now were ordered...
One impractical way to carry the big duffel bag across the cart's top...
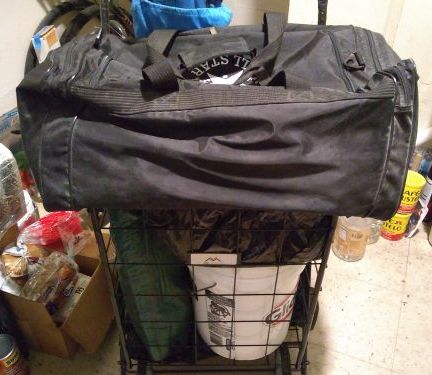
The trailer in full load mock up with the duffel looks top heavy...
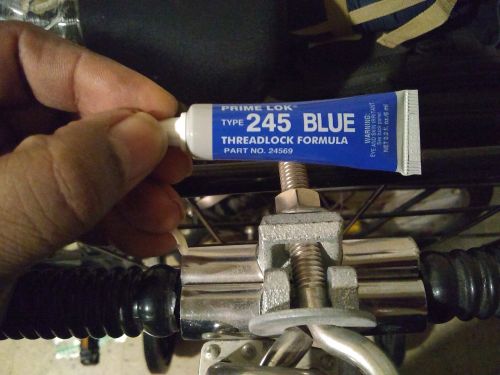
The last holiday week purchase was on Wed. - threadlock for the cargo trailer hitch nut, to prevent it from loosening due to vibration during travel...
The front grill of the cart. A major modification would be to completely remove it and attach a cargo net...
...Or cut it into side panels and a base (or just a base), the front tied down with bungees or the same cargo net...
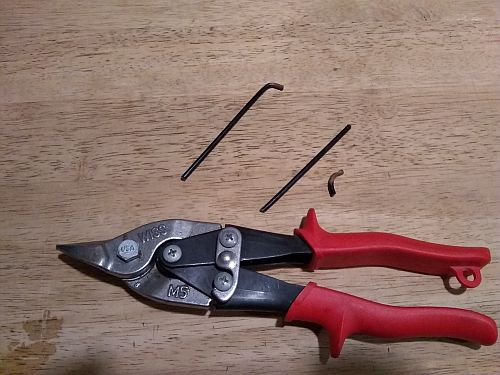
Aviation snips removed sample steel rods from the front grid. The loose ends in the frame rules out side panels, and the bottom cross rod is also loose, so the grill has to be completely cut...
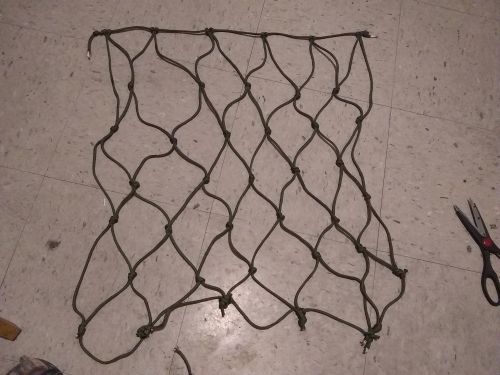
I couldn't sleep late Sat., so I used an entire 50 ft. roll of paracord making a rudimentary cargo net. It's big enough to loosely cover the cart's front panel area...
On the last Sun. I removed the front grill and placed it within the base grid, leaving two rows extended hand truck style...
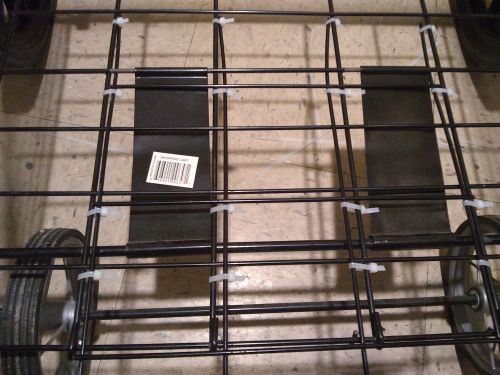
The loose end rods under the cross rod for bracing, then the base extension rods zip-tied...
The extension is far enough to accomodate the bucket and big duffel, whichever component is heavier in use...

The side and corners of the cargo net are zip-tied. The base ends were filed smooth. I'll probably wrap the base ties with duct tape to guard against friction then add an 18" x 24" floor board to support the overhang...

The cargo trailer modifications - heavy duty wheels, cargo net and expanded floor...
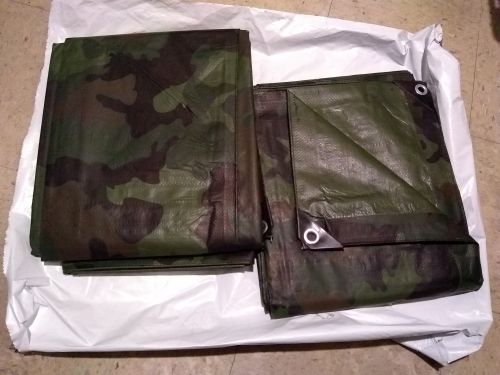
On Tues. the 1st, my camo tarps arrived. A short arm inspection out of the box found no damage. So far so good...
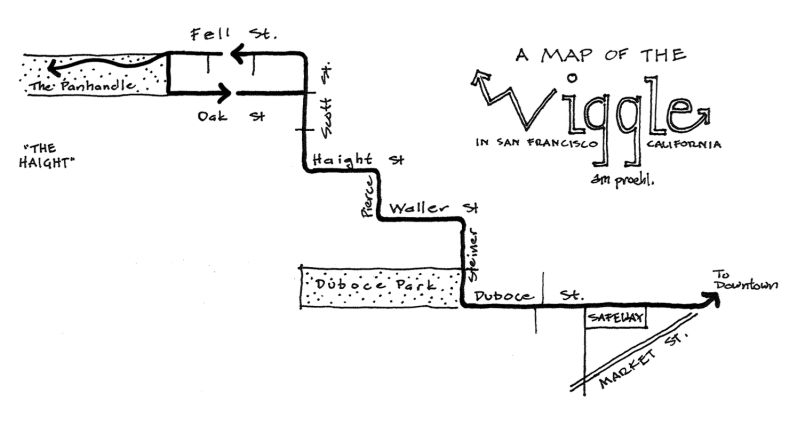
Map of the only easy uphill route from Downtown SF/Market St to Golden Gate Park. Illustration by am proehl...
(01/11/21)
I actually got a stimulus check on the last business day of Dec I never got that earlier one, and I suspect I only got this one because I went on the IRS site Where's My Stimulus late last summer and signed up, and a big chunk of that went to my long overdue glasses. The rest went into the local economy for the usual misc. (and no, I don't mean the liquor and weed store), and toward my batteries and a solar panel, but first it's more odds and ends...
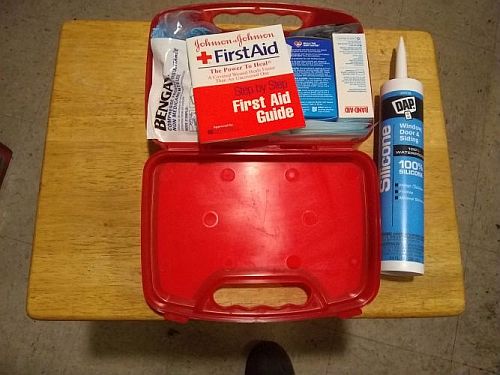
The local Target store had a basic first aid kit. I may add a few tour-specific extras. The silicone caulk will finish construction of the DIY Bear (but mostly rat and raccoon) canister...
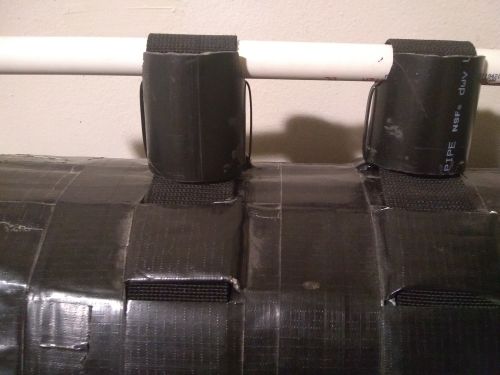
Long zip ties secure the plastic standoffs to the handlebar harness upon removal for grocery shopping...
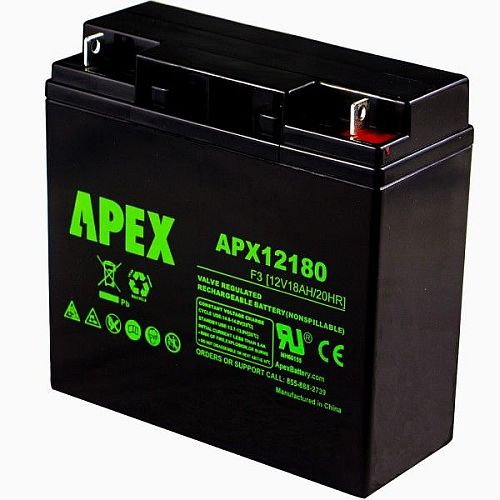
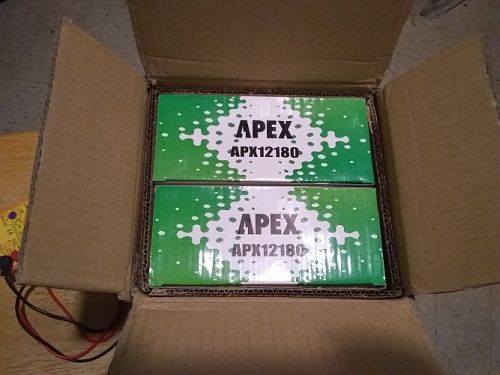
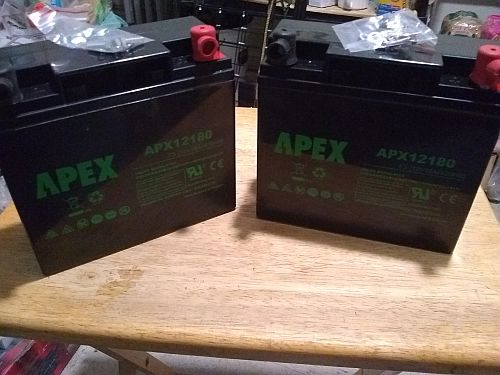
I selected the taller, skinnier 18AH batteries over 12Ah for a few dollars more...
Silicone applied to the bucket lid, let sit for 12 hours to fully dry...
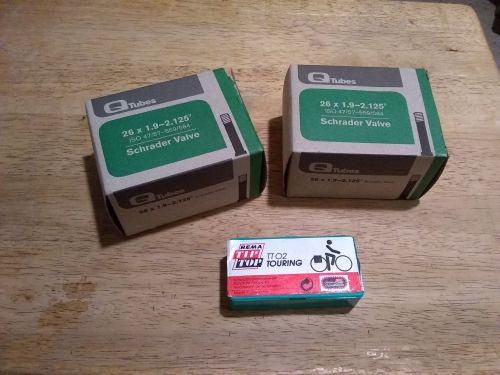
Refreshed patch kit and two new inner tubes almost completes my road tool set..
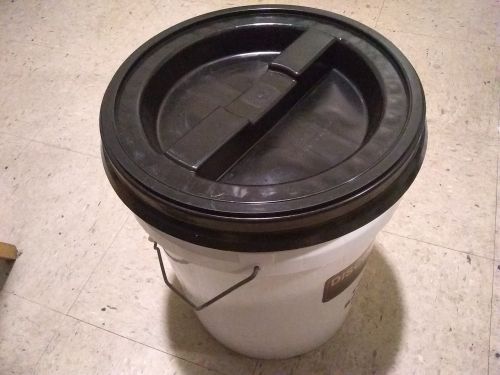
The finished DIY 5 gallon Critter Canister...
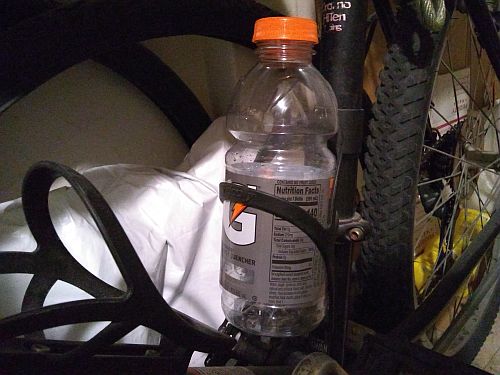
Instead of a fancy water bottle, a regular 20 oz. Gatorade bottle fits snugly at 1/10 the price, and if it gets funky with mold, buy a new one...
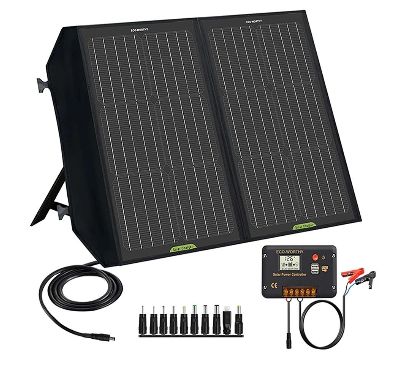
My mobile power pick - Eco-Worthy 60W 12V Foldable Solar Panel...
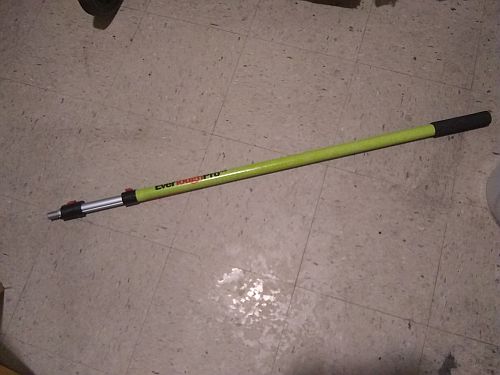
A 3-6 ft. adjustible extension pole, fiberglass/aluminum, heavy duty slide lock. This will be the tent condo center pole once adapted...
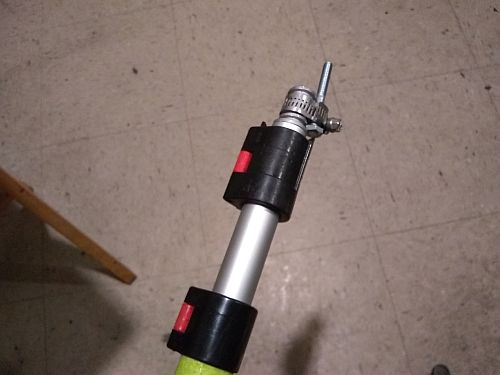
A hose clamp and 2" bolt gives me a tarp tent pole...
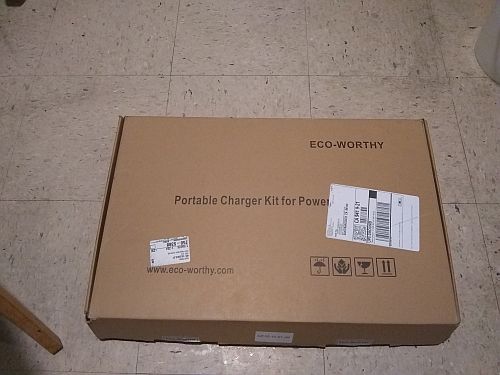
The Eco-Worthy solar panel kit came late Sat. From the size of the box I could see it would fit inside my trailer...
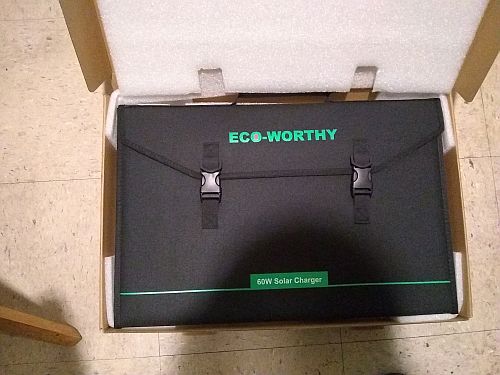
Unboxing to check for condition...
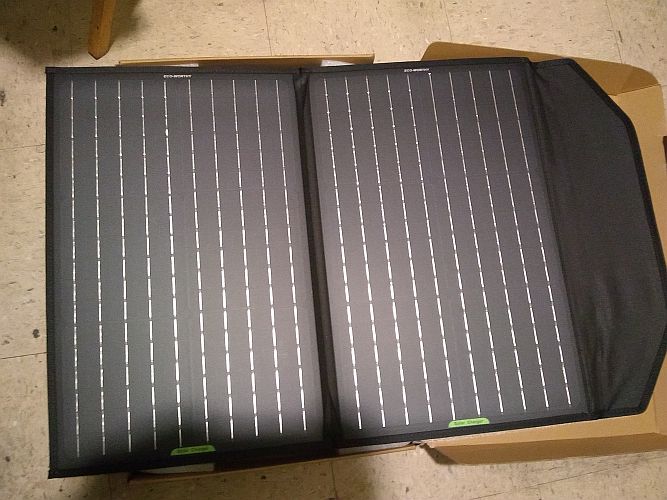
...And the panels themselves look beautiful...
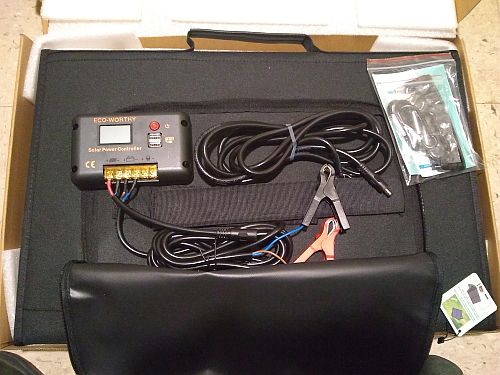
The rear pouch has included solar charge controller, power cable, output cable to battery, optional output adapters, manual, and carabiners to attach to the trailer...
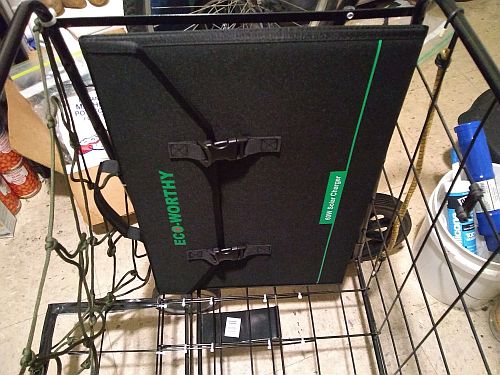
The folded panel easily fits front to back inside the cargo trailer...
It also fits side to side...
(01/11/21)
I'm definitely past the hump on needed gear now that I have the power plant items. Just waiting for sunny weather to run test the solar kit...
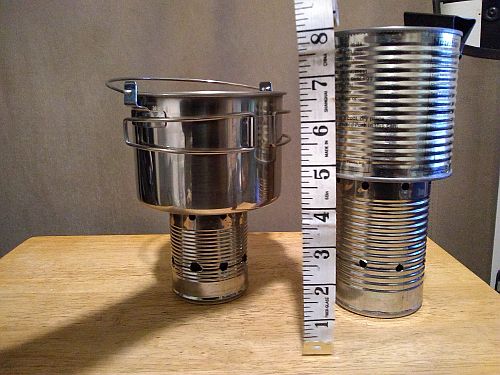
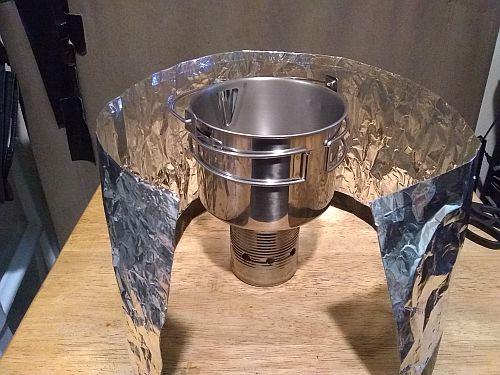
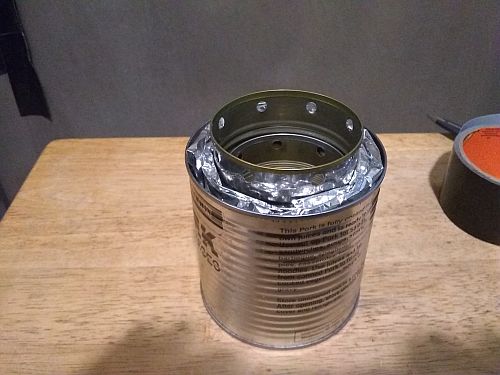
Measuring my two camp stoves for a quickie windscreen that will serve one or both in a pinch. I went for 6-7 in. tall...
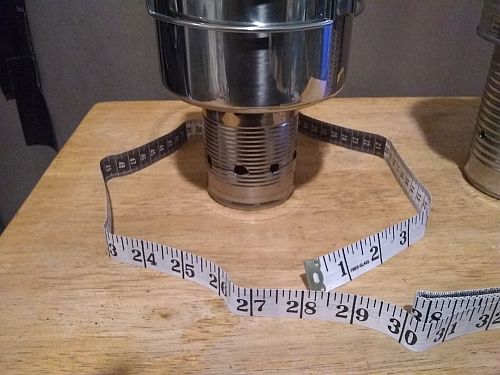
Went for roughly 28 in. long to give me at least an inch of space around the biggest pot...
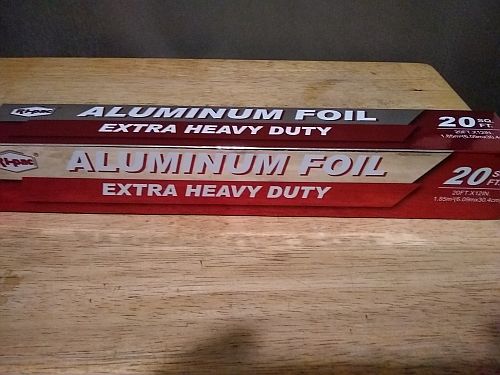
Dollar store extra heavy duty foil should equal regular heavy duty name brand foil...
A quick and dirty measure and cut of a 28 x 12 in. folded over section, with goilla tape on the base...
The screen without tabs folded and rolled fits into the nested camp kit. A second screen can fit in the other pot...
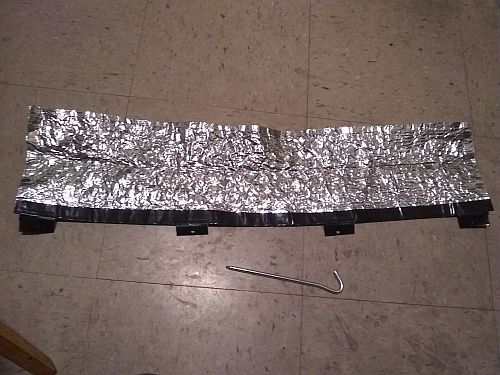
Gorilla tape tent peg tabs to anchor the windscreen...
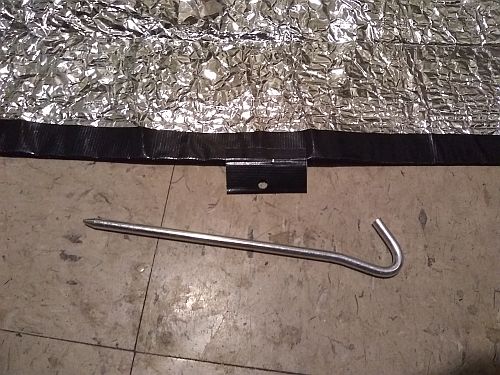
These pegs fit perfectly, so I guess order more from REI...
A sizeable waterproof dry bag is an alternative to a Scubba-type laundry bag for undies...

A sheer 84 x 52 in. window curtain is an alternative to expensive mosquito/ no see um netting, big enough to make a tarp bottom bug bivy to sleep in...
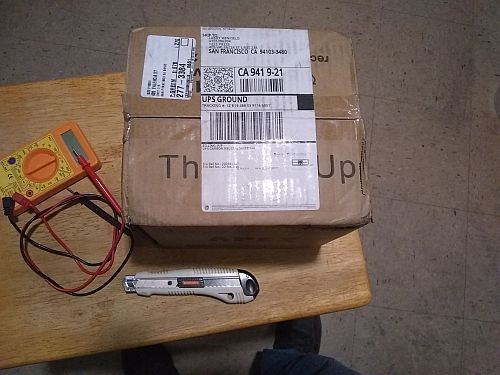
The new batteries finally arrived, with no customer service from the manufacturer. I suspect because the company is in N. Carolina they were less than professional with an order from San Francisco. Anyway, I documented the unboxing and testing just in case they sent me crap...
The packaging seems normal...
The units look new...
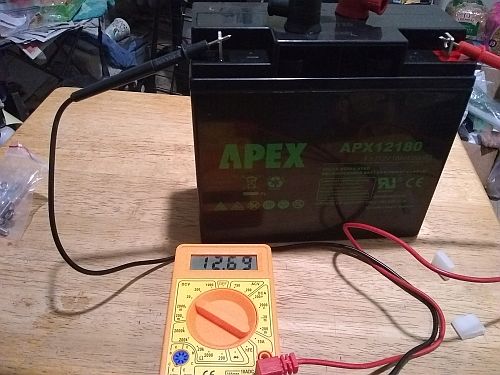
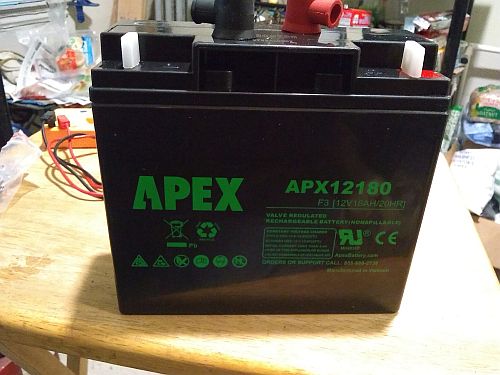
Battery A reads 12.69V...

Battery B reads 12.68V... According to the box they came in, they were both built in August 2020...
I lost a week of sunny weather waiting for them, just in time for showers predicted for the next week, so no testing the solar panel yet...
(02/05/21)
The Grid Theory section mainly skims through the reasons why solar cells only deliver efficiencies in the 20 to 30% range. The info is easy to reference for those interested, so I left off the various charts and graphs associated with Carnot's Theorem and the Shockley-Queisser limit because I wasn't going that deep into the science and because screw Wm. Shockley...
As for the PDF - I finally drew up a schematic wiring diagram of my modification of the Benitez-8 power plant circuit, based on the layout from my project board. Because I'm only using the switching layout that was updated to contemporary hardware by Peter Lindemann, I don't consider this an invention, just my own fabrication of the circuit. That's also why I don't consider my circuit an 'overunity' device in any way. Anyway, I created the PDF to demonstrate how it works and a how-to if anyone else is interested enough to build it...
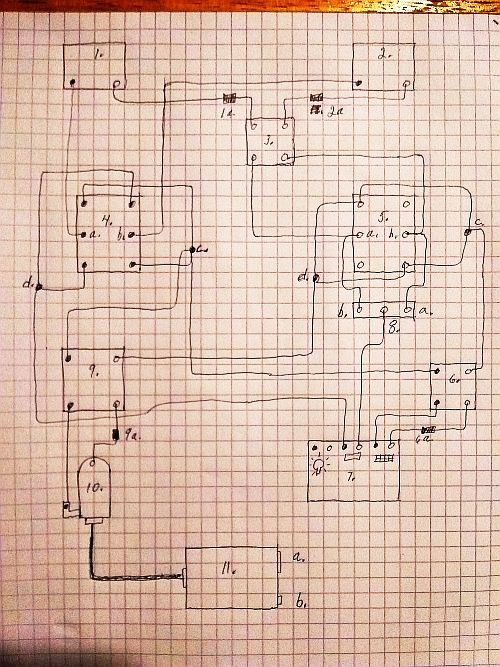
The schematic wiring diagram of the 100W Benitez-8 modified power plant. The PDF has a full size image with a description of the components...
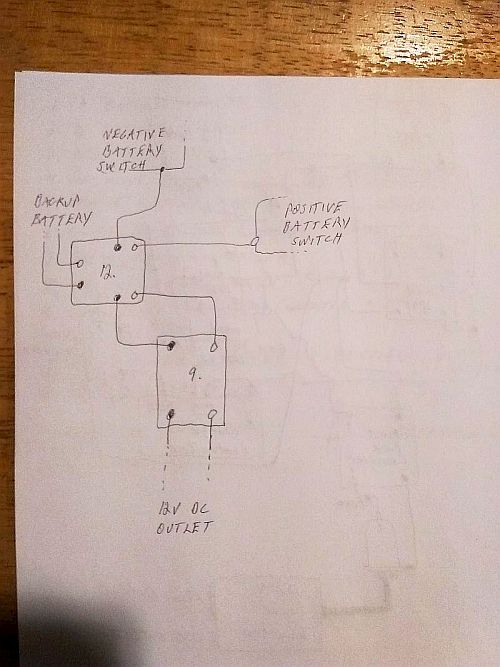
The supplemental backup battery switch wiring diagram. The PDF also includes a detailed run through of the circuit in the A-to-B and B-to-A modes, and a brief mention of the run test and COP results...
Meanwhile, the forecast for Thursday the 4th was sunny all day...
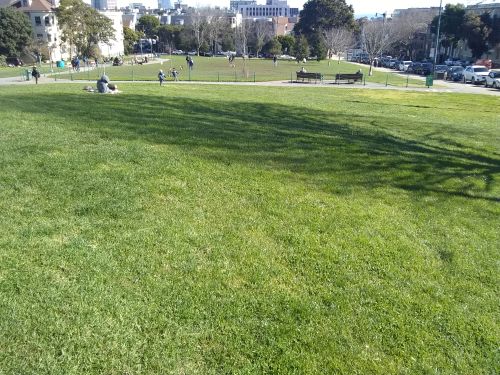
I hoofed it uphill to Duboce Park and found a spot to setup. The park is smaller but less crowded...
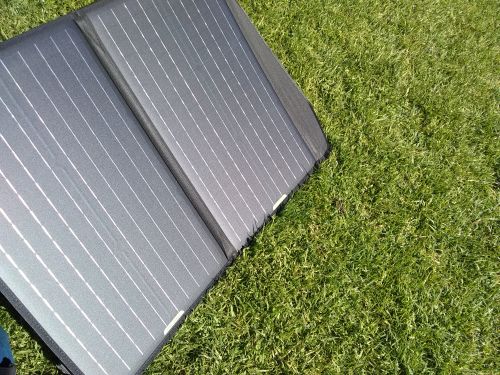
The grass was only slightly damp as I deployed the folding solar panel...
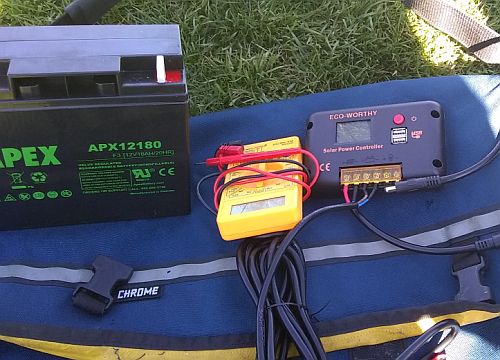
The battery, cheap-ass multimeter and charge controller laid out before hooking anything up. The order is: connect the battery to the controller, then the solar panel to the controller...
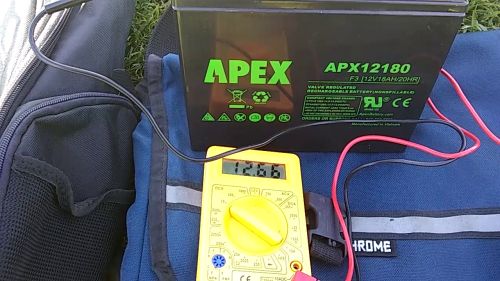
The multimeter reading the battery...
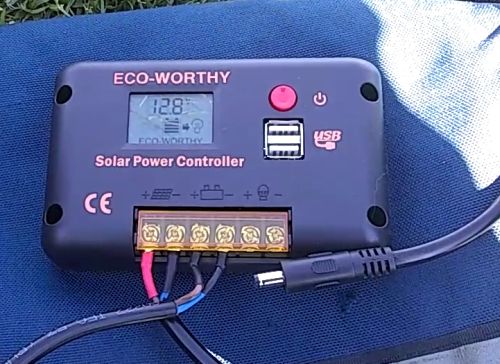
The controller reading the battery better...
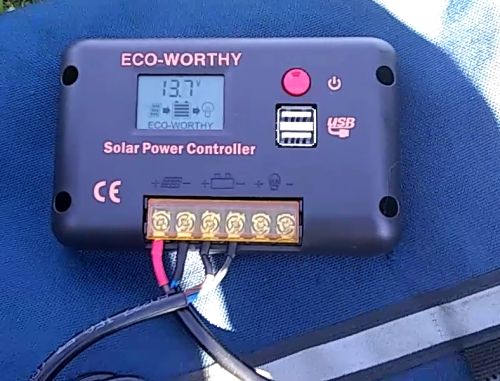
The controller reading the charge going into the battery from the solar panel...
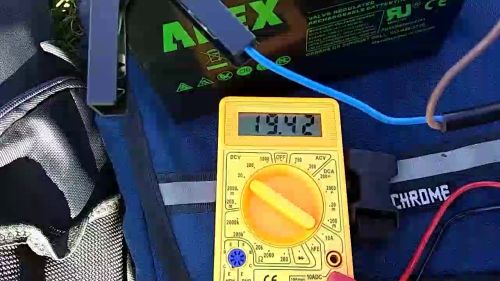
This is the cheap multimeter reading of the charge from the solar panel into the controller at Noon. This final read confirms that the solar kit is running 5 by 5...
(02/19/21)
The Grid Theory segment is a very basic look at the current whiz bang solar tech that offers great promise and has a ton of hype around it - perovskite solar cells. The research has made great strides since its origins in 2009, but it's still in the lab, not ready for commercial applications. I touched on it because of the hype, but my main focus was on the incremental progress made whittling down the shopping/gear list of items for the eventual bike walkabout.
We're in the middle of the rainy season, I'm not riding the bike in the rain, and I'm waiting for 3 straight days of sunny skies and dry grass to properly fold my tent tarps. Meanwhile I'm taking care of a few things at a time...
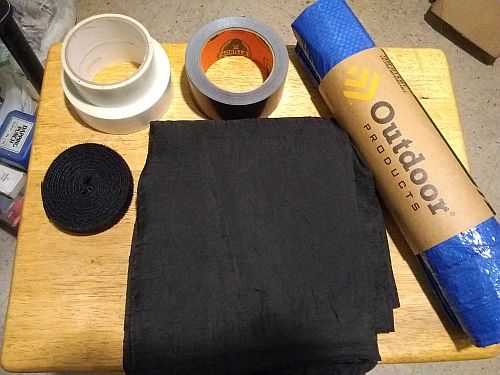
The items for my DIY Bug Bivy - carpet tape, Gorilla tape, velcro tape, 6 x 8 tarp, sheer window curtain as bug netting..
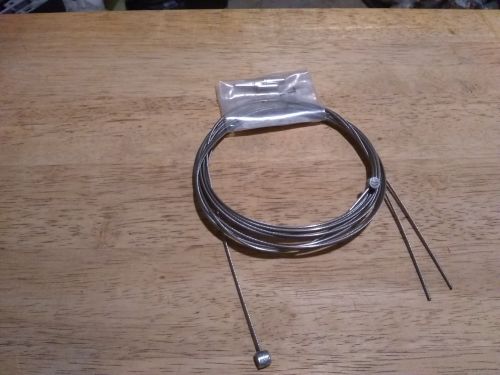
A set of brake cables with ferrules. I plan to install these and keep the perfectly good existing cables as spares...
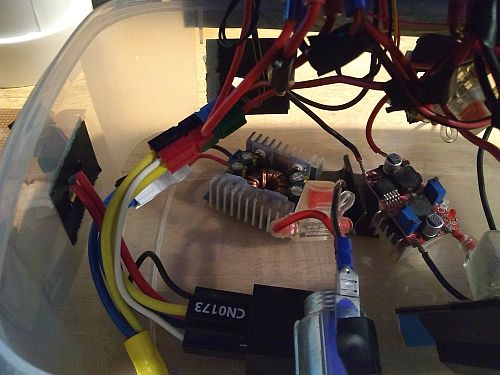
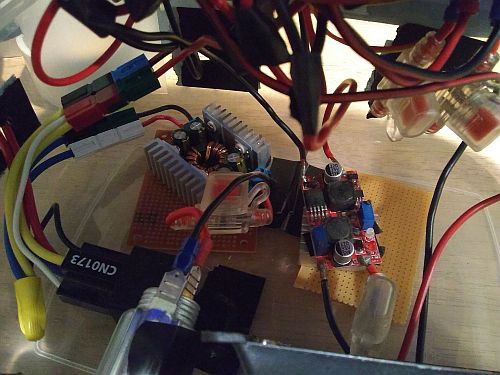
The components inside the power plant enclosure before insulating them from contact short circuit and making them travel ready...
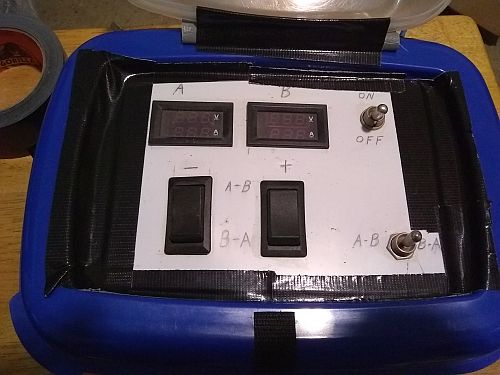
The control panel switches have already been short circuit protected...
It's not pretty, but Gorilla tape seals any possible gaps between the panel plate and the enclosure lid...
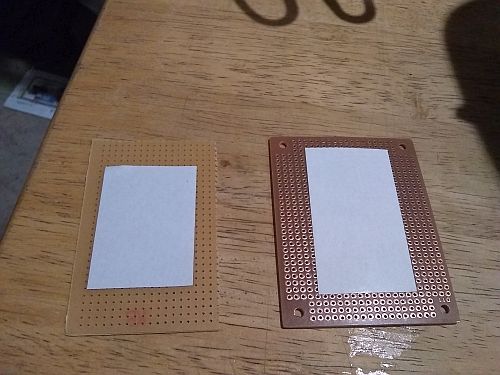
These pieces of perfboard will help insulate the two power converters from the enclosure...
The added Gorilla tape holds down the battey cutoff switch and serves as a partition between the two power converters. A bit more electrical tape around the input terminals of the booster wouldn't hurt...
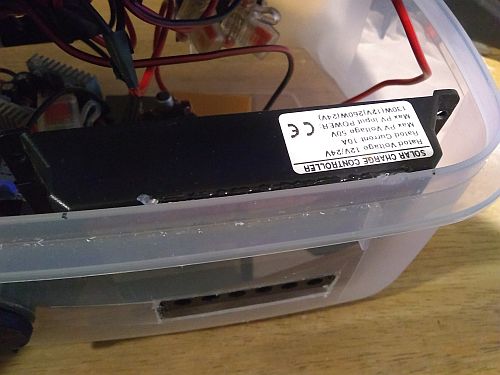
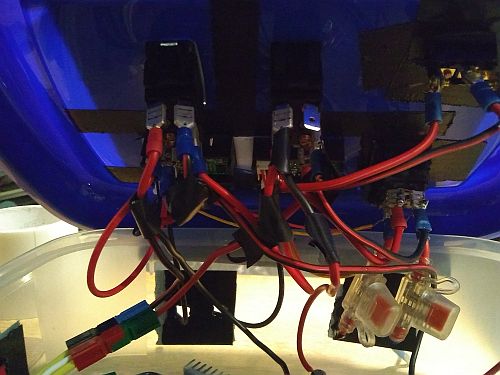
The charge controller glued in place finishes the travel prep for the power plant...
(02/28/21)
The corporate news cycle will have pushed on from the climate chaos Texas grid down in another week or so, so I gave my two cents on the situation in the episode...
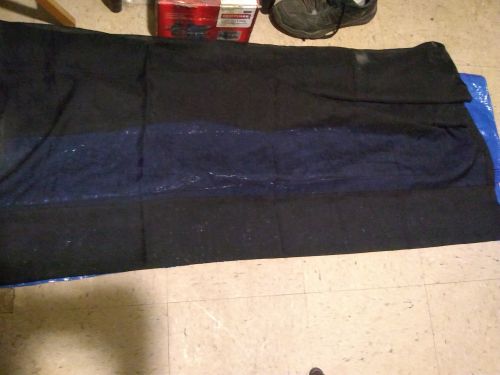
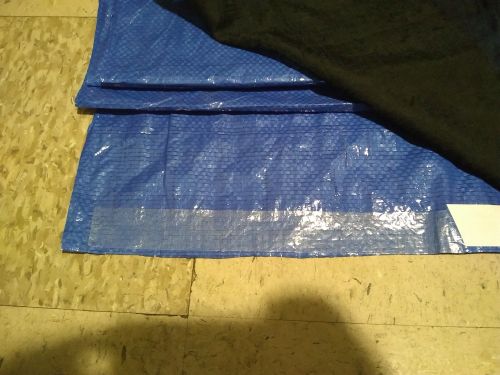
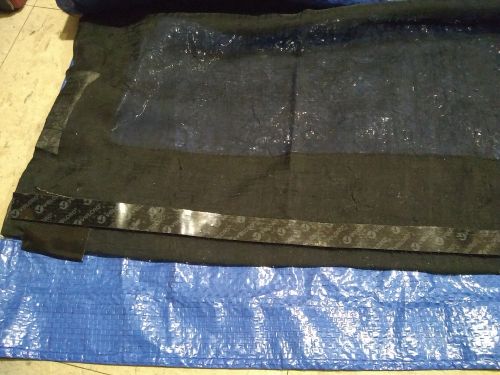
Meanwhile, the rainy season was cleared out for a week of almost kite weather as I built the bug bivy and shook the shipping wrinkles out of the camo tarps at the park...
The tarp is cut to the width of the curtain/netting, laid out on the cramped floor space...
Starting at the base, laying down the carpet tape...
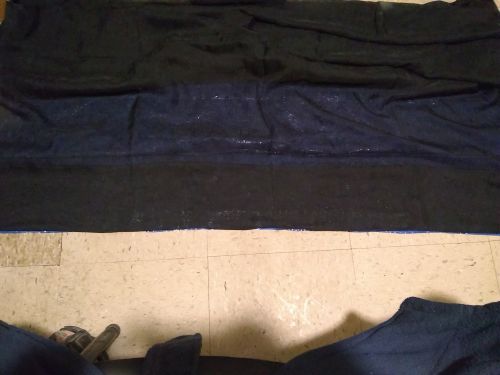
Base curtain half done...
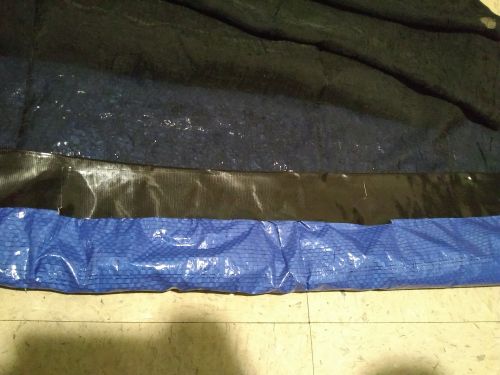
First gorilla tape layer laid half on the curtain, half on the tarp, then another reinforcing layer on the tarp side. Just doing this on the base...
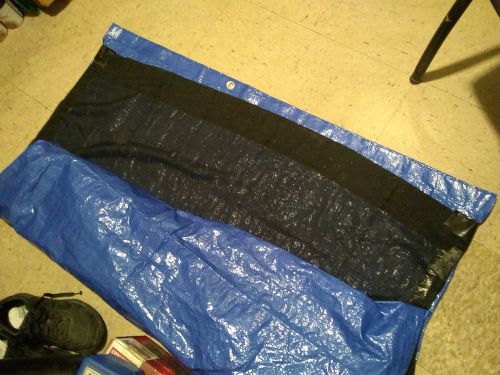
After taping the base and sides, I turned the bug bivy right side out and left the final velcro part for visualization...
After imagining using the bivy from the inside, I cut the velcro tape to length and dry fit it...

With the tarp flap and curtain end both folded in, the bug bivy is sealed...
The corners are tape reinforced with the velcro ends sealed...
The bug bivy loosely packed down to 12" x 6"...
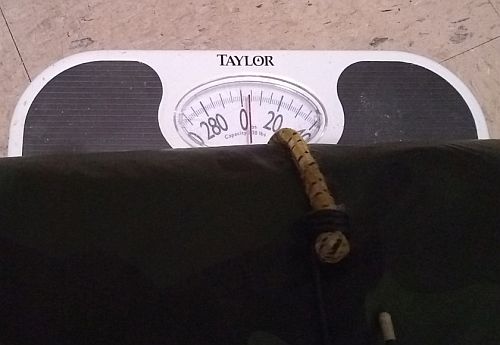
Checking the camo tarps - each one weighs 3 lbs., light enough to be carried in a cargo cage..
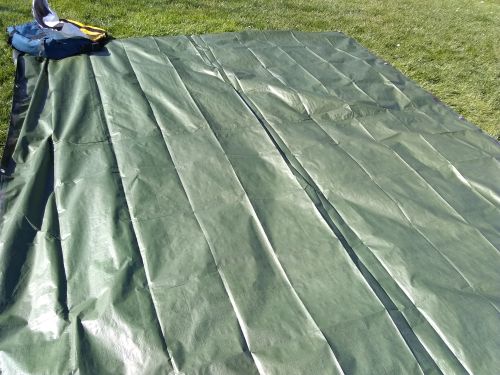
First tarp spread out to begin the roll at the park on a third dry sunny day...
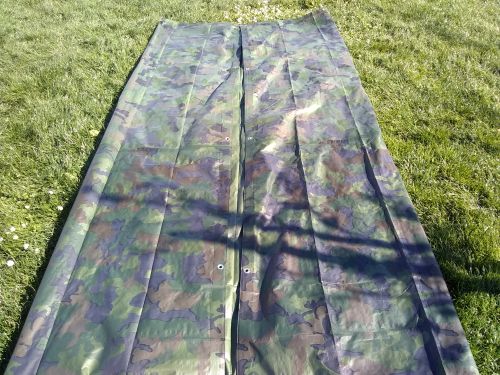
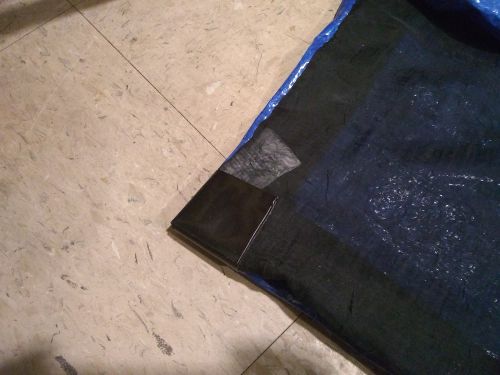
A grommet in the middle of the 10 ft. side made the first fold easy, but the gusty breeze made the job harder...
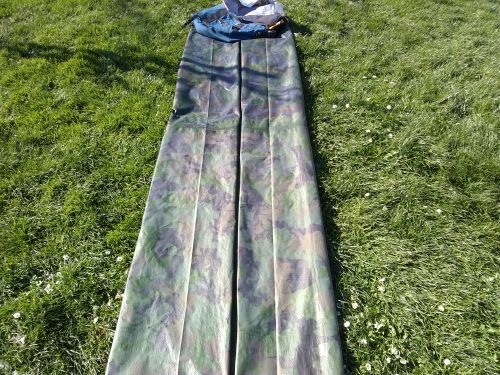
Second fold. Binder clips at both ends or a tent stake in the middle grommet would make this go faster...
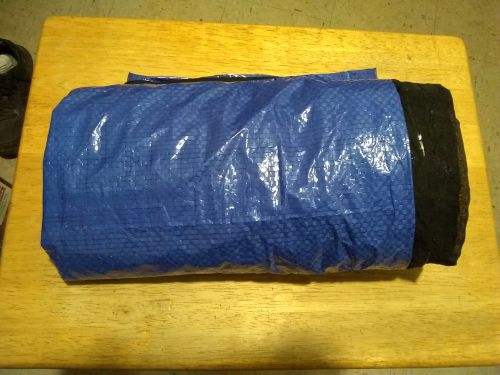
The wind made the fold and roll take about 10 minutes for each tarp, twice what it normally should, but the tarps are now ready to go into a pair of stuff sacks and cargo cages...

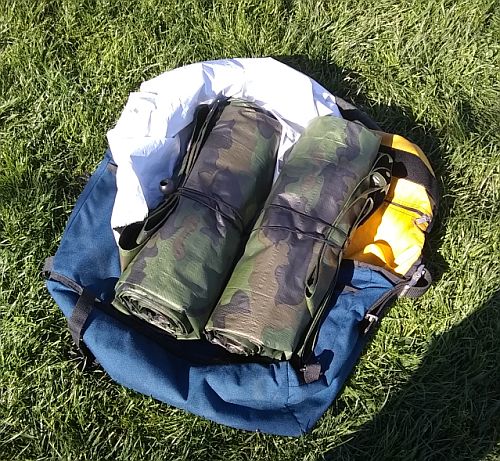
The tarp roll is 18" long, which may complicate a cargo cage placement...

Instead of an expensive tall and skinny stuff sack, I have enough leftover bivy tarp to make two waterproof cage bags...
Taping up the inside out...
I cut half the leftover velcro tape for each bag...
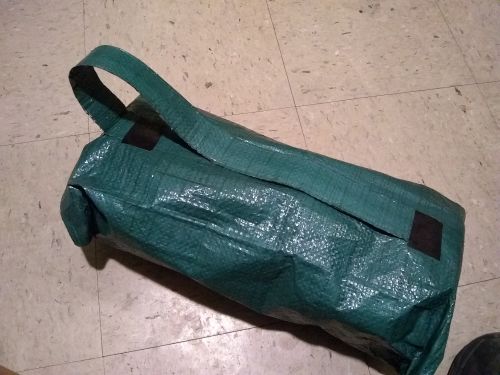
The finished bag closes snug but not strained...
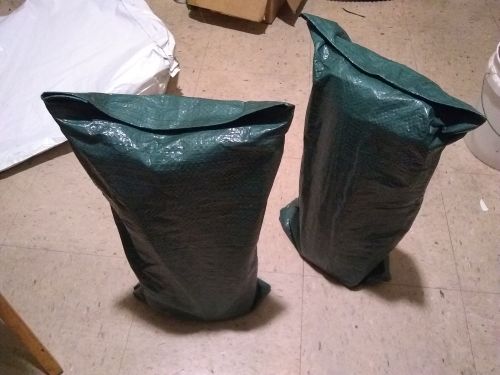
I had just enough Gorilla Tape left to finish the matching bag. Any cargo cage with a 6-8lb. capacity (and can be mounted with hose or p-clamps) should work...
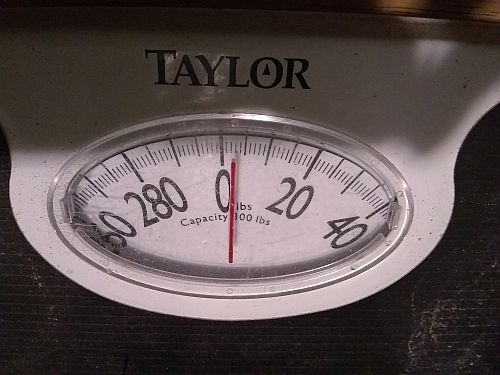
Checked the weight again - with the bag each tarp is still about 3 lbs., within the capacity limit for any fork mounted cargo hardware...
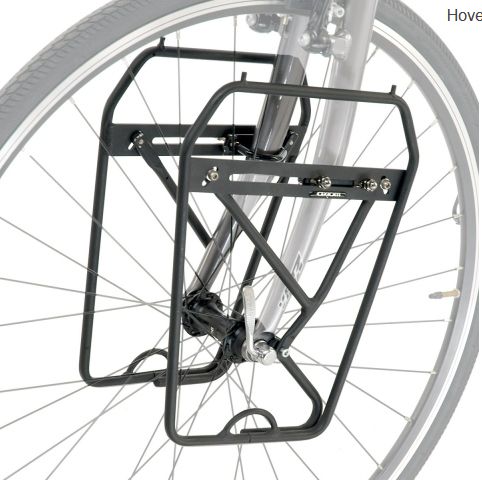
Instead of a cargo cage, the best option for carrying the tarps is this rack that will fit an old school curved fork without bottle mounts - the Axiom Cycling Gear Journey DLX Lowrider Front Rack...
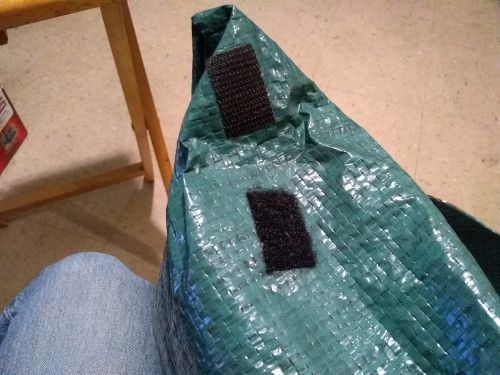
Post-production I added extra velcro tabs to make the tarp bags a bit more waterproof...
Added carry straps for convenience, in case I need to take all my gear off the bike for shopping...
Youtube channel for Lab Notes Vids 