12.23 Studios

Matchbox Studio

(01/31/16 - 02/1/16)

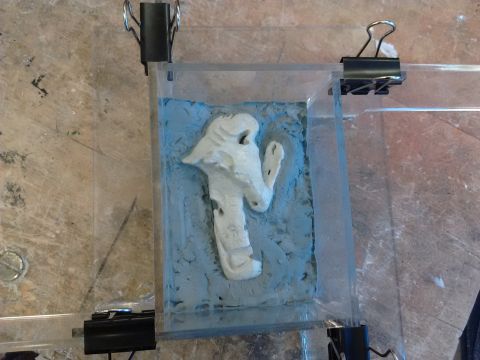
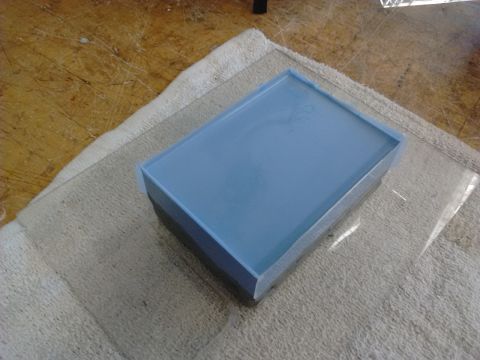
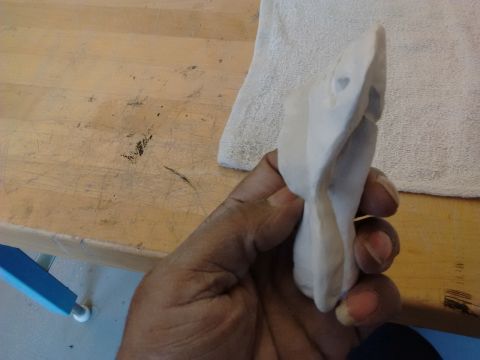
The first project with the clay (an Italian paper-based air dry clay [ADC] named Das) has taken four days to build the parts up to a carving and shaping state. The thing I like about ADC is the long working time (translated: longer drying time, and during all this rain too...) But, once the base elements are firm enough, the added layers dry much faster.


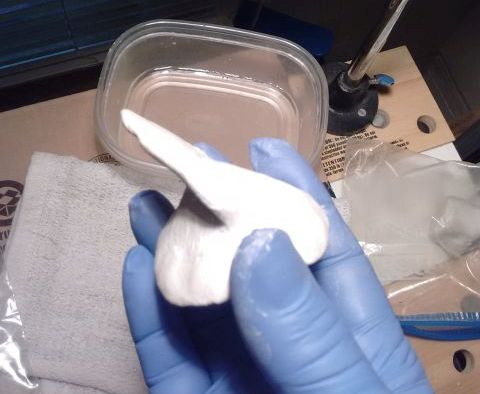
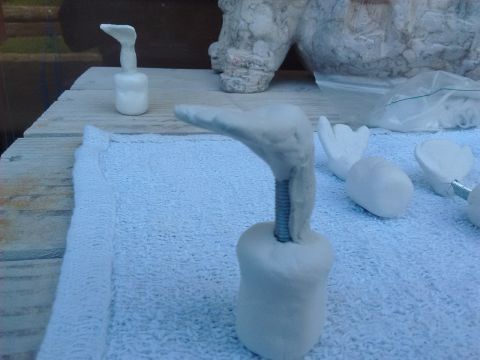
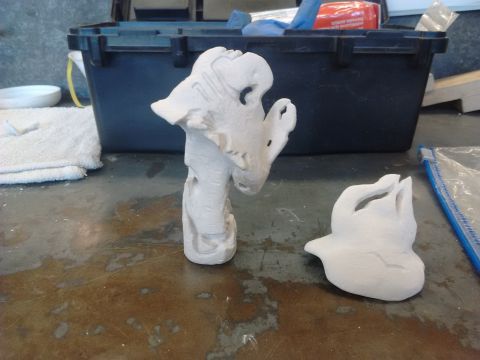
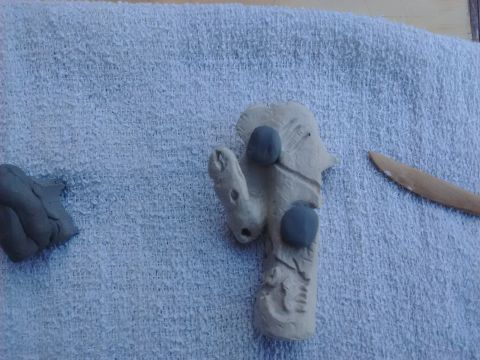
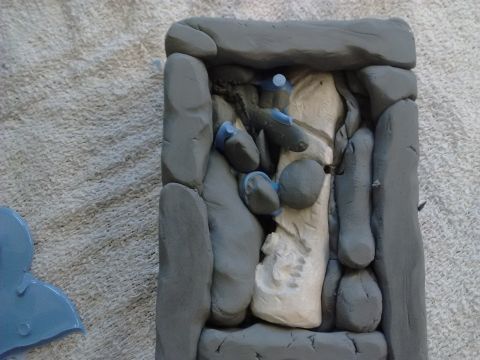
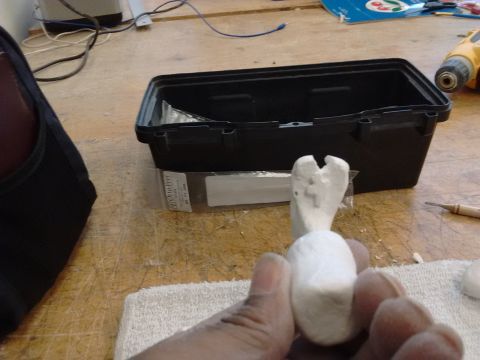
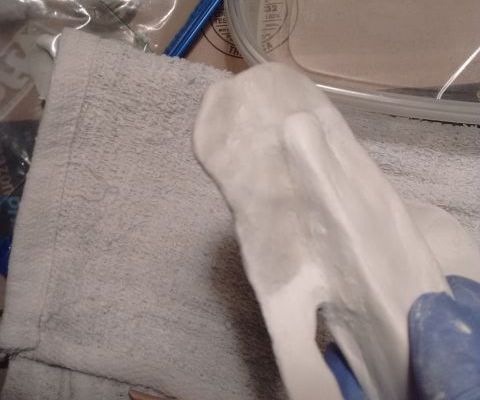
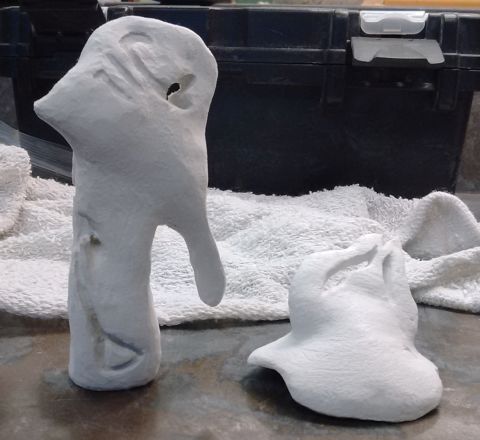
These two smaller elements took three layers to be joined to this point, and a fourth has since gone on...


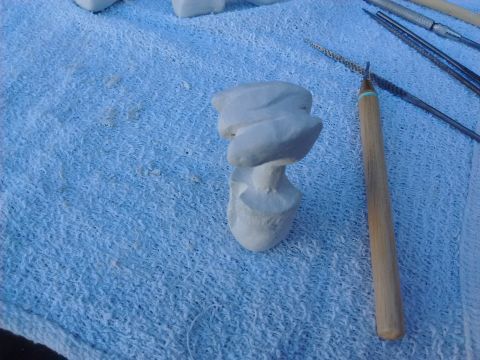
This larger element is, of course, what took longer to fully dry. This is in the middle of the fourth round of adding ADC here. The wooden clay tool is used to spread a tiny drop of water around the area receiving some new clay, then it and finger pinches helps compact and shape the addition..


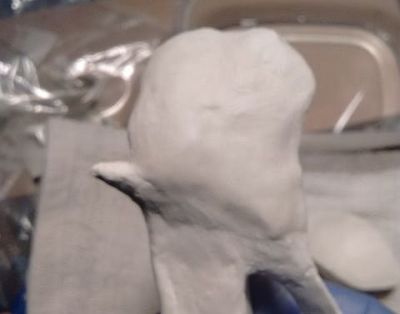
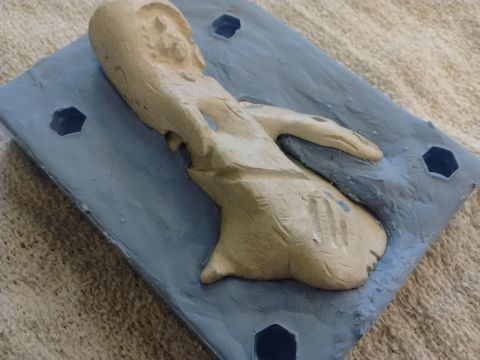
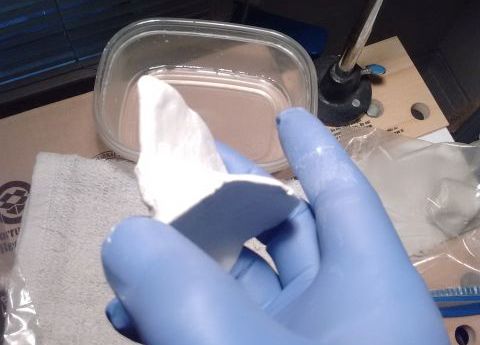
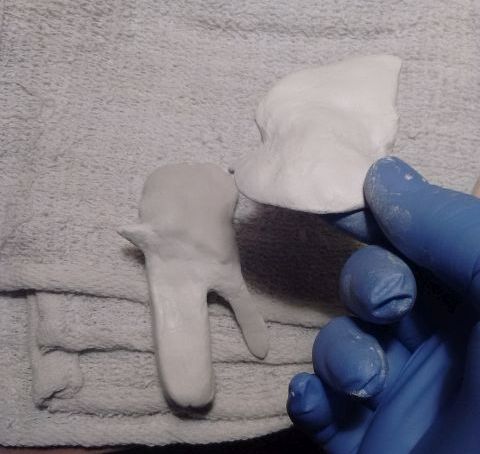
This bigger chunk I made freehand, without any armature inside, so I can carve deep into the core or even through it, if needed.


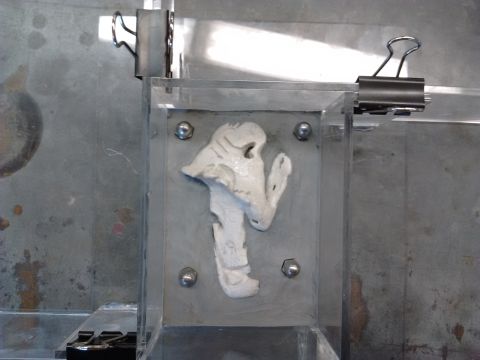
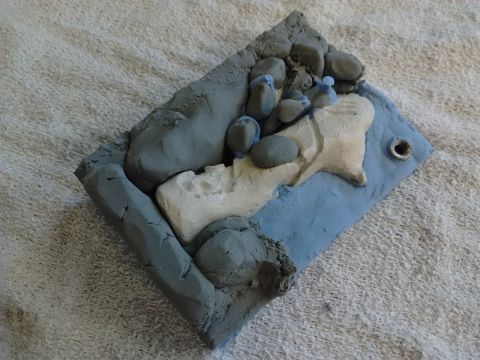
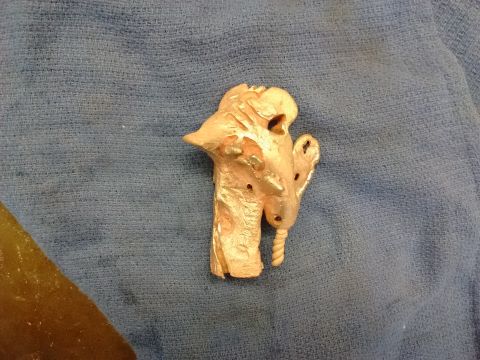
The end product is intended to be a bronze casting with the title "Avatar Trainee," An abstract take on a mythological hero icon. Next step is to work out a design to carve and decide what changes to make in the second ADC project...


(02/2/16)

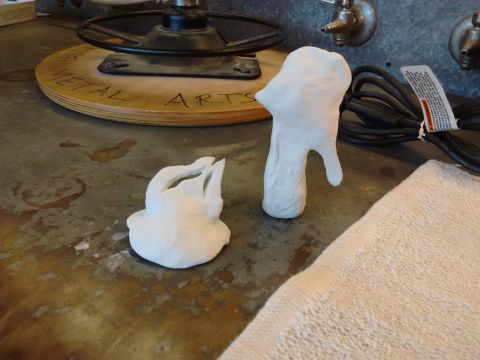
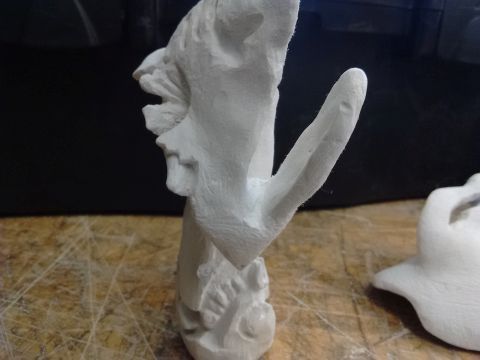
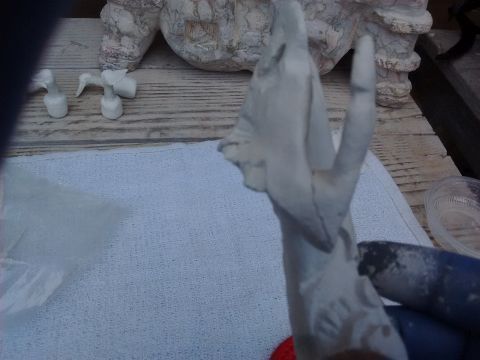
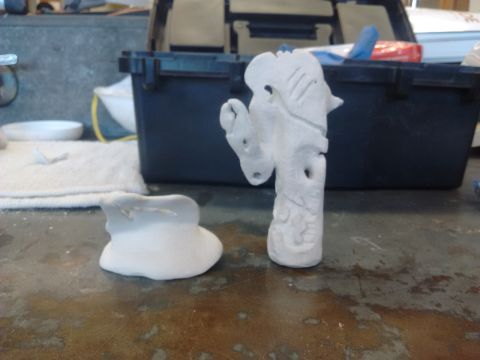
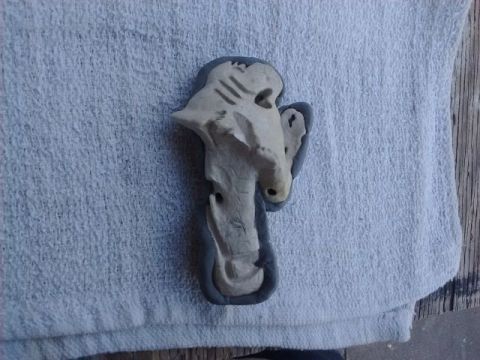
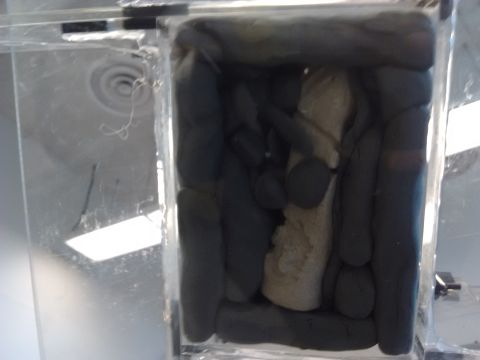
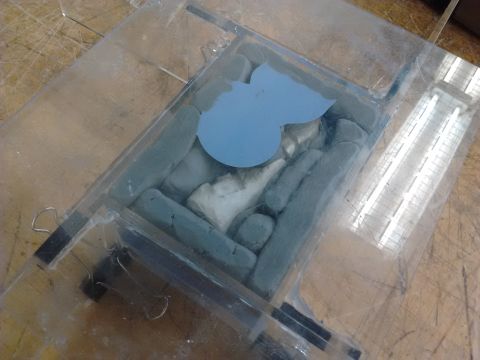
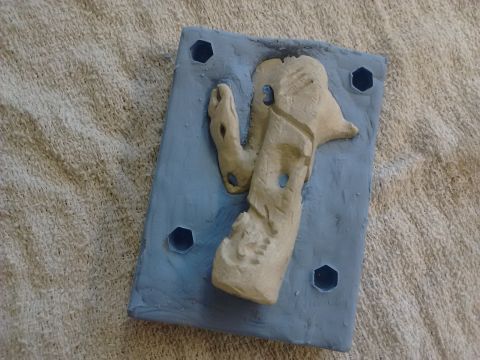
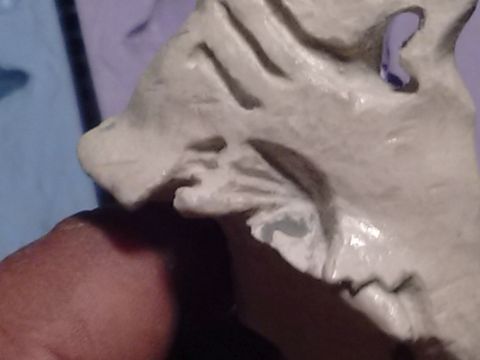
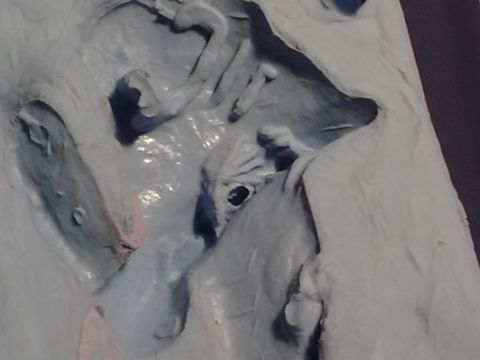
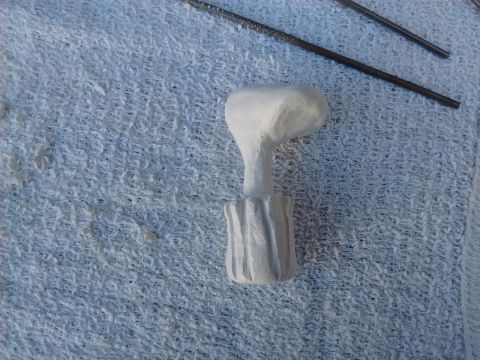
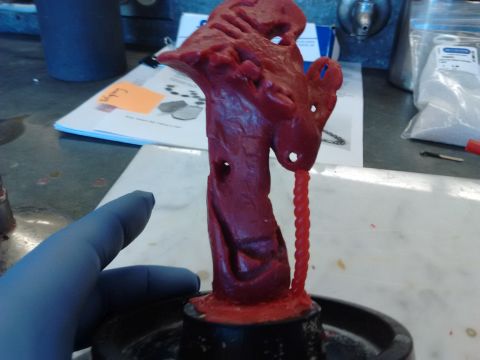
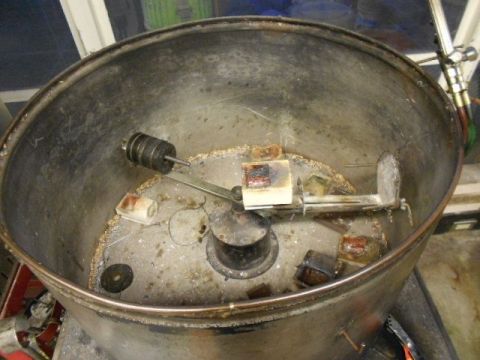
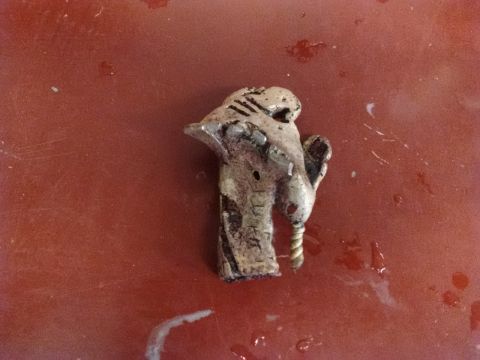
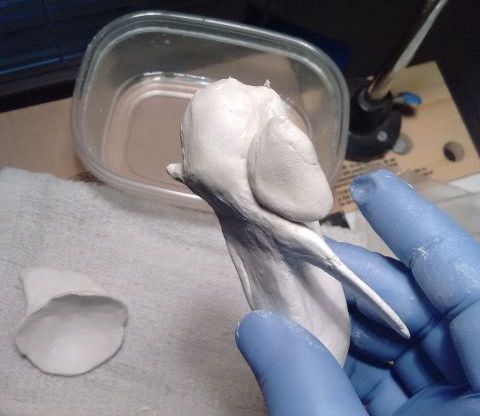
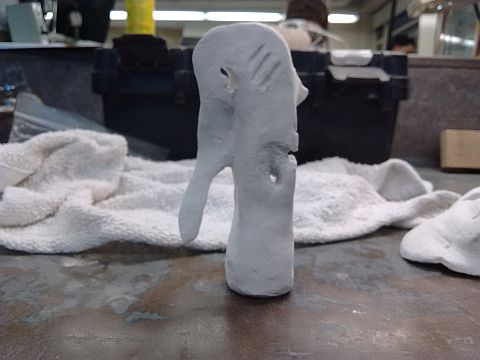
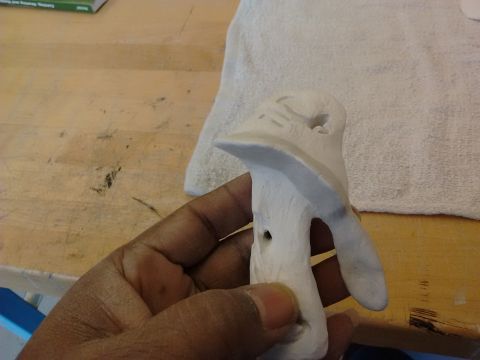
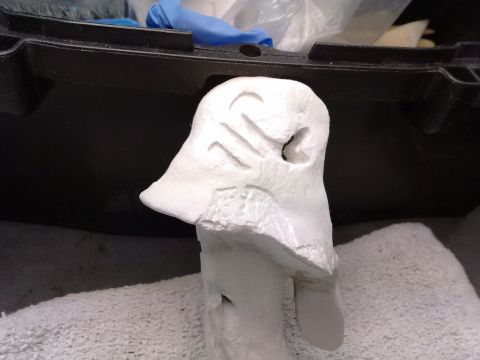
Today I worked on the ADC in Casting class, finishing up the initial round of carving the smaller piece that I began in yesterday's Sculpture class. That much was done manually, but today the big piece gets attacked...


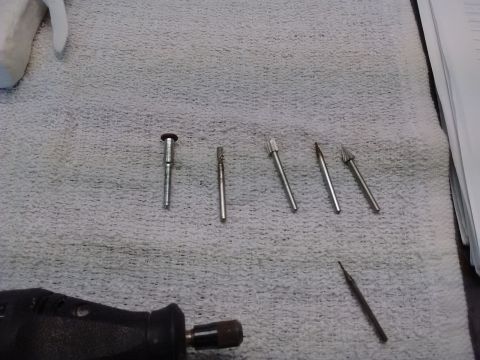
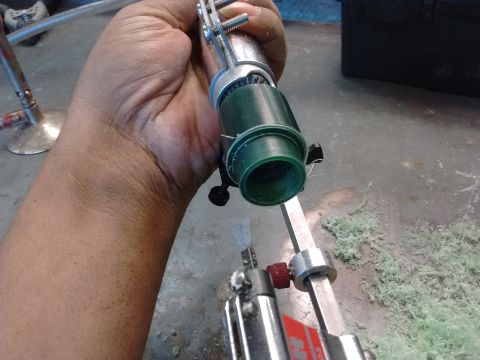
I used the dremel to carve some random designs into and through the ADC. I will almost certainly have to rely on power tools to get all three stones sculpted in time, so practicing on a small scale was fun, but 2 1/2 hours went by in a flash. Below is the big piece after its initial round of carving.


(02/4/16)

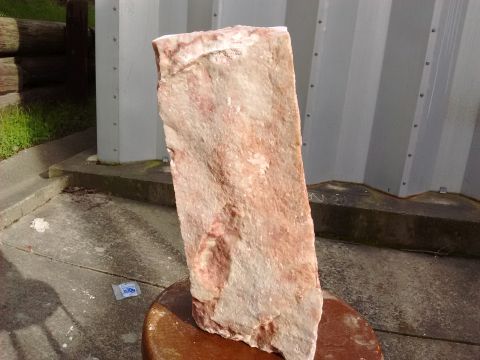
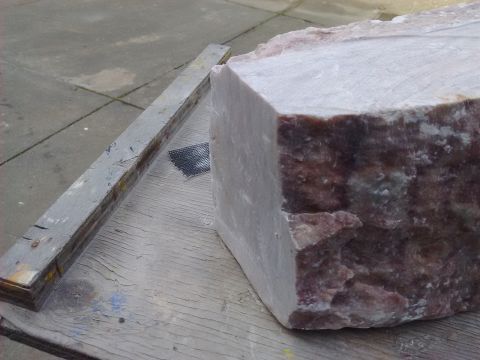
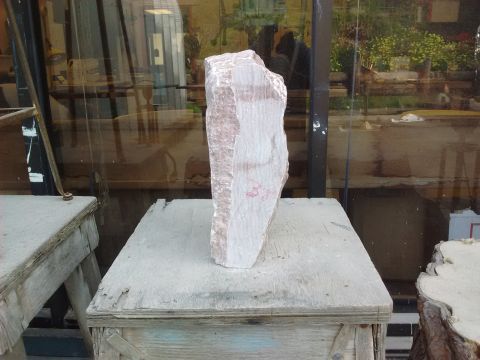
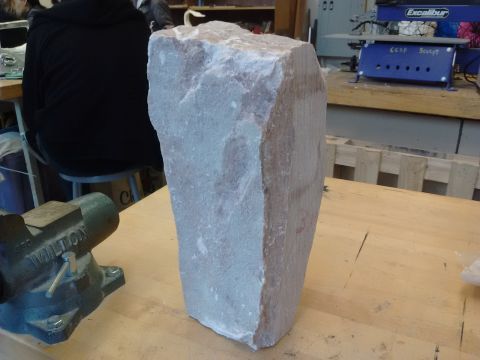
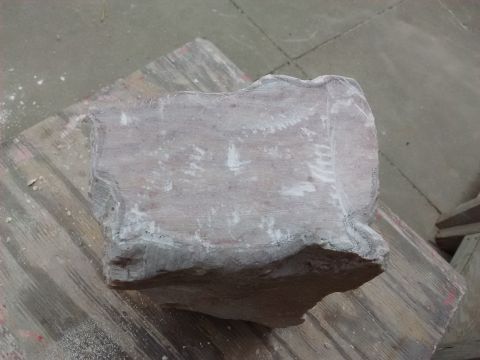
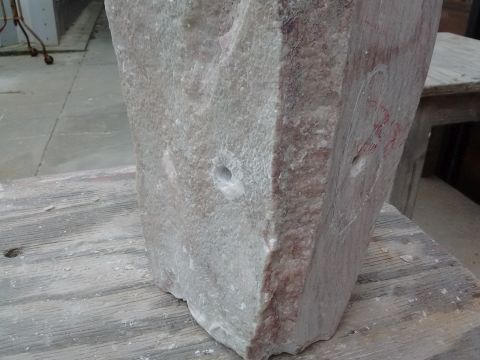
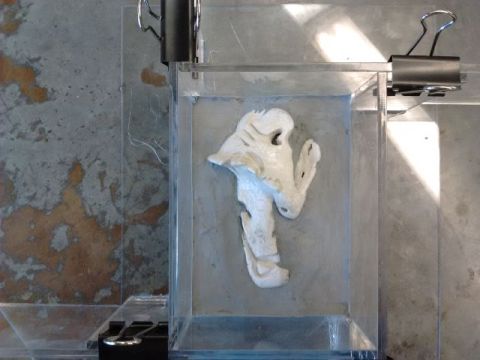
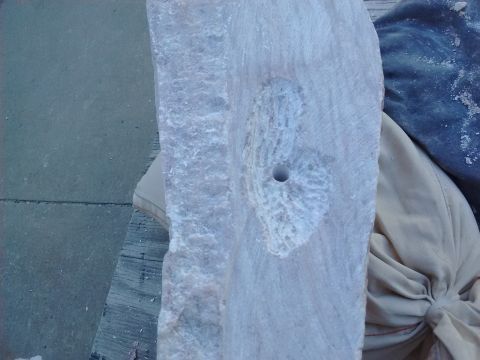
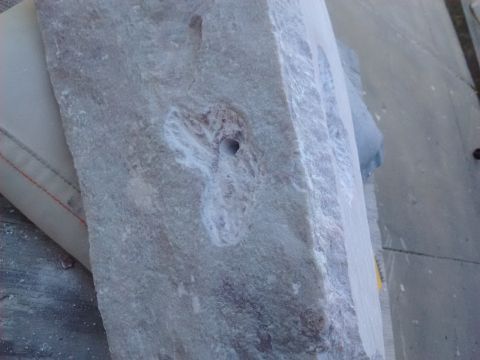
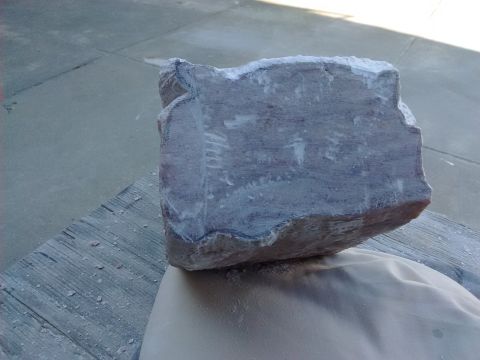
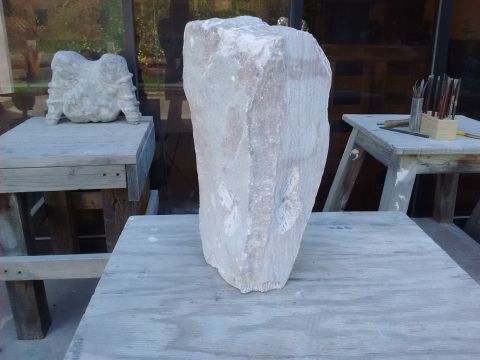
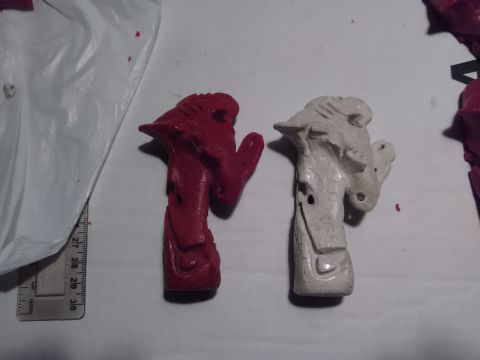
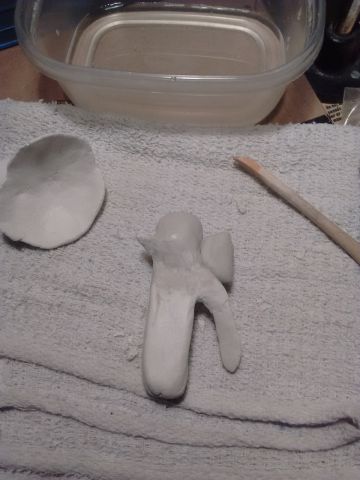
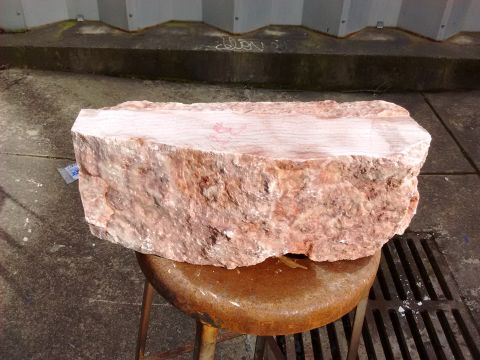
Yesterday in Sculpture I touched up the large ADC piece and added more clay, then the sun broke through the clouds and I broke to get the red stone...


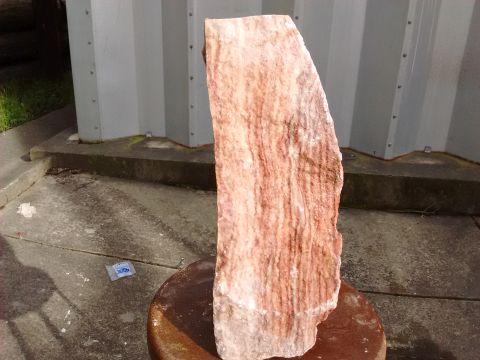
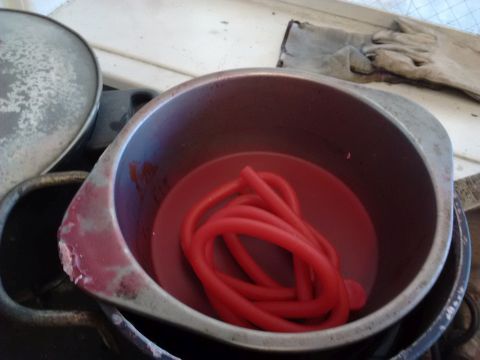
I got a little water and a nylon brush to wash the raspberry pyrophyllite and get a good look at it in natural light.


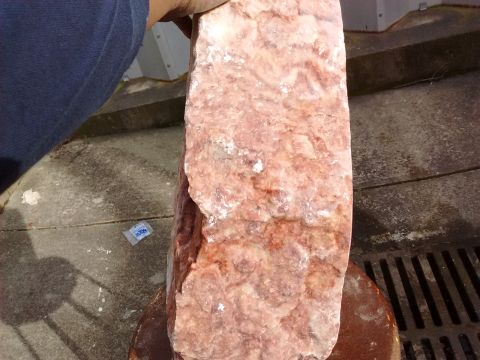
There are a number of directions I could take with the stone, but it'll be something sensuous, to match the beautiful color...


Checking the stone took about 20 min.; it took over an hour just for the newest added bits to look this dry, but it's still delicate. I'll finish up in Casting today...


(02/5/16)

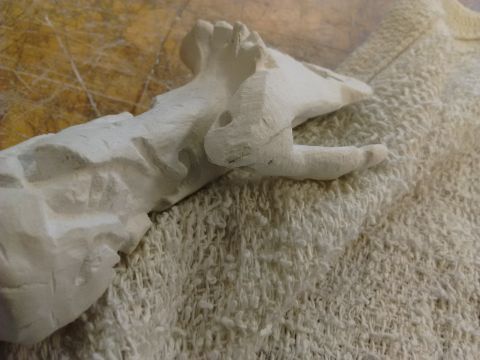
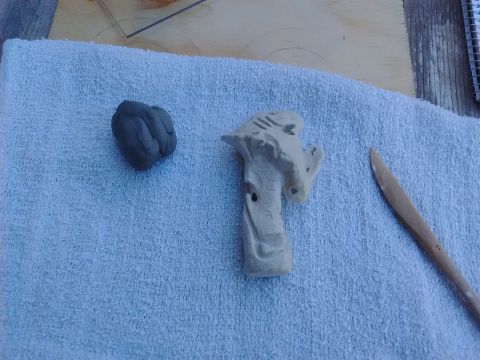
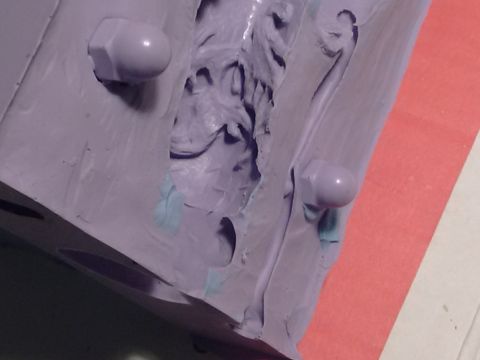
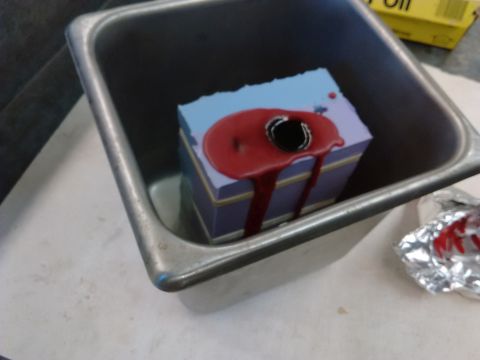
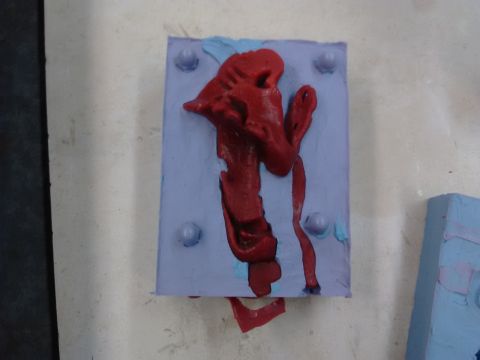
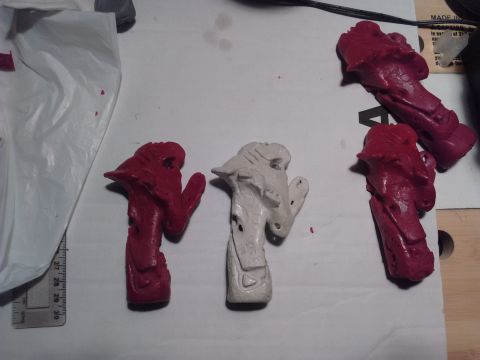
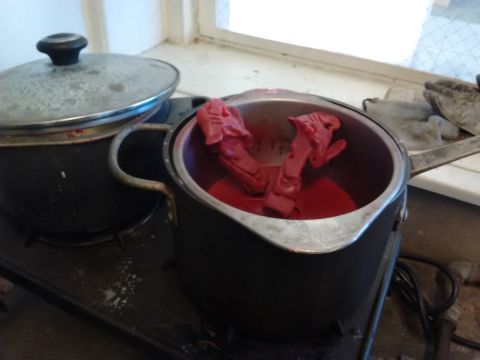
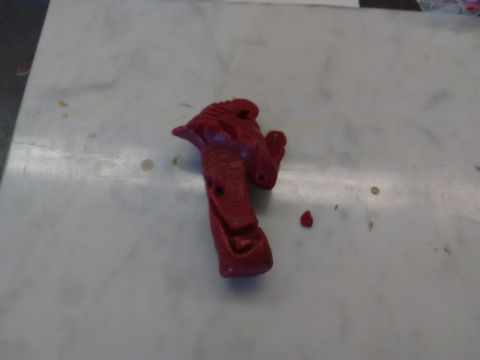
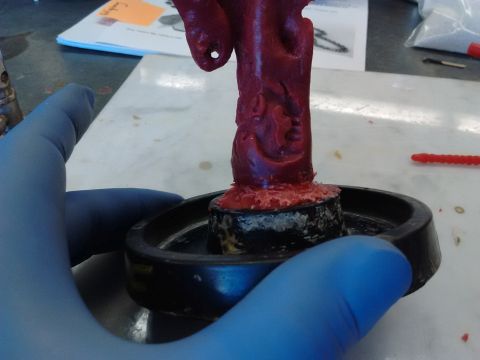
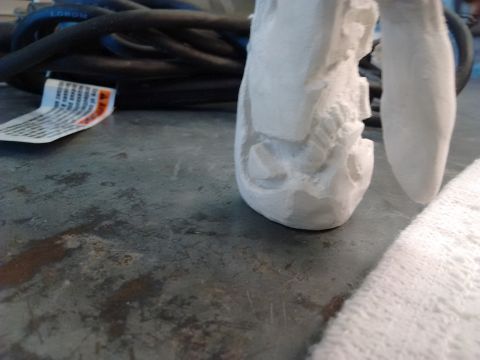
Ok, yesterday's Casting class began well enough, till I was too focused on carving and the extended piece snapped...


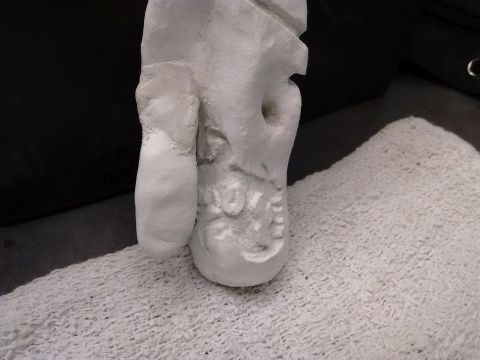
I patched it a little, after finishing up the carving, but I didn't discover till today that it didn't take, try again...


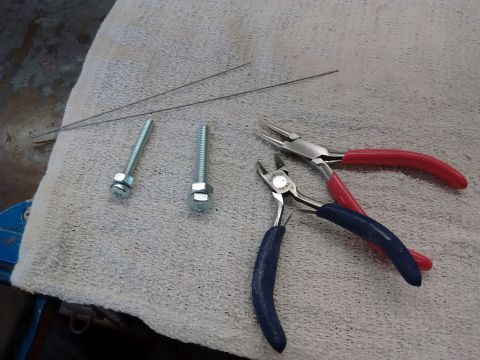
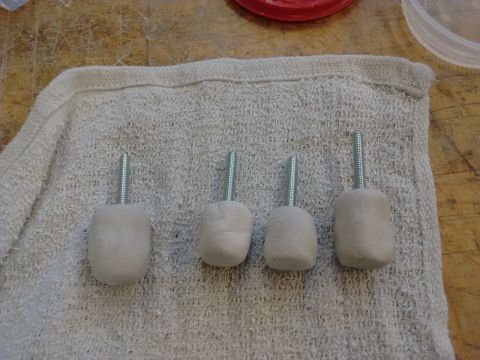
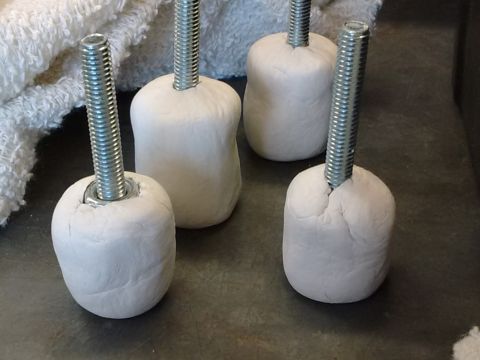
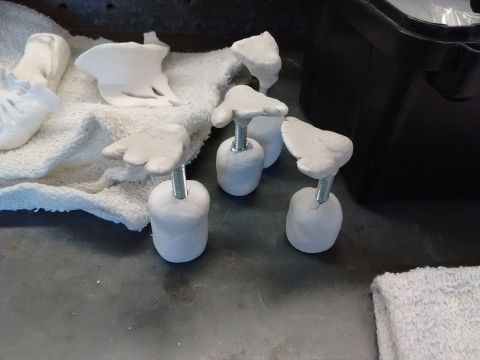
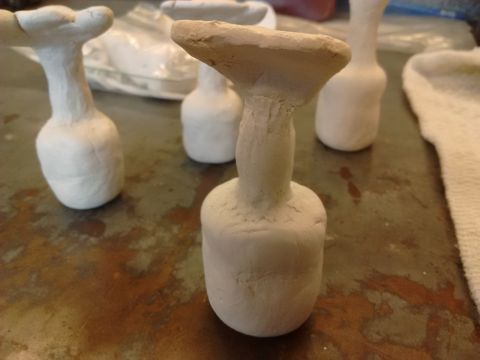
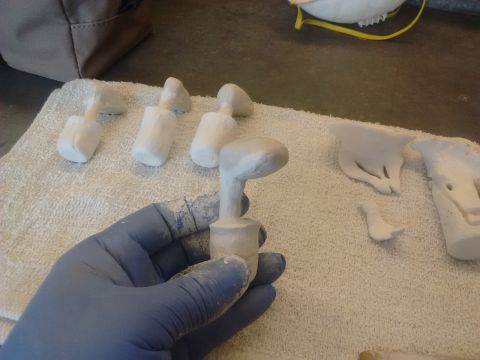
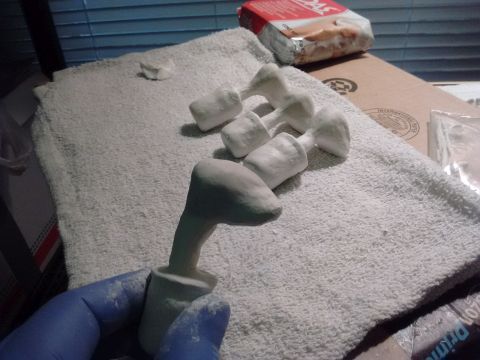
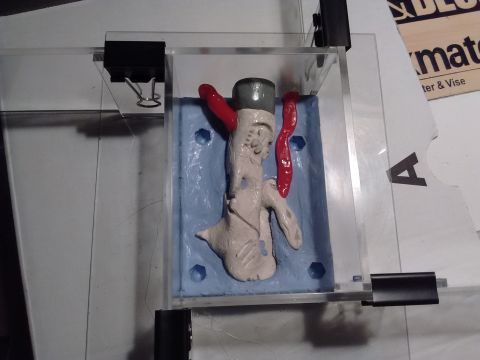
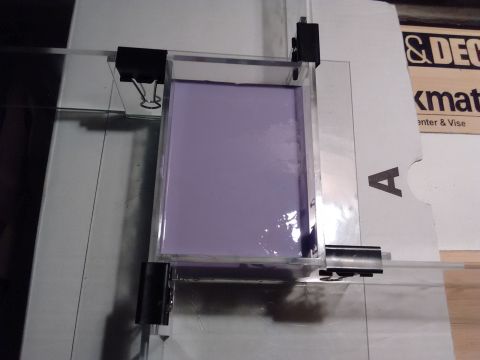
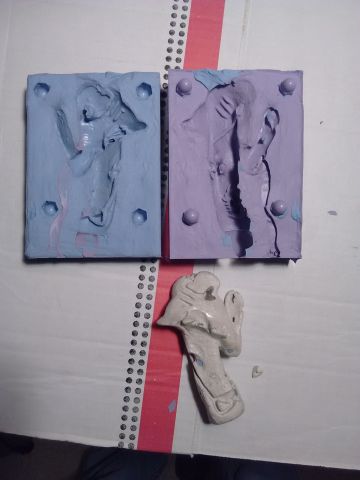
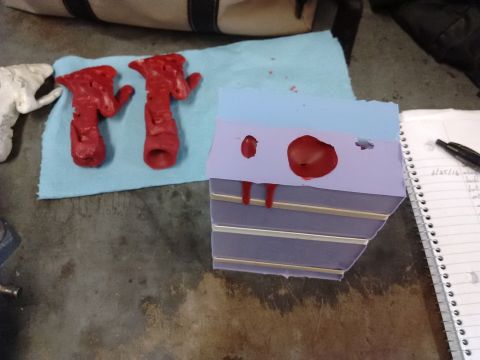
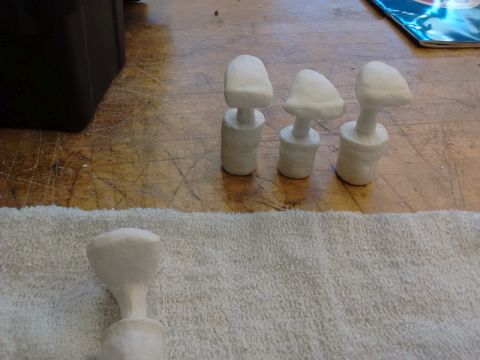
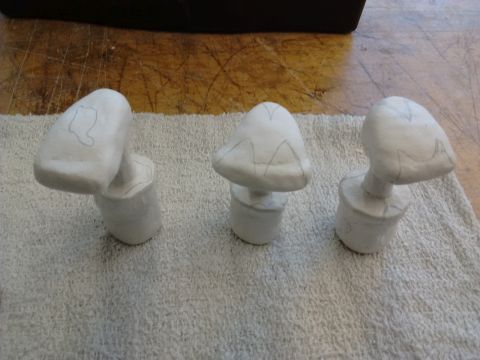
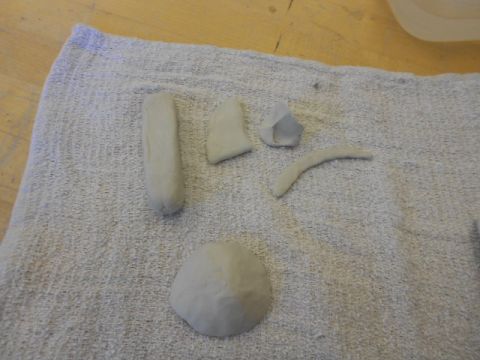
Time to begin the second ADC project, one that will have an armature. The point here is to make copies of a figure by hand, so I'm gonna make them all at once...


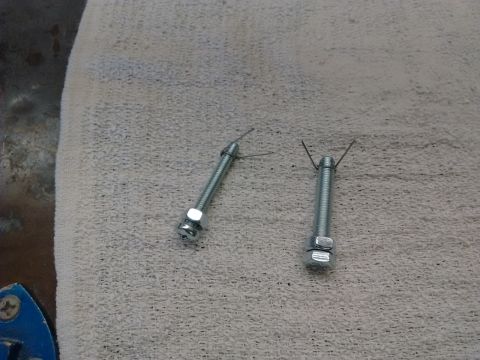
These will be four imitation chess pieces (this project is 'Three Kings.') A bit of wire and you have the skeleton for a crown shape, etc...
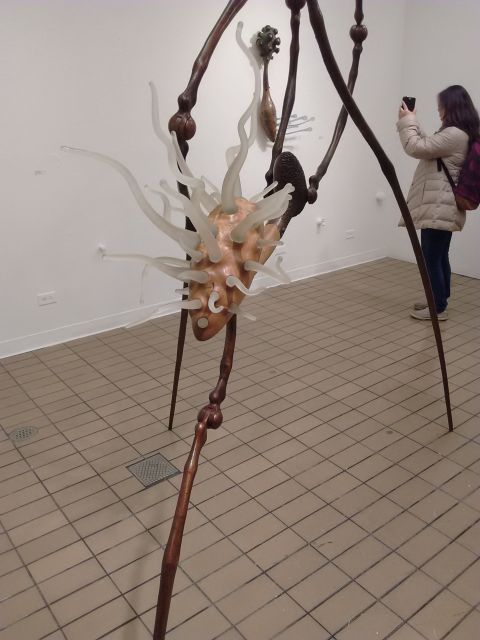
We wrapped up class a bit early to go check out a new exhibit at the campus gallery...


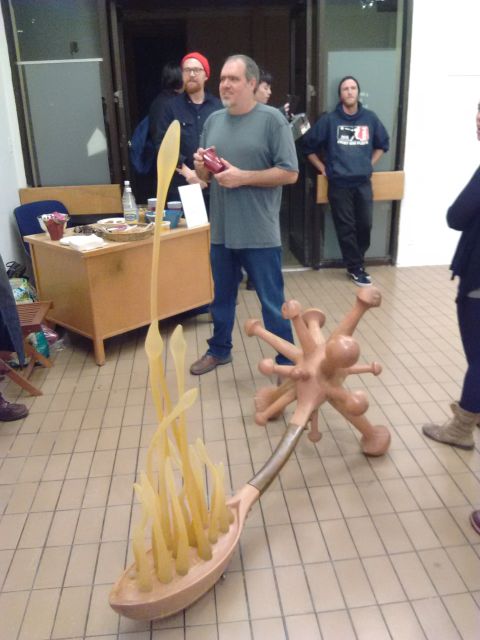
The artist is Adon S. Valenziano, who currently lives and works down the coast in Santa Cruz, and makes works of cast bronze, carved wood and blown glass. I asked him a few questions about the process of forming the hot flowing glass into those shapes. Cool guy...


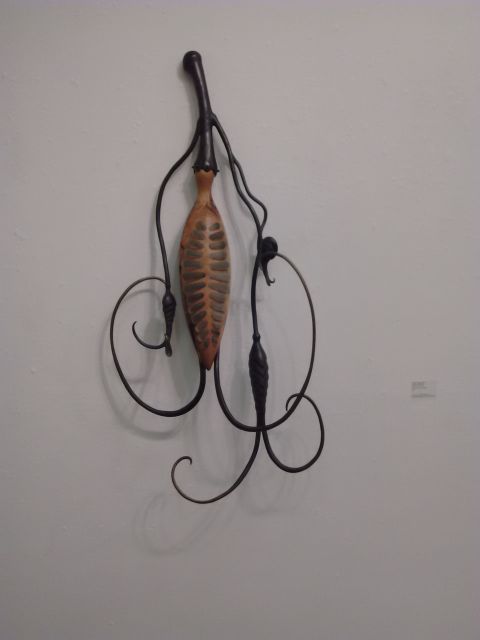
From Artist Statement: "I draw much of my sculptural vocabulary from the forms found in nature: plants, animals, insects, seedpods, pollen grains, fungi, bones and the human figure."


Matchbox Studio

(02/08 - 10/16)

This week has gone fast, starting with Monday, where the large piece was approaching finish, except that the weird limb thing kept snapping off...


During the first of many patch attempts using only the clay and not super glue, I began the next ADC project with this simple armature...


The first few layers, or 'the ugly phase,' slowly take form. Over an hour later they were ready for handling to pack up for the day. Below is the Tuesday status...


While adding clay to the little antenna wires, I figured out how to connect the two figure pieces...


Scraps...


On Wednesday the sun was out so I set up in our patio...


The final part of the first layer finally goes on, then the first short-lived patch looks good...


Once done with the little ADC pieces, I got the stone and a couple flat chisels and a sanding screen and leveled out the end I chose for the base. In this stance, the stone's tilt and slight warp really stand out...

(02/12/16)


Thursday afternoon saw the little pieces still not dry enough to handle, so I moved on to my other task...


Testing out the mini-lathe wax carver attachment for my flex shaft...


I got it to streamline the ring-making process for my sculptural instead of aesthetically commercial jewelry. This shake out tested the components as I followed the video instructions and carved two basic bands of different sizes.


The first attempt came out ok - even thickness, though the cutoff was slanted. Aside from the angel hair streams of wax detritus flying everywhere, this was a fun process...

Matchbox Studio

(02/17/16)

This will be a holiday-shortened three days of school, but there's plenty to do, particularly in Screenwriting class, which had a bit of a rough start because the scheduled teacher passed suddenly from an aggressive cancer. Her friend Lise, another writer/producer who's taking over, was still getting over the initial shock at the news last week, so the break might help her in processing this loss...

Aside from our assigned reading, I'm researching the movie business from a spec writer's perspective - reading scripts, watching recent films with a writer's eye, etc. One interesting film I found is "Stanley Kubrick's Boxes," a documentary on the director that included a fascinating passage that demonstrated the importance of formatting and writing style in a screenplay in getting it past the professional readers who will round file a badly structured script before a director or producer ever sees a story...


I'm also doing sculpture research, like an episode from the series "The Power of Art" that focused on the great artist and sculptor Bernini whose work is dynamic, alive and sensual, but personally he was a royal prick for most of his life. Anyway, there's a wealth of videos out there on studio techniques I'm adding to my library...


Yesterday in Casting I brought in my components for making silicone molds - sides and clips for the mold box, liquid silicone, clear acrylic baseboard, mini glue gun, mixing stcks and cups. Since I'm also exploring silicone mold putty, this gear will stay at school and the putty equipment will be used at home...


The mold box in ready position. there is one more thing to add - non-sticky modeling clay to start the process...


The little pieces from the second project have their final layer. One of them will stay raw for show, which will be an advantage not guaranteed in the first project; there's a chance the ADC might not survive the mold-making process, particularly in 'demolding,' when you remove the dry and cured silicone from the piece...


Anyway, after the last attempt to attach that tail-piece, this is as far as I'm taking this figure. The hat thing I can cast with other smaller pieces, but I got a schedule to keep...


Today in Sculpture the ADC stuff was still too wet so I fell back to the raspberry stone, in between a few critiques of finished project work. After rotating the stone I picked this angle to be the face...


The new base gets contour lines to flow with the gangster lean and the stone's 'grain'...


This stone as well as the black chorite are both being designed and carved from the bottom up because they're abstract works and I like this technique (it might be faster as well)...


Now that the piece is oriented, the first hole is located on both sides of the face. A power drill, five inch bit with a three inch chalk mark and eyeball measuring produced a ninety degree cut. More holes to follow...

Matchbox Studio

(02/19 - 24/16)

The short week got even shorter with Thursday's Casting class being cancelled, so over the weekend I started the drawing board phase of the other metal projects and getting in some screenplay reading. I can't neglect the stone at home either, even though the ADC will dominate this week. The clorite is nestled and comfy in its storage/work space, ready for more work next month...

The ADC projects doing another 24-hr. dry cycle after:


a. Getting some clear coat in the spray box, or,


b. One final layer for these blanks...


On Monday, the mold box was begun by first prepping the piece under a bed of non-drying non-sulfur-based clay (that won't react to the silicone)...


First, plug the holes and give that undercut some support...


...start a separation border...


...until done.


The box has been sized to have a half inch cushion around the model. Next, the outside bottom edges are glued down...


...so you can check underneath.


The process of laying the bed via back fill points out one limitation of the ADC - you can't just press this model into a nicely shaped solid bed without something snapping. Piecemeal building presents its own problems, though...


Slowly...


...until a rough backfill is done.


This is piecemeal alright...


After leveling out the clay more or less...


...acorn nuts are placed to make registration keys.


Next the tricky, messy part that was too messy for many photos (and the rest of the class was busy with their own projects)...

The silicone rubber kit for mold-making (usually called RTV, Room Temperature Vulcanization) comes in containers of part A and part B, but this stuff is expensive and I might only get the one mold out of it, ergo my research into DIY silicone mold hacks.

Anyway, for my mold, the formula worked out to 6 oz. of each part, measured out in these 12-oz. cups and mixed for three minutes until it turns this lovely lavender shade. Then, time to pour it into the lowest part of the mold in a long, slow thin stream to reduce the number of bubbles.


There was no need to rush; the working 'pot life' of the silicone is 30 minutes so I let it pour and drip and scraped out as much as I could, then let it rest for about ten minutes then checked underneath. Yeah, there were a couple tiny spots where the lavender got through. This is where piecemeal bites. I decided not to panic and let it sit in the drawer for a half hour and checked again. Bigger leak, but I didn't see the top of my model emerging, so I crossed my fingers, locked up the drawer and later today we'll see...


So, I went to campus early to get the cured mold from the Casting studio (morning jewelry class) and walked it over to the sculpture studio's morning class for holding while I got brunch. Between classes I set it up for inspection - it looked and felt ok. The silicone gives but isn't squishy. Nice...


This is as bad as the leak got, so piecemeal caught a break...
Anyway, flip it over and the mold box parts are gently removed...


Next, the rubber flashing at the corners is trimmed and the clay is gently separated from the acrylic base...


Here's where piecemeal shines - easy removal with no clay buried into the delicate features...


This part went pretty fast...


Cool negative acorn nuts for registration.


This part didn't go fast - trimming the excess rubber without damaging either the mold or the model, then going after every little gremlin of modeling clay hiding in nooks and crevices. While I was cleaning up the acrylic parts, Stephanie showed the mold to the beginning students. Cool.
This was it for the piece for now; I still had a couple hours left so I hauled out the raspberry pyrophyllite...


As I defined the borders of the holes, I got more ideas for the stone and how many holes I want to put in it...


I'm starting to see not holes, but caves...


I'm deliberately doing the bottom-up thing with a second stone to see if it could be a useful method in my process...


The smaller foot increases the sense of imbalance, but the caves will either ease or add to the spatial tension.


Ok, at home I finished the second mold half - reconstruct the mold box, glue it down, then add a clay pour cup and two air channels. Next get the mold release spray and lay a couple coats down. The sheen tells me the rubber will probably not stick to itself, but still got fingers crossed...


The mixing was a bit less messy than yesterday. The silicone covered the clay cup with a thin wall, but it's there. Breakdown and demolding in the morning...

(02/25/16)


Ok, morning!
Uh, the purple color means the A/B mix was off a little, but the rubber feels the same. It made the demolding a little easier, though the holes in the middle stayed plugged - something to fix in the wax...


This little piece that kept breaking off stayed in place. Cool...
As damage goes, the ADC did well...


The detailed elements look good, no obvious bubbles anywhere, though a couple tiny clay gremlins got through; fix that in the wax, too...


Thursdays are casting days - I plan to make three copies, pick the one that survives the touch-up and invest it for bronze casting next Thursday. So, done pounding lavender, and this post is long enough...

Matchbox Studio

(02/26/16)

In Thursday's Casting class I moved up to the front where the double boiler and the wax injector are stationed. The injector will be used in the other project...


This is all the red hard casting wax we have, so I threw in a couple of the big wax sprues. These are a bit softer, but it'll have to do...


The objective was three casts, take 'em home and prep one for investing on Tuesday. First pour was given 10 minutes to cool before demolding...


The thing felt too warm and did warp a little coming out...


Second pour I let sit for 15 minutes. This demolding was better, but still felt too warm and pliable...


For the third pour, I let it sit for 30 minutes and it was still too warm for me, so I packed it, cleaned up my space and brought it home to go into the cooler. I have plenty to keep me busy today, so on Saturday I'll gently tackle pour three...

(03/03/16)

I decided to wait until Sunday to make sure the wax was nice and cool in my hot room, then gently demolded and inspected it for bubbles, filled in a few voids, trimmed flash and dug out the two holes...


It's the best of the three; investing on Tuesday...


On Monday the second project starts with separating the control blank and drawing the beginning designs on the three pieces...


Simple lines to start...


These pieces are easier to handle and dig into...


The wax tools and files really help in roughing out...


On Tuesday, I brought the gear in and regifted the excess back to the pot...


The final repair job was to attach that front piece, which takes fire and kicks off the spruing stage...


Get a sprue button base for the proper size flask, make a wax base to sit on...


...and add a sprue to any undercuts. Of course missed the step of weighint the wax w/sprues, so I pried it off and weighed it, then put it back. After that I measured and mixed the investment plaster and water, poured the mix in the flask, vacuumed it and let it sit an hour to set...


It then went into the dewaxer and is waiting for casting on Thursday...


Wednesday was spent on the third piece; this one is getting closer to what I want in the other pieces...


(03/04/16)


In yesterday's Casting session I got to demonstrate to the beginners how to melt over a pound of bronze (537 grams) with an acetelyne torch in the centrifugal machine...


The crucible was rather small, making the task a bit harder. The shade-5 welding goggles were fogging up by the time I pulled back the catch and let it fly...


The majority of the molten bronze went where it was intended, but some splashed out and around the flask - essentially the foot stops at the ankle...


That blue is actually red-hot metal cooling. When the glow gets dull, it's time to put on a dusk mask and quench the thing in water...


It took about 5-6 minutes to clean out the flask and remove the cooled bronze, still covered in bits of investment to scrub off with a toothbrush. The oxidation discoloration, though...


...goes into the pickle for about half an hour.


After the pickle, some dish soap and a steel brush cleans it right up!


I can use this for critique if I have to, but I'm not satisfied with this result. From now on I'm switching to gravity casting and using the electromelt oven...