12.23 Studios

Matchbox Studio

(03/05-10/16)

Over the weekend I set up to try out casting in resin, but first I wasted a few hours trying to recreate the plugs for the holes before moving on...

"Resin" is just an artsy way of saying "plastic" - a quart each of part A and part B...


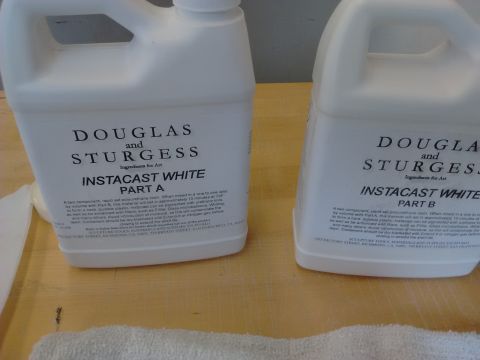
This product works really well with silicone molds and is moderately priced...

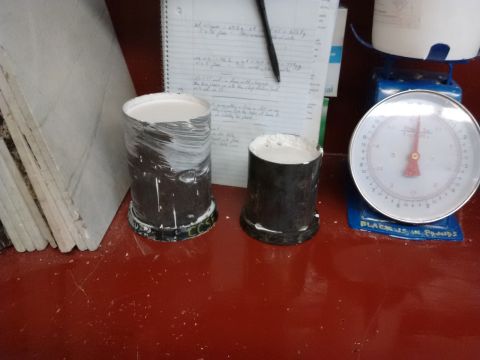
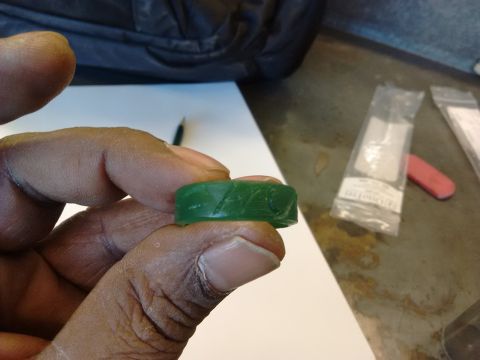
Anyway, I cast the first one on Sat., and because my studio was around seventy degrees, the thing solidified in ten minutes, looking great but screaming bright white...


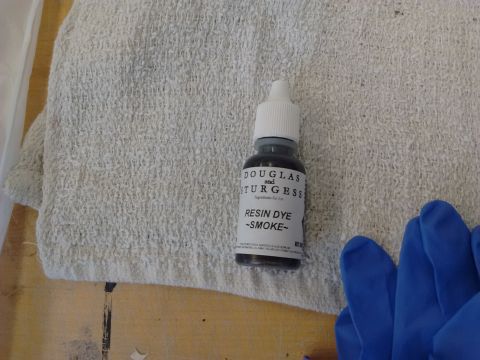
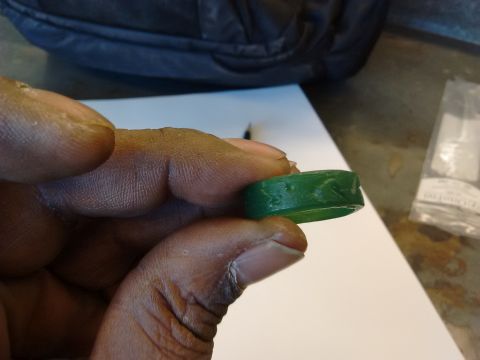
... so on Mon., I tried again with the smoke dye...


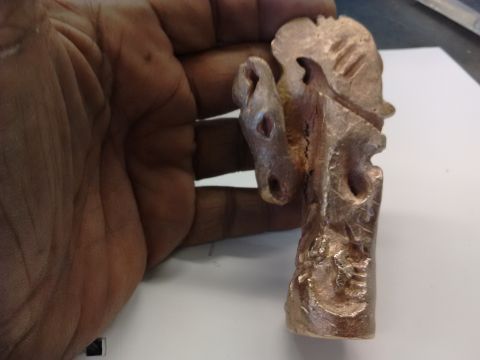
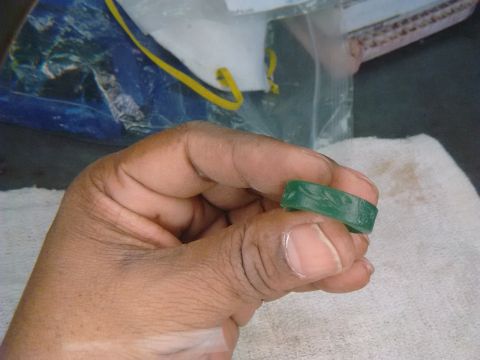
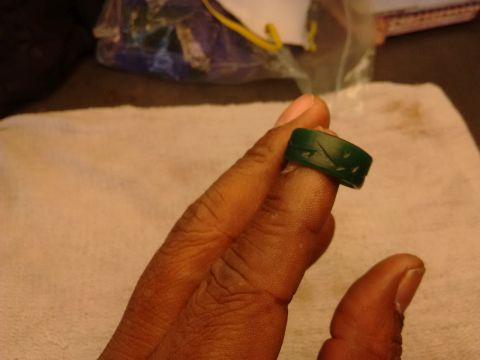
I did three pours and only on the last one did I get the timing right to demold the plastic when it's firm but still pliable enough to bore through those holes with a wax tool...


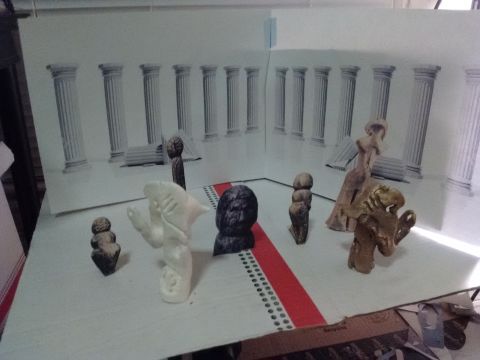
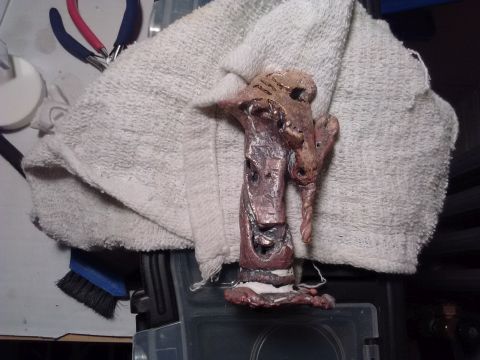
Tues. was a free 'flex' day, so I put the rest of the little diorama together for Wed. Sculpture class...

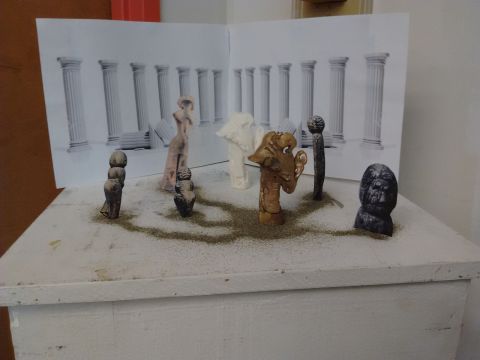
This is the setup in class for my critique. I got a few nice interpretations on the mythological subtexts behind these icons, but many students felt there was a story going on, strongly suggested by the sand. Cool. BTW, the piece is named "Avatar Trainee."
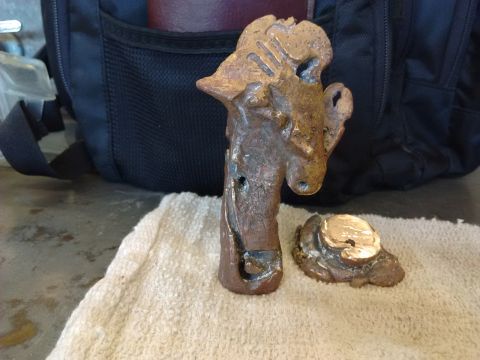
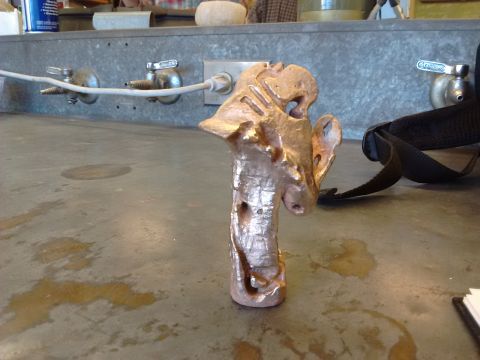
Definitely re-casting in bronze...


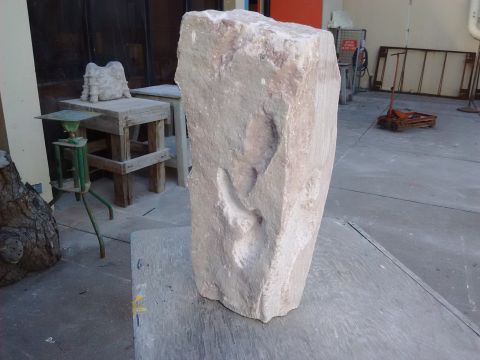
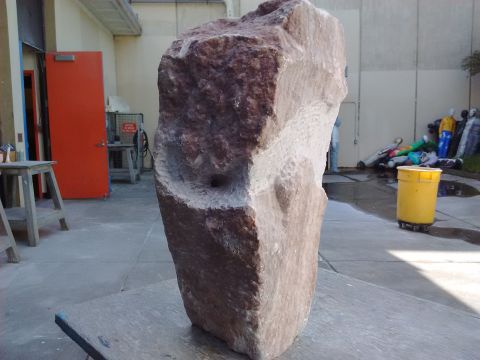
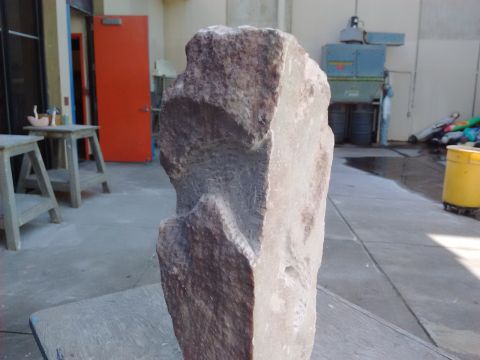
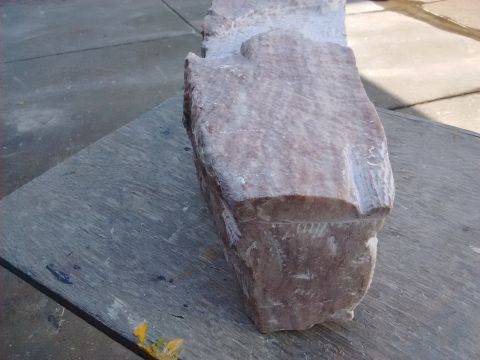
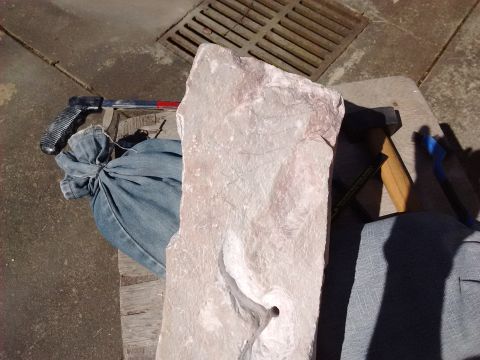
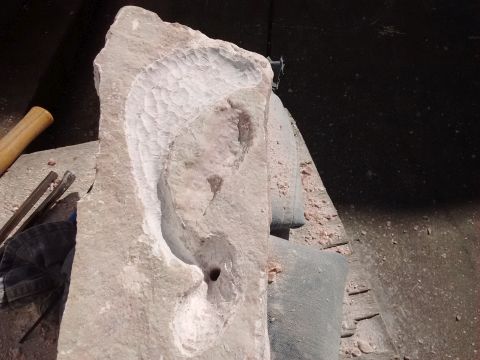
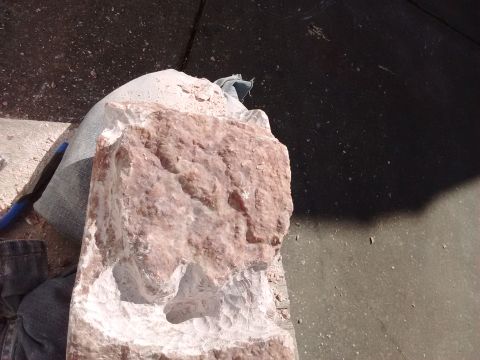
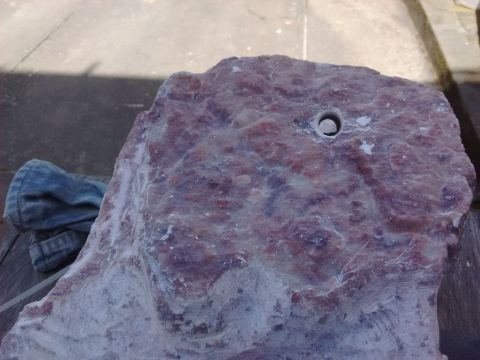
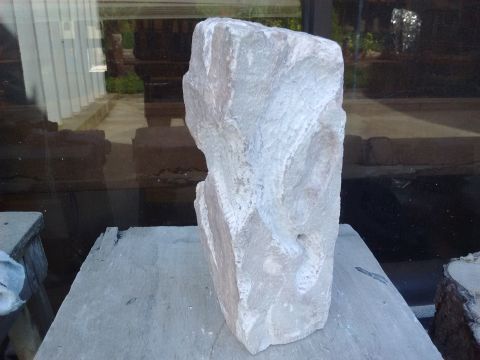
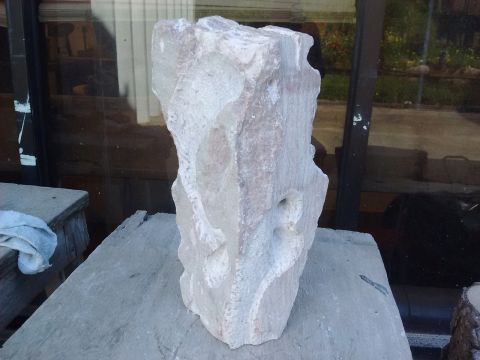
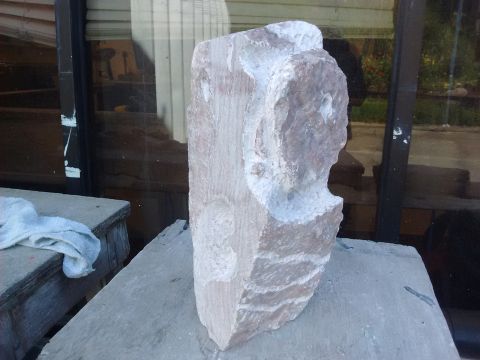
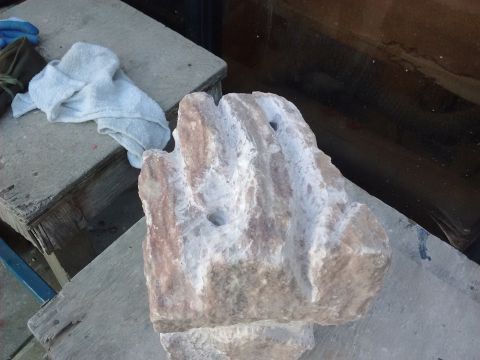
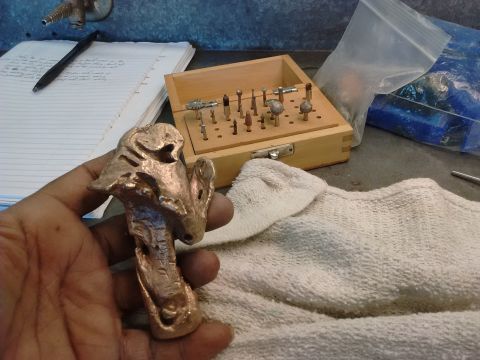
There was a pause in the spate of El Nino weather outside, so after my critique I hauled out the stone again. I wanted one more hole for the cave effect, and try to work out the interior angles...


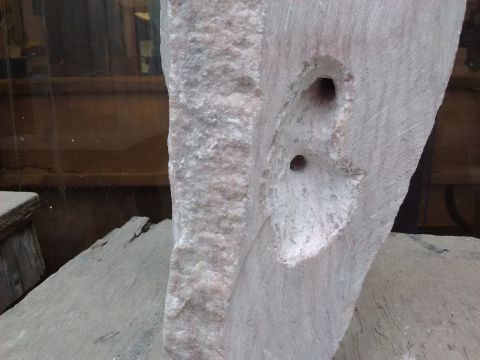
After the upper hole was drilled out I got a better idea of the negative space contours possible from this vantage...


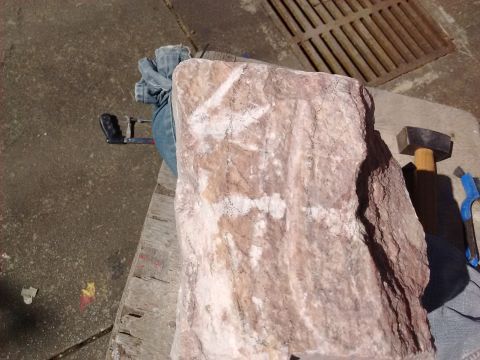
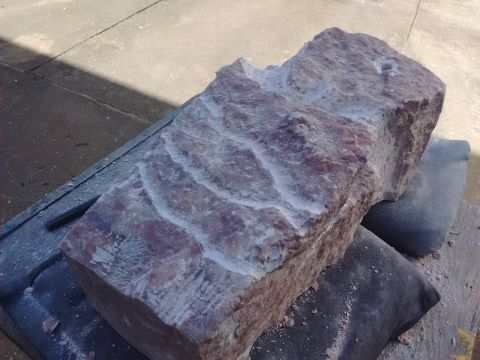
This angle doesn't really show it, but there's a kink in the opening I'm developing. The beginning and ending of the cave will extend elements to help shape the exterior and blend with the bottom-up method, based largely on what the stone says to me while I'm carving (no, I did not say 'stone whispering'...)


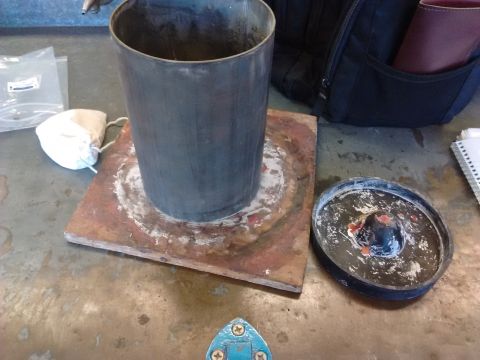
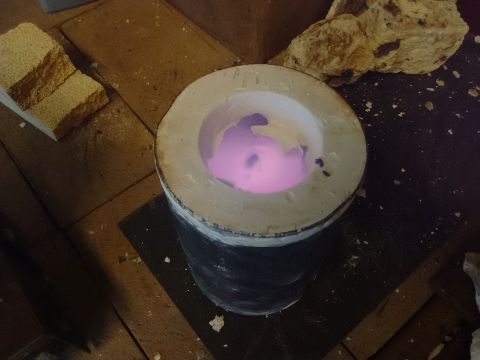
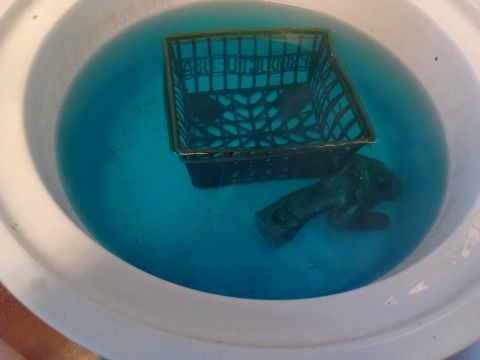
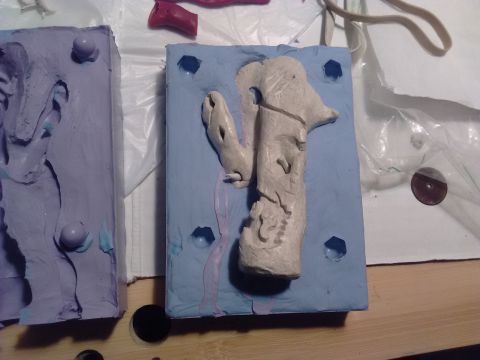
Today I slogged through the deluge to Casting class and setup to work on the last remaining parts of the first project - re-casting the bronze, and testing the ADC for direct casting. This 'hat' thing will go into a flask and we'll see...


A broad base and thick sprues will help, but the concern is that the compact paper won't properly burn out, and the molten metal will pool and splash (the reason for gravity casting from now on)...

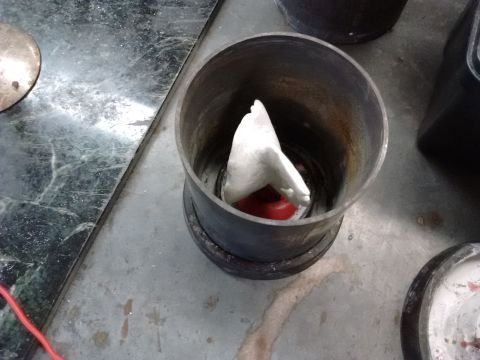
In the end I had to glue the thing to the wax before fitting the flask on.
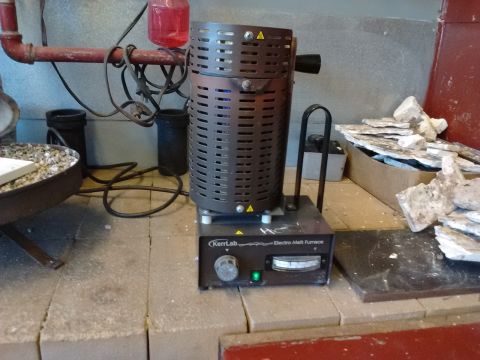
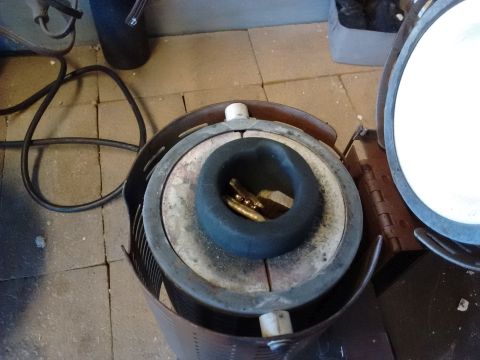
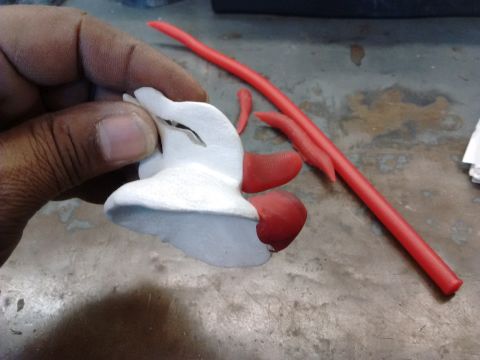
While fiddling with the hat, I had the double-boiler going and hit the silicone mold with one one last red wax pour and gave it twenty minutes to cool...


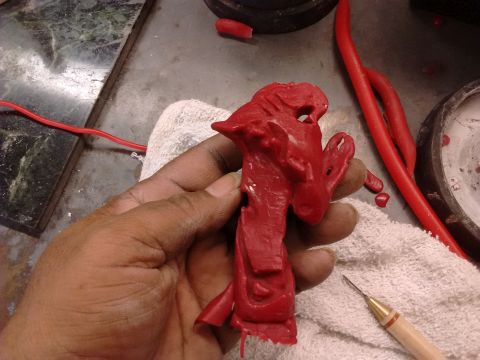
It came out looking good, but still only 90% on fine details. This casting wax is stretched with sprue wax, too...


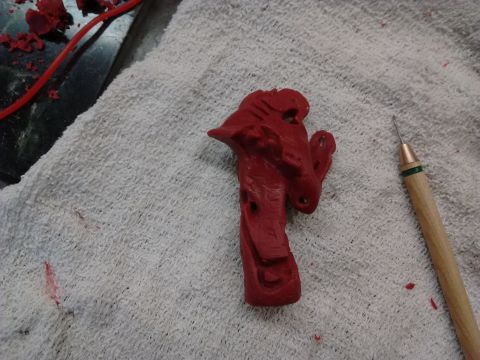
It took too damn long to clean out the holes and trim the flashing...


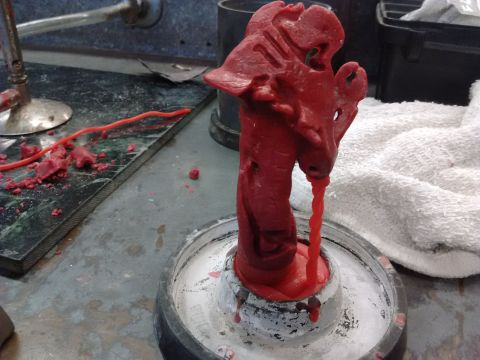
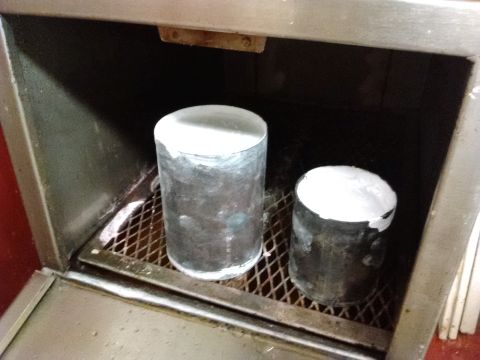
Ok, sprued, weighed and mounted, and we had fifteen minutes of class left. Into the shop locker it went, and I'll deal with it on Tues...

Matchbox Studio

(03/14-17/16)

On Monday I decided to leave the ADC project at home to concentrate on the raspberry stone...


Before getting carried away on the inside, some of that contouring has to flow outside...


... working with the organic shape and structure the stone seems to suggest.


There's a few interesting things I can imagine trying with this strong contrasting edge, but first...


The foot still isn't exactly level, but I ran out of class time; it continues to surprise me how 45 minutes to an hour can breeze by when I'm carving stone...

Tuesday was investing day - a second bite at a full 'A.T.' bronze, and the ADC test with the 'hat' piece. After a fast and messy ten minutes each of mixing, pouring and vacuuming, I had both flasks finished, then after aa solid hour...


The investment was solid enough to remove the rubber bases. Both came off cleanly and the flasks went into the dewaxer...


On Wednesday I got the big metal file and ground the foot to level, then went back to shaping the exterior...


Elements to carve on top. Working the outside does help bring the interior elements into focus. The pencil marks barely showed in the beautifully bright sun...


This part was done rather easily by a rondel chisel - a flat with rounded corners...


A big piece of this section I want to keep raw, maybe even floating...

The top of the stone is now open enough to play with...


Thursday is cassting day! I'm done with the spinner, but the regular electromelt kiln used for gravity and vacuum casting had a power burnout last week (Suzanne was wrapping the thing up to send back for repairs as I walked into the studio), so we had to use the backup, smaller kiln that holds a lot less metal in its crucible and has about ten years of mileage on it...


It took too damn long to melt the relatively small amount of bronze for my pour; we eventually discovered that it wasn't getting above 1800 degrees and needed to max out at 2000. The lid was the culprit. We ended up piling fireproof soldering blocks on top and waited some more...


While waiting, I discussed a change in my projects, based on a crazy idea that came up last week - bi-metal casting, but done simultaneously, pouring, say, bronze and silver into a casting to join organically. It's crazy, but she said go for it, and showed me a few wooden boards that would take a custom two-funnel sprue base...


Finally, with 30 minutes left it was liquid enough to pour, neat and quick, though the bit at the end was like sludge. despite the color, that's red hot...


It was time to clean up as I dunked it in the investmet water to cool it enough to dig out the crud from the holes (they all made it!) and take home. This time the casting came out 95% - better, but we can do better still...

Anyway, for now, 'A.T.' is done, got lots of screenwriting work to do...

Matchbox Studio

(03/27/16)

Last week started hectic, so I forgot to take Monday pics. Anyway, the next day I saw this lovely example of political commentary on Mission St. while going to Casting, and couldn't resist...


I brought the 'A.T.' piece back to finish cutting off the sprue base and do a final cleaning...


... and I brought in my wax pieces to work on the jewelry set project. I'm using a short group of abstract symbols to tie them all together...


This one is mine; the full set is designed for a woman...


While carving on the rings, the bronze spent another half hour in the pickle. After another good scrub with dish soap and a metal brush...

All the dirty carbon scaling looks to be gone. I leveled off the base with a big metal file, and it looked fine, except...


This part in the back is evidence of the bronze grain pouring like sludge, cooling unevenly and missing some small details...


On Wednesday I got back to the stone and the final outside elements placed. A couple shallow holes added to the top...


...complements the further breaking up of this huge span of open plainness.

These sharp corners are nice to play with...


The contrast of contoured polished stone with small patches of original 'bark' left behind is another element to consider...


This makes up the 'back' of the piece as I see it, lots of room for larger and more basic elements, and where the 'bark' idea can be explored...


The top section with its two shallow holes. With the design elements separated out into distinctive rows, a few complex delicate features come to mind...

Meanwhile, the holiday weekend is fast approaching, when I'll get back to the bike. Anyway, I posted an update in Beach House...


Thursday starts with a look at the smaller ring - size 8...


The rings will be sterling silver. The other pieces will also have bronze...


A next stage of cleaning comes for the stuff the pickle couldn't get - requiring burs and bits and a power tool (well, flexshaft.) So using an in-studio bur set, I dug into the crevices and holes for the reamining gremlins. ...


...and in the back I ground down that crack a bit. It's gotta go...

As usual, there's plenty to do in the home studio, but it's gonna wait until Monday - it's holiday weekend and I'm spending it on the bike...