Matchbox Studio
(04/13/16)
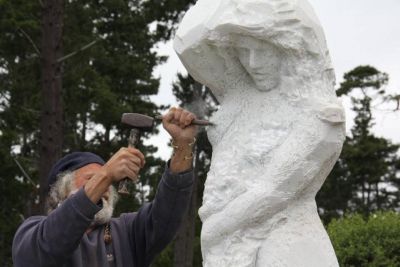
Ok, so Spring Break was the last week of March. I rode the bike a few times, etc. (the etc. is in beach House), but on Fri. the 1st, I got the news I'd been waiting for: I won a scholarship to the California Sculptors Symposium! (also, covered in Beach House)
So, while doing prep for the CSS, I still had projects coming due...
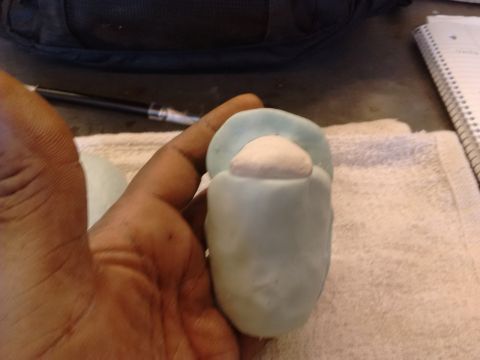
During the break I started the DIY silicone mold making. I followed a number of YouTube examples and turned out pretty durable, flexible rubber molds.
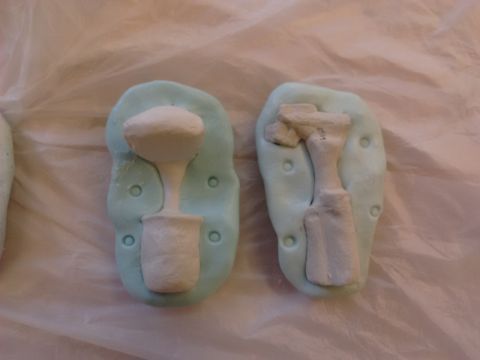
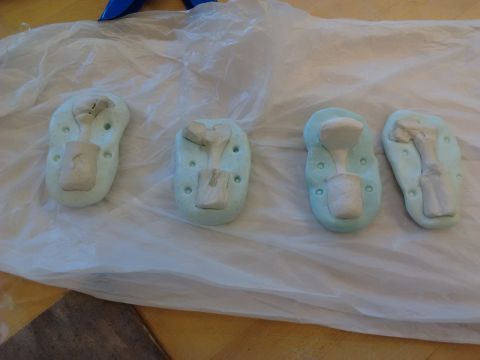
These figures would take way too much time to do each as a liquid mold, so hand-molded silicone is perfect...
Last week began with the half molds ready for finishing in class, after two whole days for the silicone to completely set and the mold release spray to completely dry...
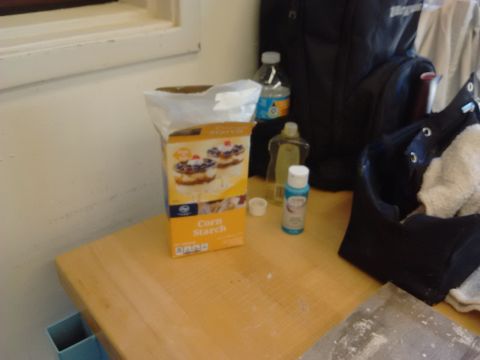
This is the kit (well, most of it) - silicone caulk from the hardware store (only get the clear silicone), a little craft acrylic paint for mold color, cornstarch as a stiffener, and oil (vegetable, baby oil, etc.) At this point I put rubber gloves on and spent over an hour making a mess whipping up four batches of silicone as the beginners snuck peeks. The strong vinegar odor from the caulk requires ventilation...
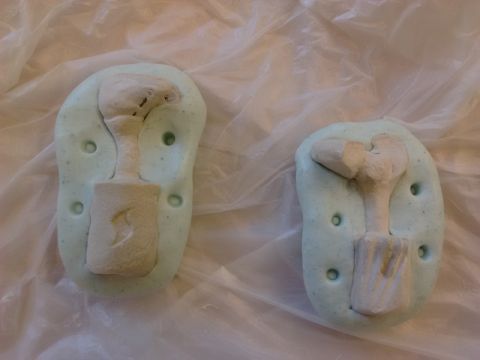
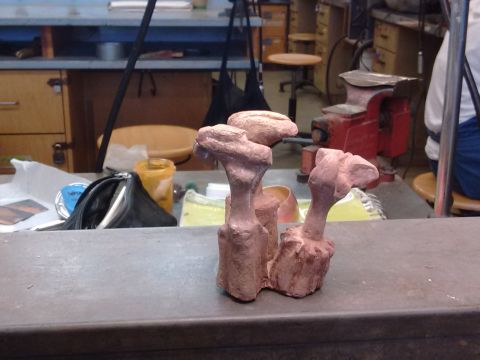
It was the next day before the new rubber molds were set and ready for demolding. I made the top half intentionally short for the control piece. Actual demolding needed the exacto knife more than I expected after spraying the things with the mold release...
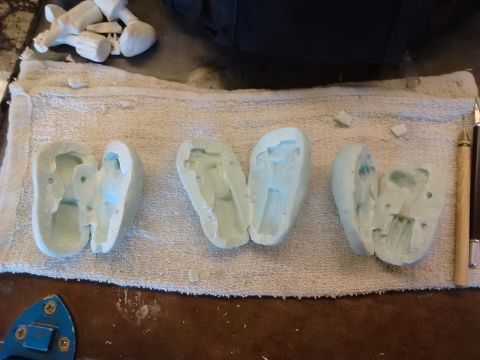
The demolding process gave me clues for varying the starch-to-oil mix next time I hand-mold...
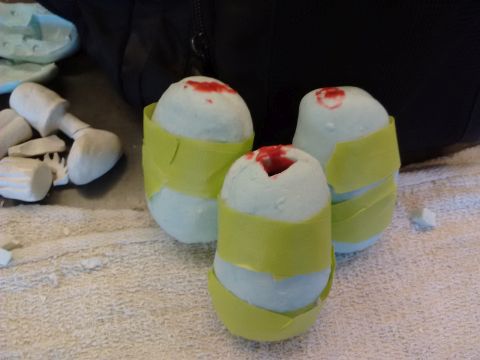
Getting the wax in was another issue... I tried out the injection machine, which didn't spurt as much as ooze - hard to gauge a successful fill. Took three tries on each...
...Attempt number two for this pair...
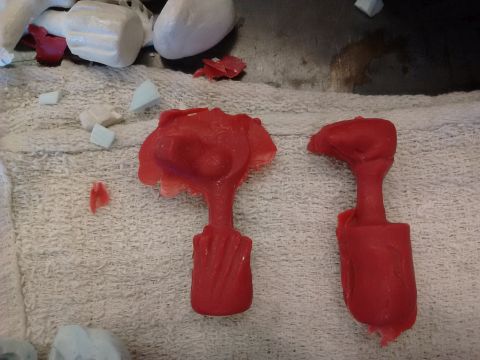
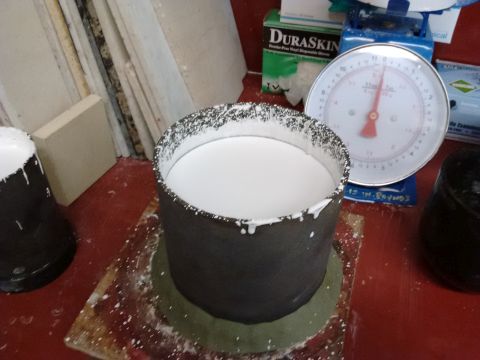
By the end of class I got a set good enough to invest, so I sprued, weighted and mounted them and invested..
It takes an hour for the investment to fully set. The flask heats up, then it cools back down, you take the sprue base off the bottom and the flask goes into the dewaxer...

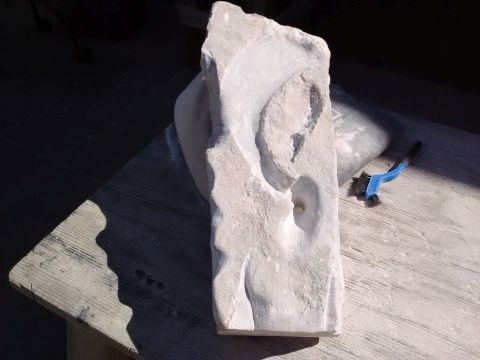
Back in sculpture, I shared the CSS news while setting up the wonderstone. I learned that a fellow classmate scored a scholarship as well. There are only three awarded each year - wow...
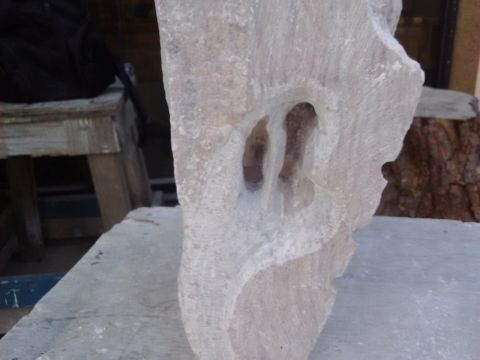
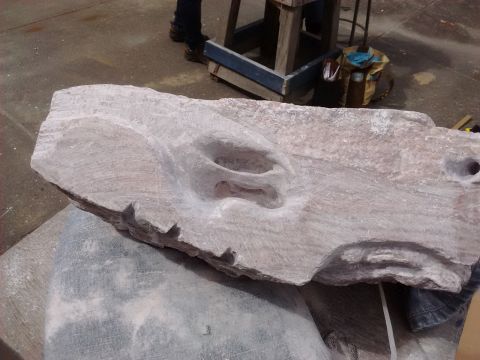
The interior contours and elements on this piece are being explored a bit more before I go back to the outside...
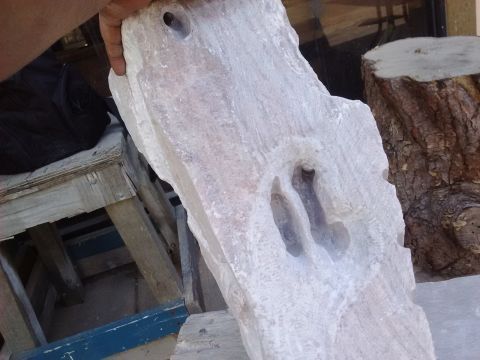
Eventually I want a freestanding column right there...
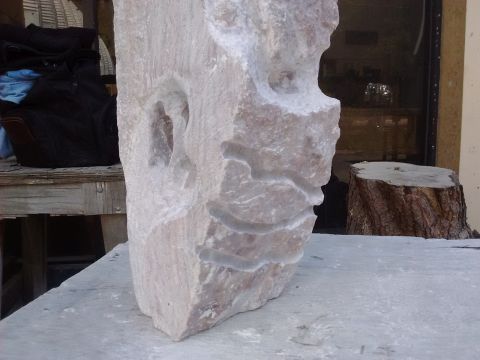
A power drill with an assortment of grinders and carbide bits shaves a lot of hammer-and-chisel time off the task...
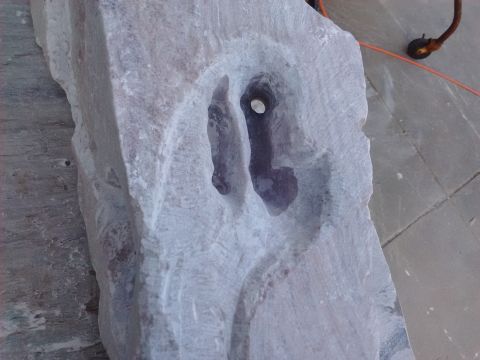
Each place where there's a circular hole has to be freed up...
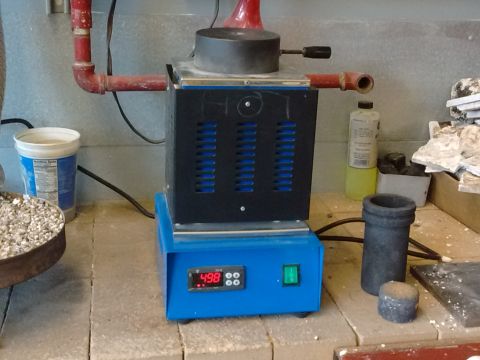
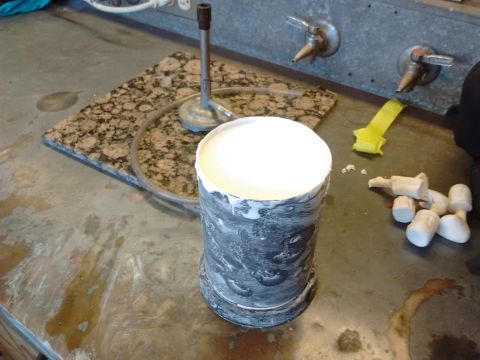
So, on casting day I loaded up the electromelt kiln (the good one, refurbished and ready.) The teacher programmed it for 1900 degrees. it took about 20 minutes or so to get there...
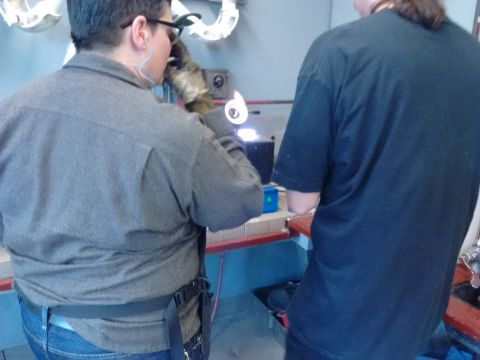
At effective temperature I put in my bronze, waited about a half hour and did my pour. Once I finished, the next caster in line put in a crucible with silver. While my work was cooling I took a pic and a short vid you can see here: https://youtu.be/bMKcykChDyw
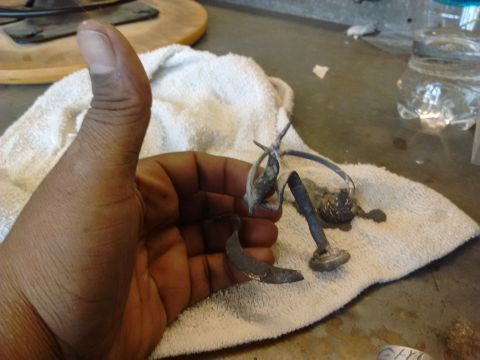
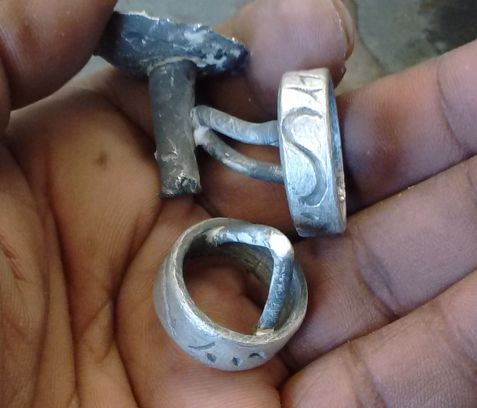
The cast came out a bit short, due to a chunk of the wax sprue base coming out when it was detatched from the freshly-invested flask - 85%...
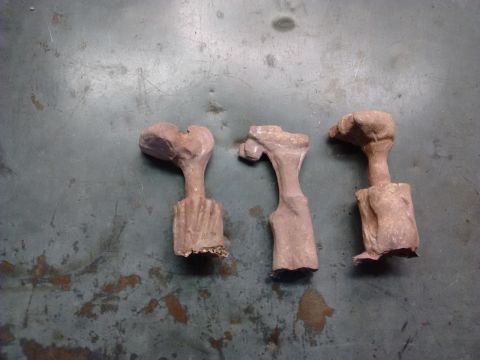
The figure on the left is too short, but then, that's the mystery of the process (yeah right)...
Over the weekend I worked on the figures, and got camping gear. On Mon. this past week I worked on the interior section alone, while getting more info on the trip...
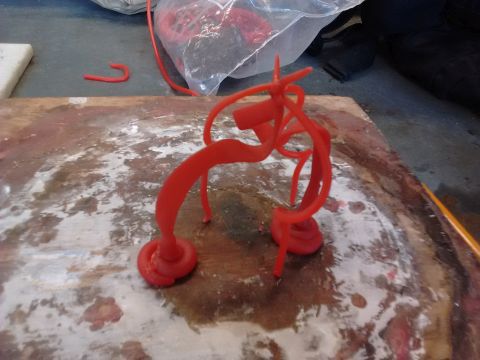
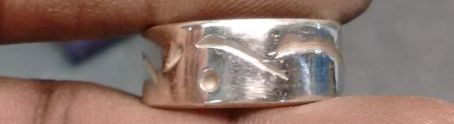
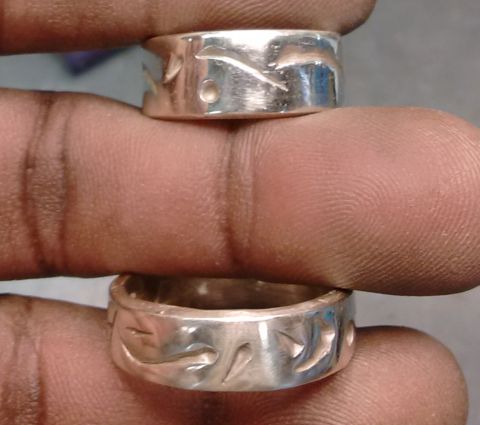
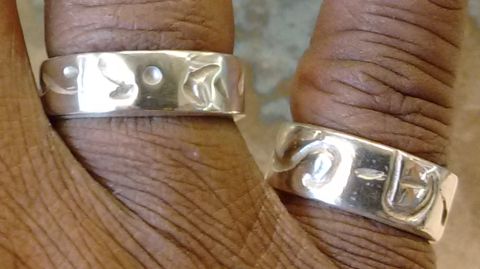
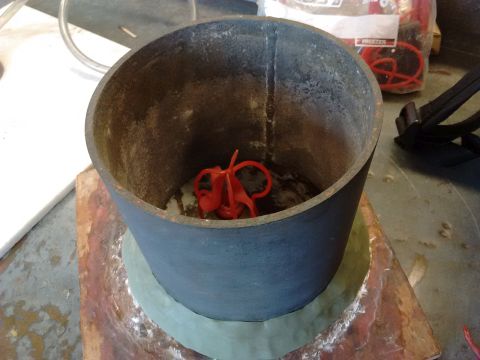
On Tues. I quickly invested two rings I had ready to go, not wanting to waste any production days, then got a wild idea for the bi-metal project - keeping it extremely simple as an abstract form that will allow a simultaneous bronze and silver pour. The ribbons are the piece, with curly air vents...
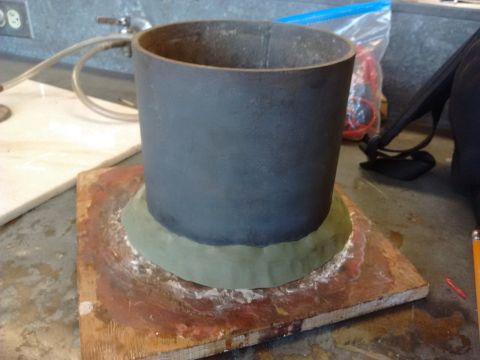
Because this is a custom job, a wooden sprue base does the trick. Sculpey polymer clay is used to seal the flask base...
The seam in the flask will help me orient which side gets the silver. I'm not filling this thing to the top either - that 'waterline' is high enough...
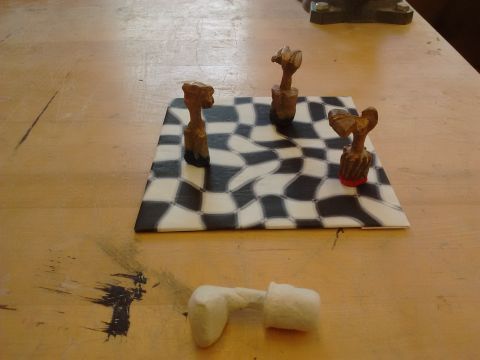
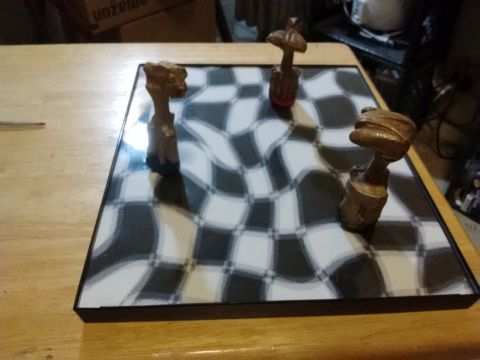
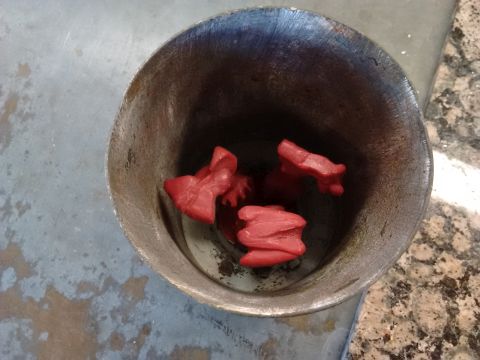
This was Wed., the critique for three works, mine, "Three Kings," included. I took some ADC and pressed it into the molds with the bronzes to square them off, and when they dried I gave the new feet some enamel paint in blue, red & black The board base wasn't finished in time, but I got good reviews overall. Teacher asked if I wanted to bring the piece to CSS - cool...
Thur. was supposed to be casting, but somebody forgot to turn on the kiln last night - that's the mystery of the process, too... Anyway, I went ahead and invested the bi-metal piece; the dewaxer was stuffed with this monster in there...
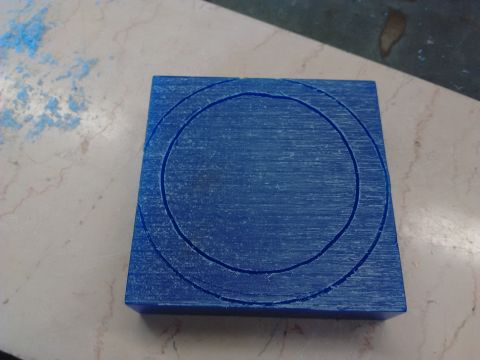
The jewelry set project includes a necklace, but instead of pounding and shaping a piece of sheet metal, I plan to cast a carved abstract design. I took my big slab of hard blue wax, got a circle template and started on a bracelet blank...
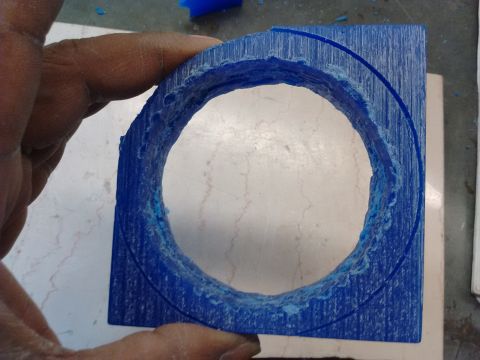
In about an hour by hand then flex shaft, I made the hole and got one corner done. This bracelet may be much thinner when finished, so I might yet make it in silver...
Anyway, next week is final prep for the Symposium on top of the projects. Cool...