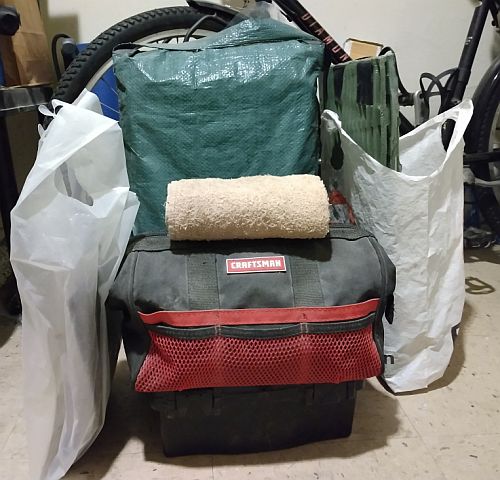
Bike Shop
(03/25/22)
While slowly checking bike trails and routes in the Bay Area for stealth camping spots, I knew that my tarp condo was too high profile, but found after much measuring that a single 10x12 tarp was too small.
Turns out I need two different tarps to handle the two versions of stealth camping determined by my gear - a slightly larger 12x16 tarp for the cargo trailer, and a smaller 8x10 tarp for my practice rides with bikepacking gear...
A rough mock up of the space inside a tarp with a 4 foot peak and 5 feet of tarp staked to the ground, resulting in 3 feet of ground space to the 'tent pole'. This is when I was still thinking 'tent first'...
I assumed a max of 6 feet across for the trailer and bivy to share...
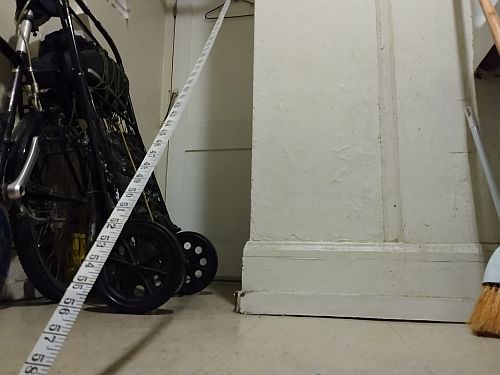
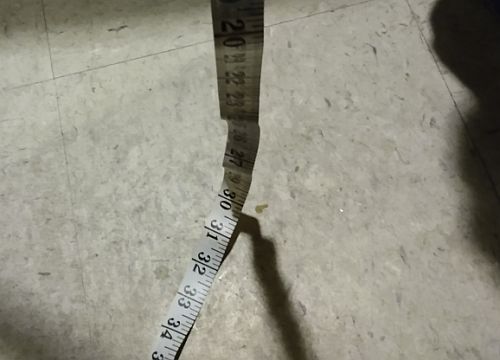
Taking rough measurements of the trailer in relation to tarp coverage: the length with the cart handle in trailer hitch mode is about 5 feet...
The hitch with the extra front wheels installed is roughly 2.5 feet high The cargo would be max 3 feet high, 2.5 feet high with the solar panel rails detatched...
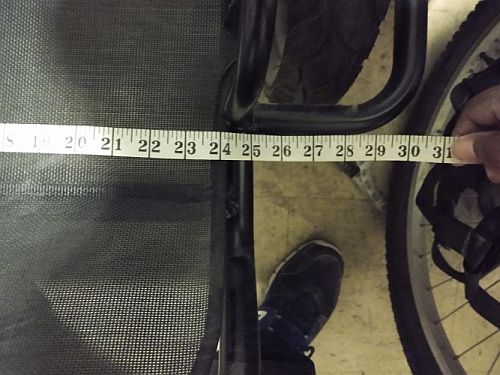
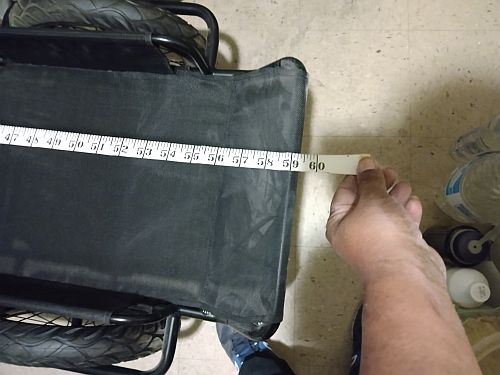
The full trailer width is 2.5 feet. The cargo width is 1.5 feet centered...
There's a little over a foot from the ground to the start of the cart's handle, and about 2.5 feet of handle, making the upright mode with eyebolt between 3.5 and 4 feet high...
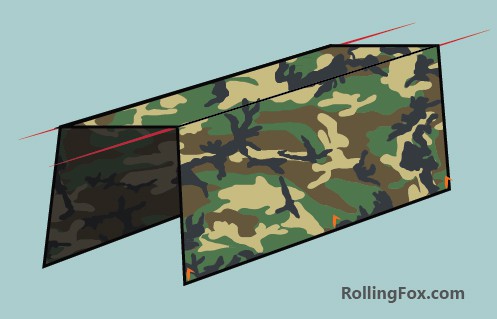
In stealth mode I'm basically making an enclosed square arch with the gear in front making a wide ridge line and the bivy behind...
I got the name of my particular tarp tent from 25 Tarp Configurations; Rollingfox.com
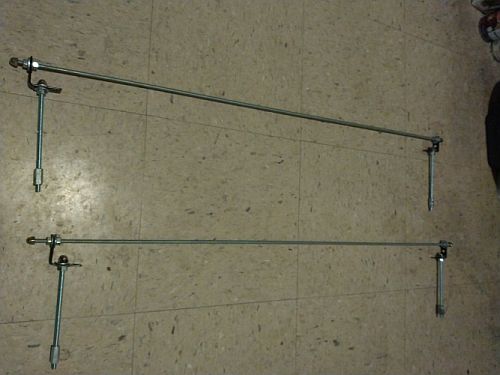
The top rail of the cargo frame mock assembled. I'm replacing all the regular hex nuts on the support rods and the brackets with nylon lock nuts to handle vibration...
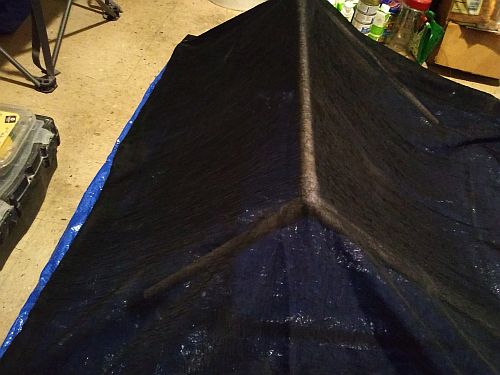
In bikepacking stealth mode, the bike's handlebars and the bug bivy stand serves as tent poles for a very low profile...
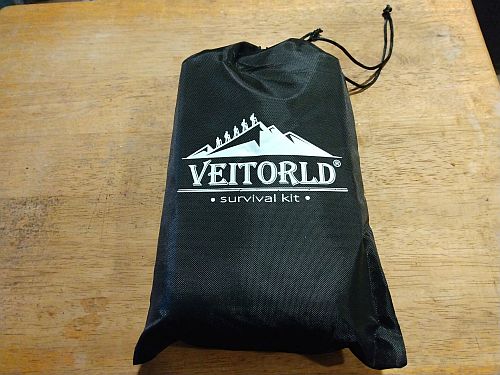
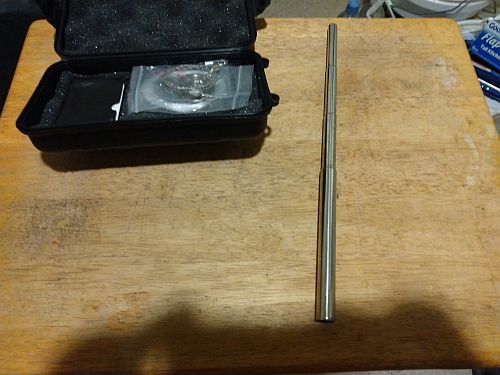
Meanwhile, I decided to give the Veitorld 12 in 1 Survival Kit a completely subjective review, because it's still an anonymous gift...
Ok, enough looking a gift horse in the mouth - let's unbox it...
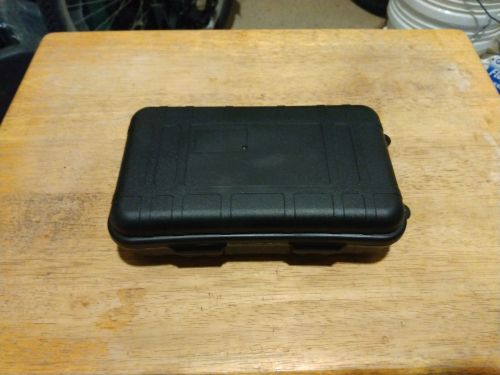
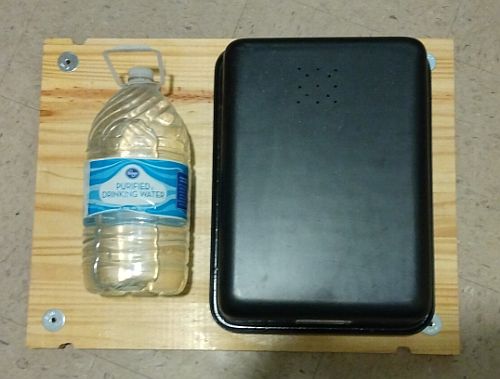
We start at the waterproof case. It looks sturdy enough for plastic...
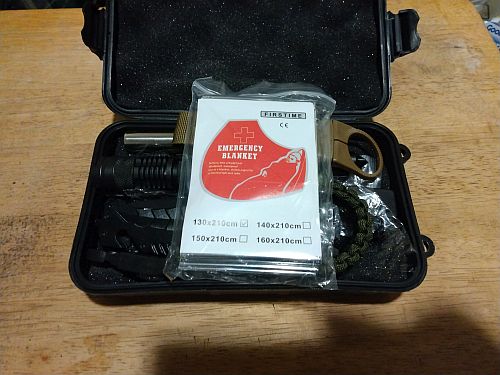
First item - Emergency Blanket. It was far down on my extended shopping list, but nice to have one. 4 ft. 3 in. x 6 ft. 10.5 in., big enough to wrap yourself in, but that's it...
A bottle holder (limited to some bottle shapes) on a belt clip. I have enough bottle storage, otherwise I don't have an immediate use for it...
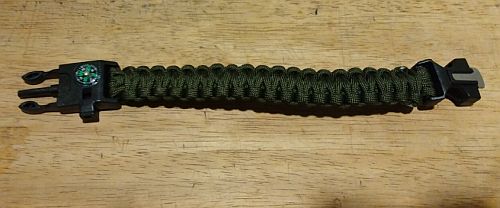
A paracord wrist strap with a tiny compass and a mini firestarter built into the clip. It's fine as an outdoors doohickey, but the compass is tiny...
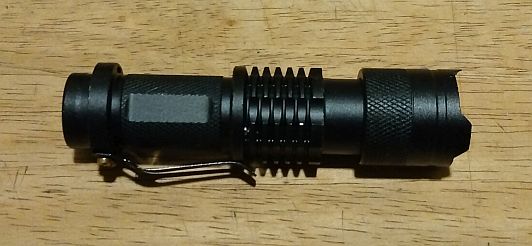
A tactical mini flashlight, takes one AA. Doesn't throw a strong light, but it has a strobe, and would be fine inside a tent with a red filter...
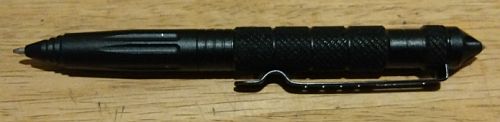
A tactical pen with the standard window breaker tip. Black ink. The large clip ensures I'd use it...
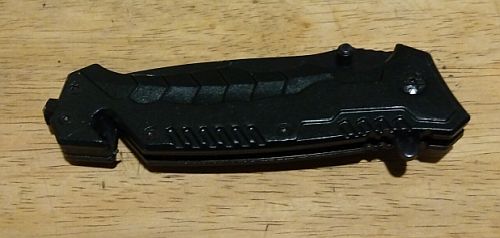
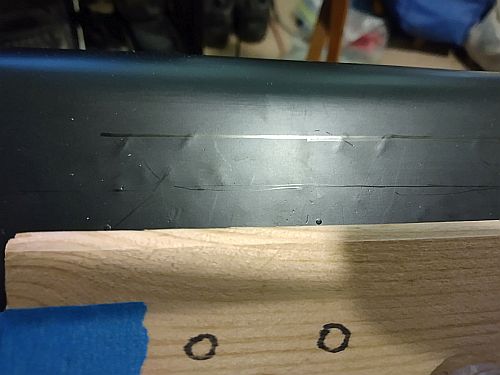
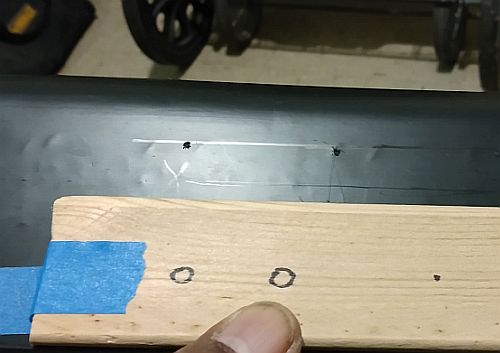
One of the major features of the kit, a survival knife. It has a nice feel, nice big belt clip, it's fine for general campsite use...
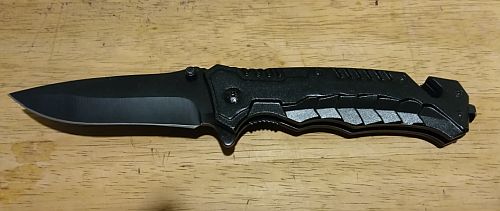
But it has a folding blade. If I were in a survival situation, I'd rather have a fixed blade full tang knife, something like a Ka Bar or other military knife...
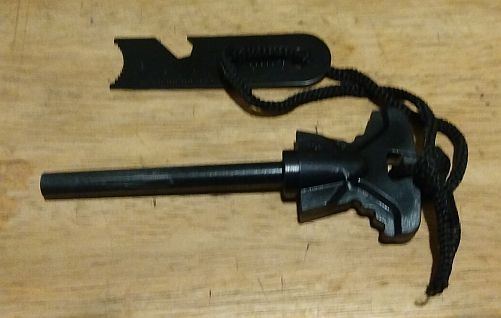
A welcome tool - a full size firestarter and striker. Works very well...
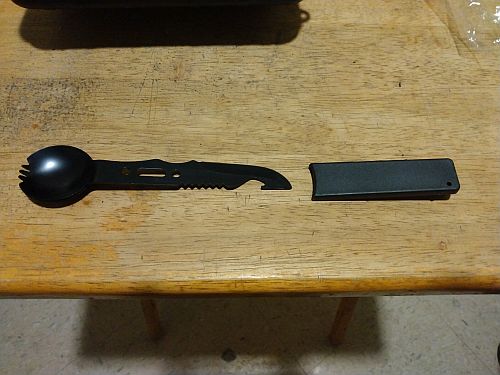
Another major tool from the kit - a metal spork plus knife in the handle, something to replace the plastic spork I have...
A pocket bellows for helping start a fire in adverse conditions. Good to have if I'm actually trying to start a campfire and not using my alcohol stoves...
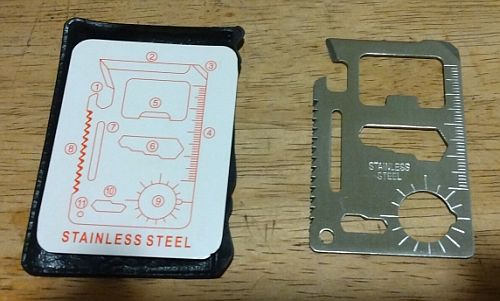
A card-sized multitool whose components are often too small to use easily. Not a piece that I would buy...
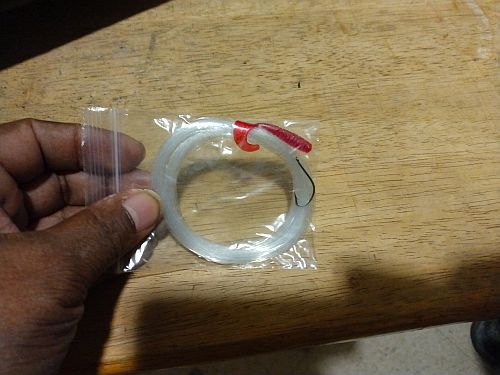
A fishing line, hook and bait. If I wanted to fish I'd have a pocket fisherman already. I wouldn't even carry this because a park ranger or county mountie could screw with me for not having a fishing license. Yeah, a state licence is only $54 this year, but it stays in storage for now...
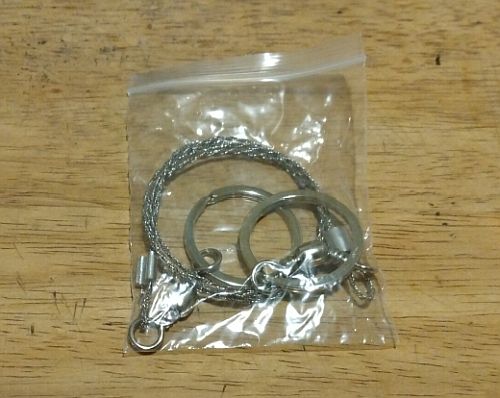
Another welcome tool - a portable saw. I planned to carry a portable carbide rod saw to cut stone, but this tool is excellent for general use...
(04/01/22)
From determining the sizes of my stealth camp tarp covers, next is doing a little research on the different types of camouflage for camping, then seeing what's available and affordable online...
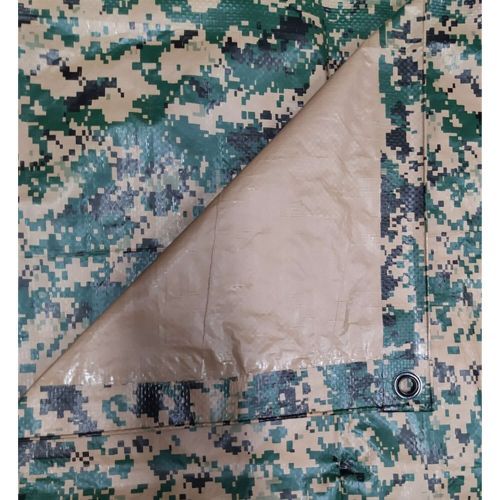
USMC MARPAT digital woodland camo. This pixelated design is readily available in stores, just not in 8x10 that often...

Bushcraft Outfitters old school woodland camo. Many traditional patterns also available, but my tarp condo is already old school...
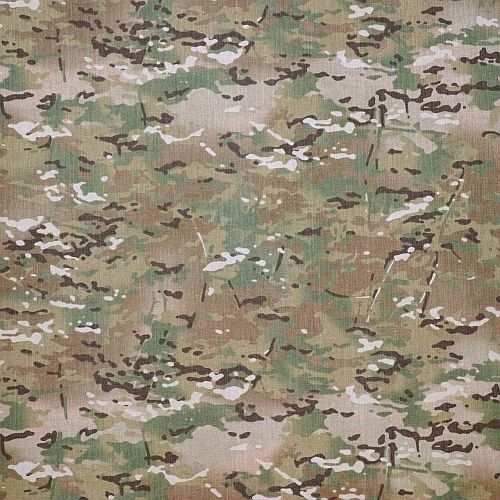
Bushcraft Outfitters multicam or OCP woodland camo. Too expensive for my budget...
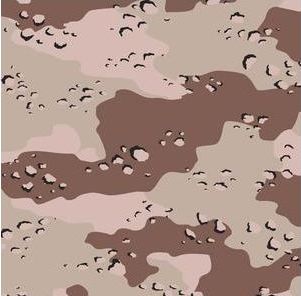
Six Colour Desert US Army pattern, nicknamed 'Chocolate Chip', widely known from Gulf War I. I prefer the pixelated desert style...
In the end I chose the available pixelated styles for woodland and desert. I'll get the 8x10 tarps first...
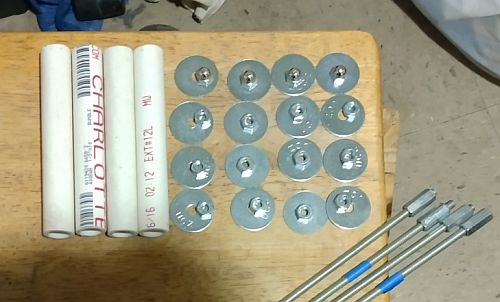
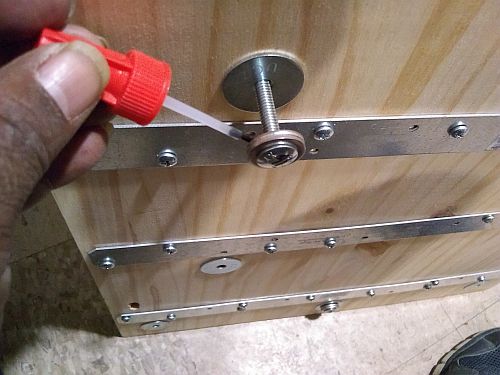
Meanwhile I got the hardware to finally set up the cargo frame...
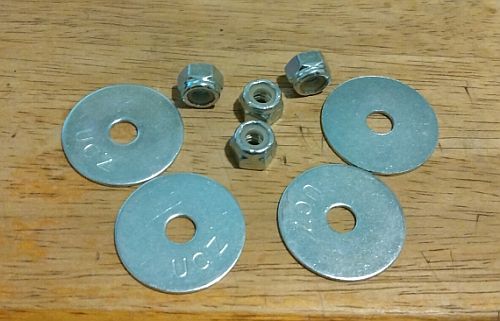
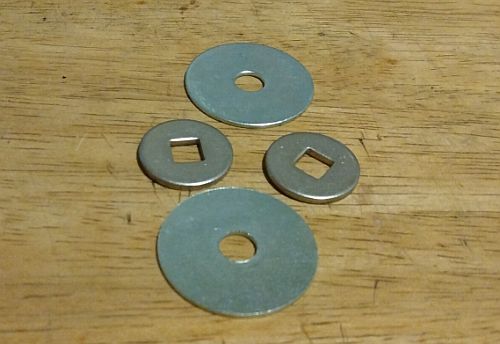
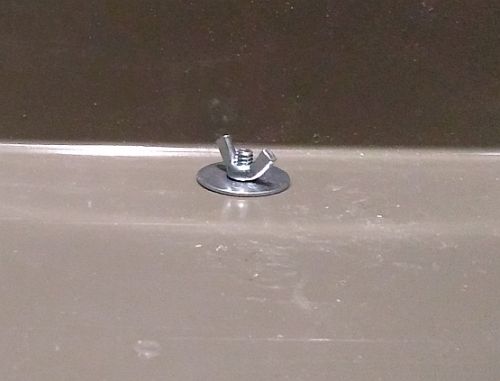
The hardware was boxes of nylon lock nuts and fender washers. I decided to save the threadlock for emergencies and use these for vibration issues with the entire frame...
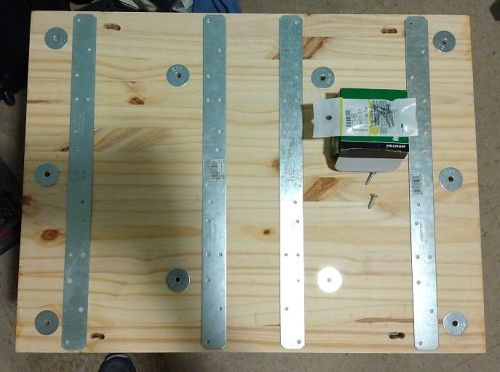
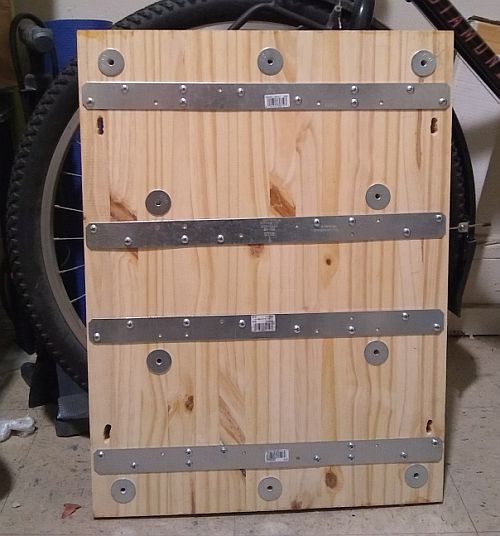
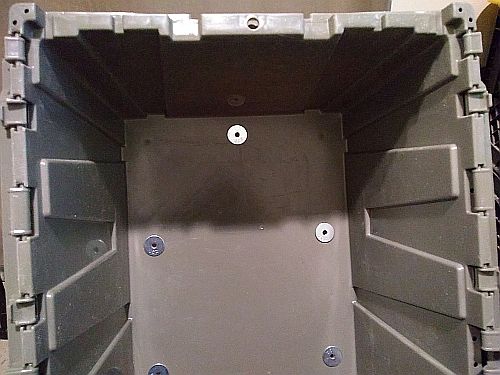
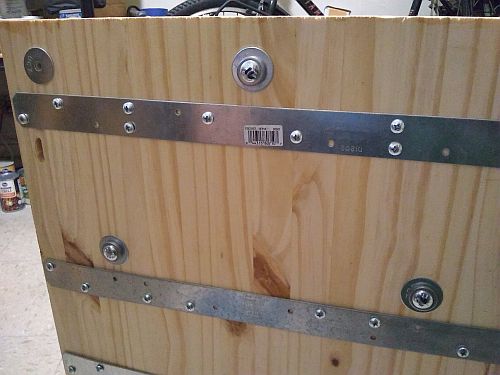
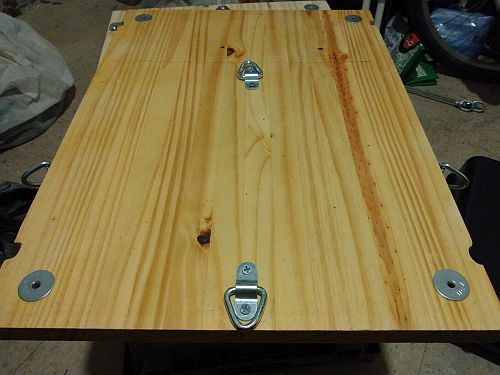
With fender washers marking the support and mounting holes, the steel strap tie support brackets are laid out for placement...
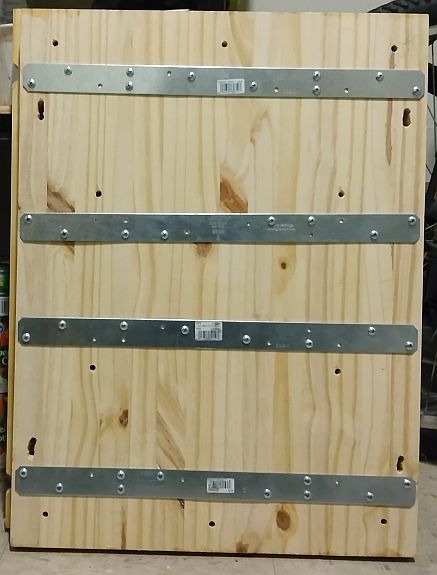
The brackets installed on the bottom of the upper cargo frame shelf...
Assembling the cargo frame to check the specs on the trailer. I'm using regular lock nuts on the support rods as a mock up...
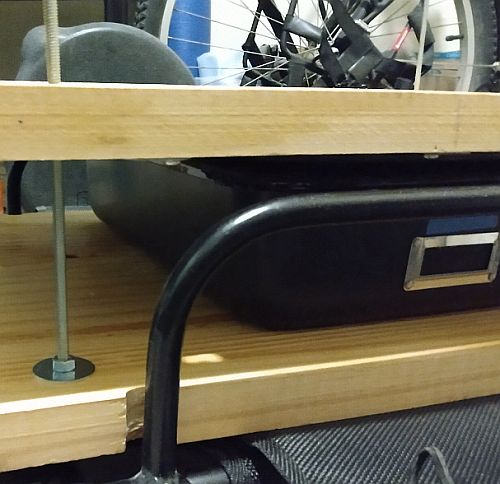
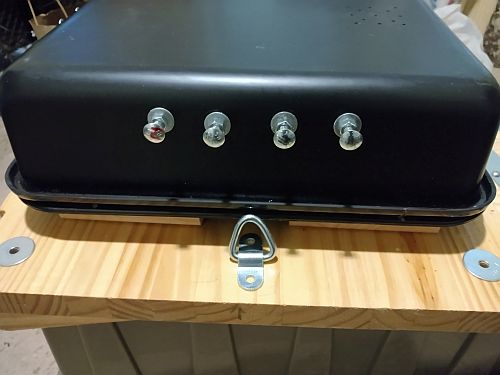
A first look at the shelves with the side rails and the battery box. As expected, the hose clamps can't do any load bearing, only help tie the frame to the cart...
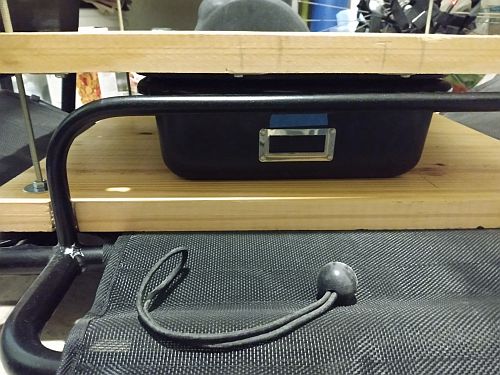
With the side rail mesh down, it's clear how much the shelf needs to float to accomodate the cable or chain needed to hold down the battery box. The ball type bungee is better than zip ties to temporarily replace the hose clamps when taking the trailer to storage...
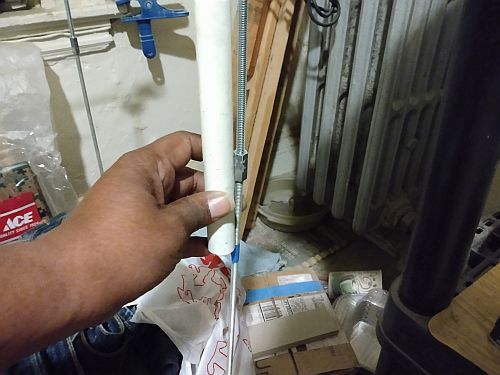
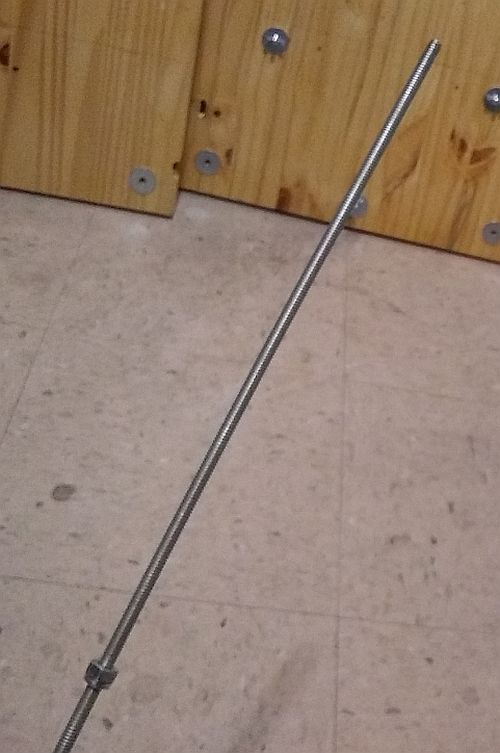
To add load support I'll use some of the leftover 1/2 inch PVC pipe...
PVC on the lower section of rod will also weatherproof as it helps make the shelves a solid unit...
The battery box is roughly 4-1/2 inches high; the PVC sections at 5-1/4 inches will do nicely...
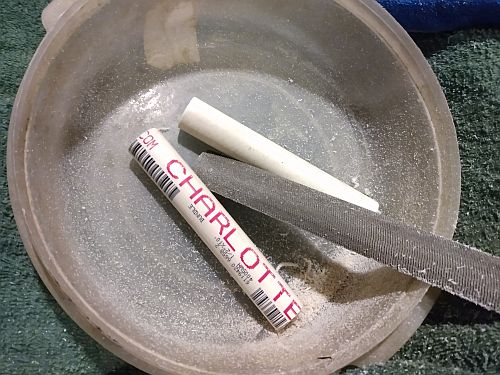
Filing down the PVC sections...
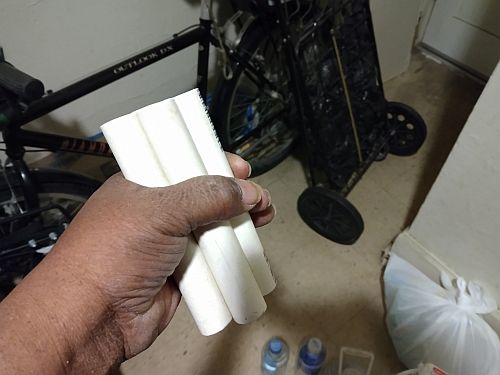
Each section is exactly 5-1/4 inches...
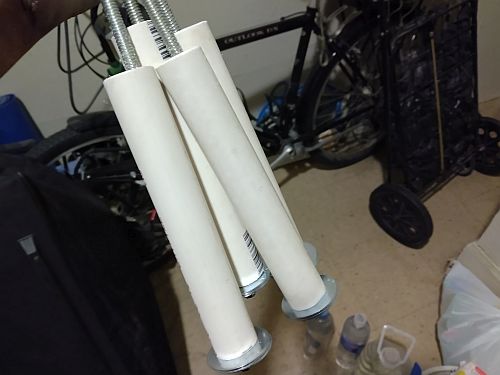
The PVC pipes can vertically carry much more than I'll be hauling...
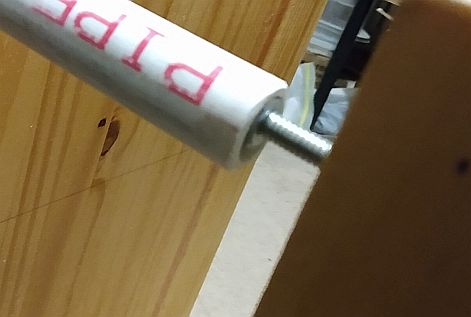
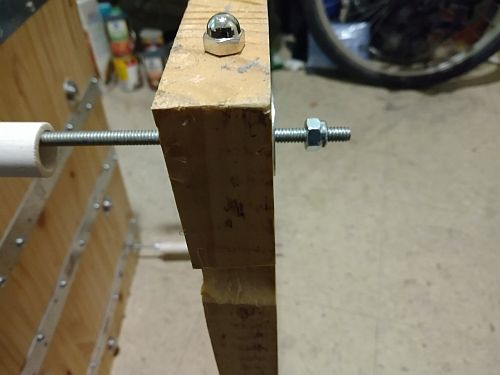
The hex nut set even with the pipe's end where it sits under the upper shelf...
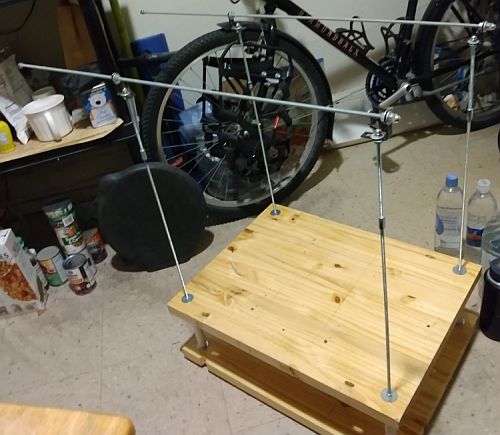
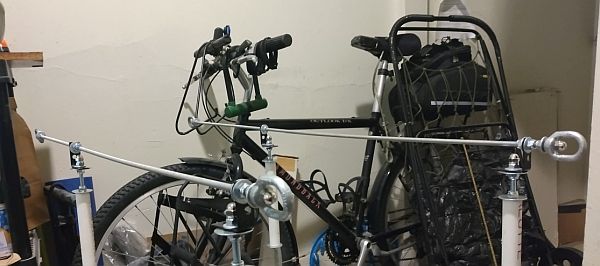
First look at the full cargo frame. The top rails are shifted back to accomodate the hitch in hand cart position...

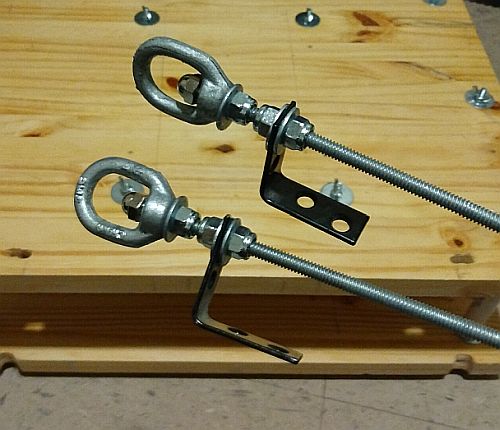
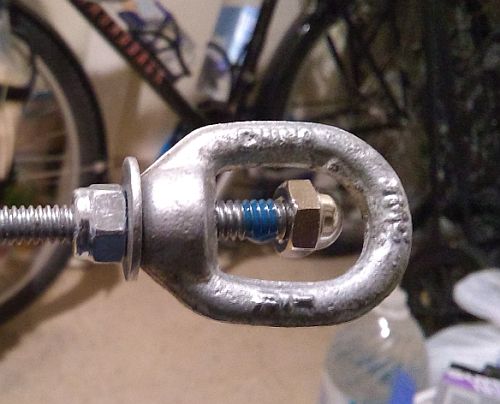
Finally the eye nuts...
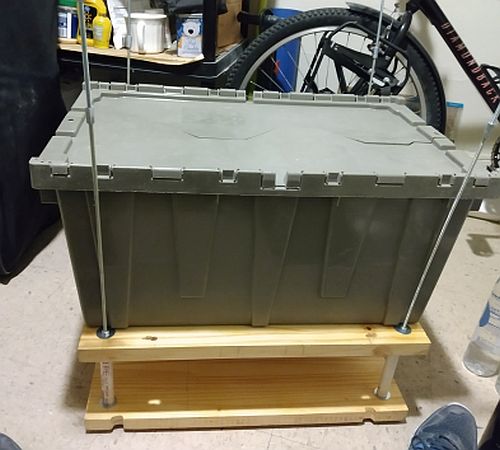
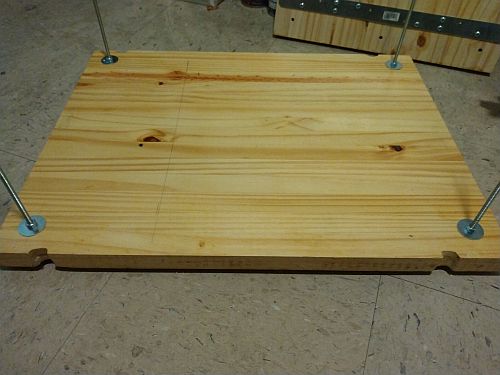
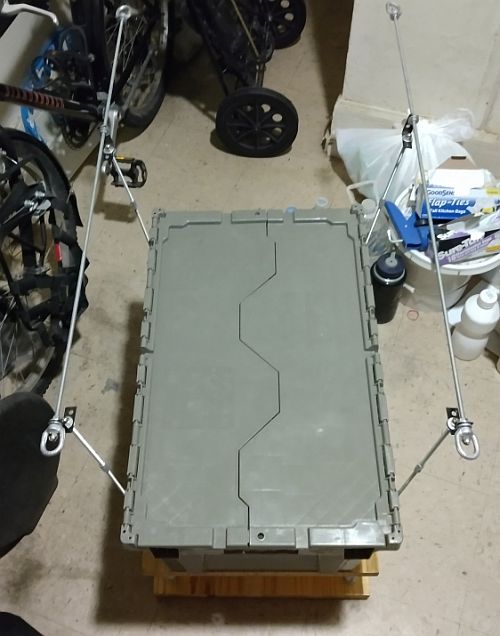
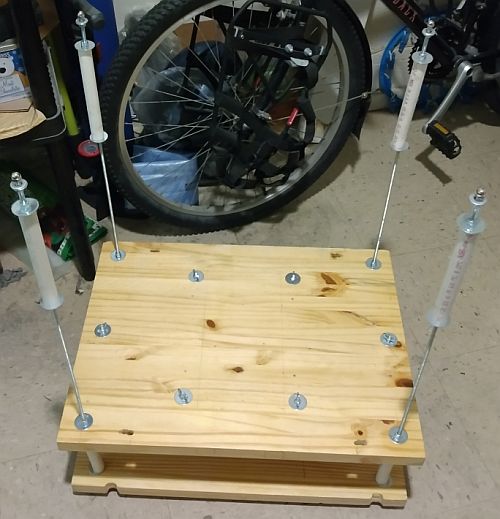
The acid test - the cargo crate does splay out the supports rods, but not too much....
Front view...
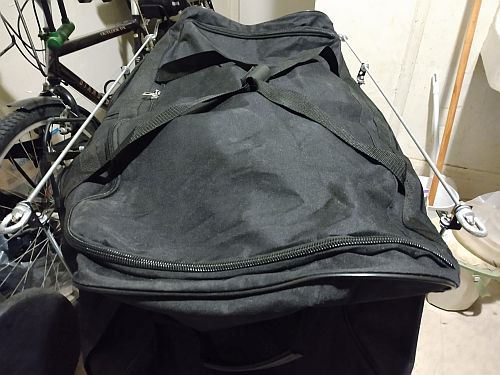
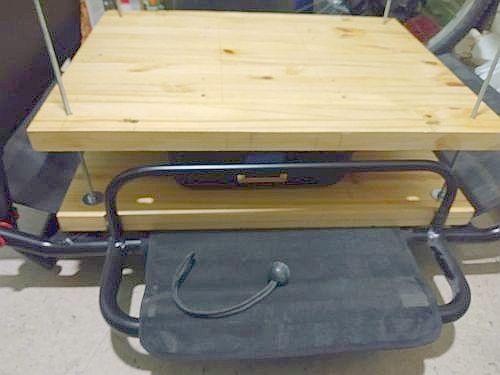
The stuffed duffel bag sits even with the top rails. Cool...
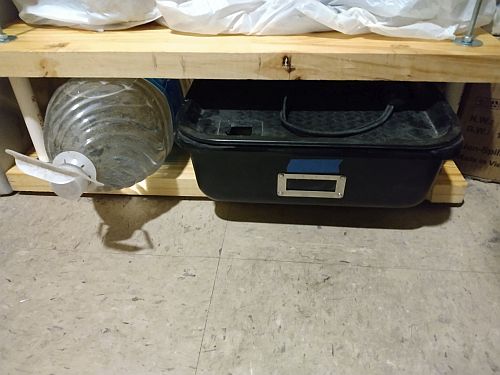
The bottom shelf area easily fits the battery box and a gallon jug of camp water...
(04/08/22)
Last weekend I managed to track down my digital camo tarps locally and order online the remaining washers to build the cargo frame. While riding to the particular store on Monday - and that same steep stretch of Masonic Ave. - I decided to make my first 'LA and back' trip without the trailer...
Actually, I want to do a couple tours without the trailer and one with while still in the SRO, even if it means waiting out an extra winter. So I reconfigured the bike touring modes into 'Full Trailer' that will use the tarp condo; 'Bike-Only' that uses the single camo tarps in the front racks, bedroll in the handlebar harness on its rack, trunk bag with panniers, and the big backpack; and 'City Casual' for training - empty racks, 2 - 3 water bottles, tool bag/patch kit, bike clothes, the old phone in the camera mount, and the laptop, headphones and mic in the smaller backpack. I'm training writing, recording and producing the show on the road.
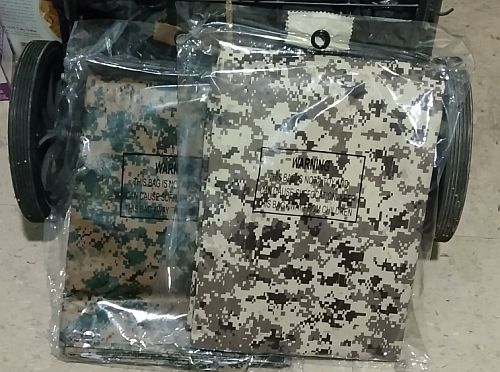
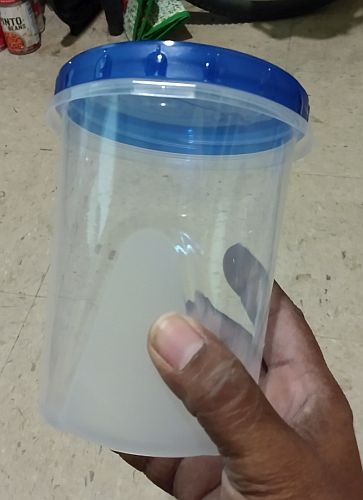
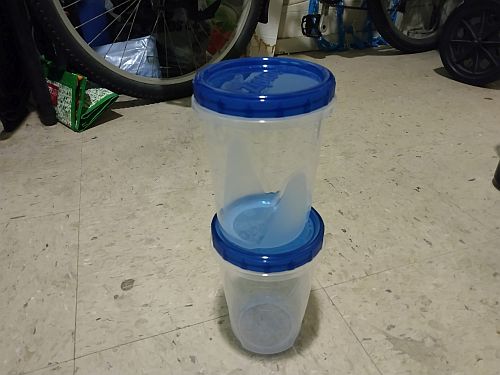
The two 8x10 (really 7.5 x 9.5) camo tarps, Ace Hardware store brand, from the store in Laurel Heights. Having my low profile stealth bivy tarps is a major step forward...
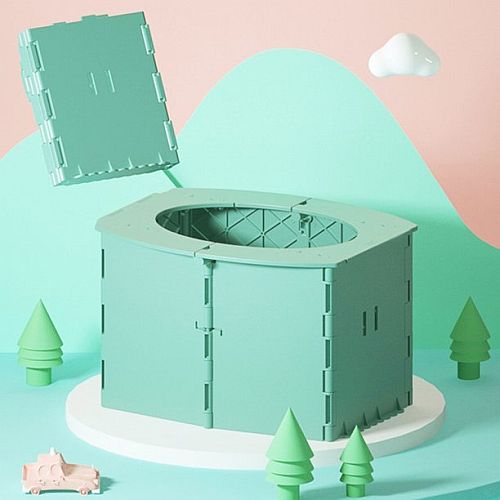
Part of 'Bike-Only' also means I need to carry a portable toilet. This particular Walmart portable bucket toilet seems to pack down small enough. Around $25...
Meanwhile the cargo frame mock up is taken apart to swap in the permanent hardware, as soon as I check out the solar panel...
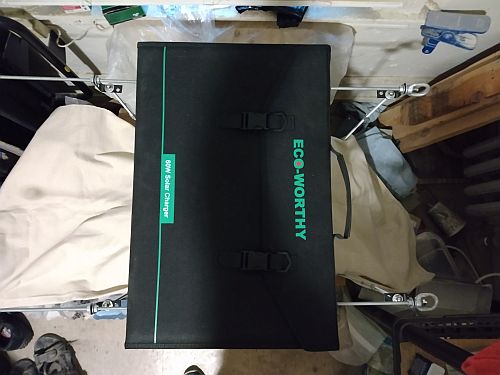
The solar panel on the top rail. The cargo crate will spread the rods, but not too far...
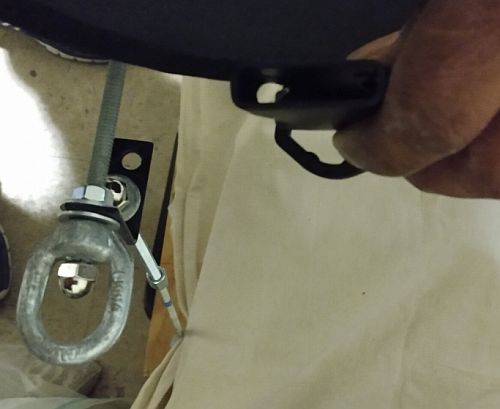
The front D-type rings...
The rear strap loops. Neither of these are meant to deal with the stress of wind gusts...

The rear loops sit directly on the rails without the spread...
Ok, back to the frame...
I decided to add another set of PVC sections to lock down the 6" rod extensions...
It only took half an hour to cut and file these sections...
I took the mock up apart to make installing the carriage bolt washers on the upper shelf easier...

I screwed a lock nut onto the rod backwards to support the coupling nut. PITA...
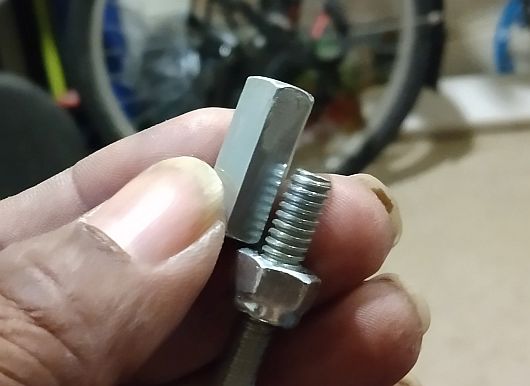
The lock nut roughly adjusted for fit, then moved up another full turn...
The botton coupling locked down...
The only way to screw the nylon nuts onto the rod forwards or backwards...
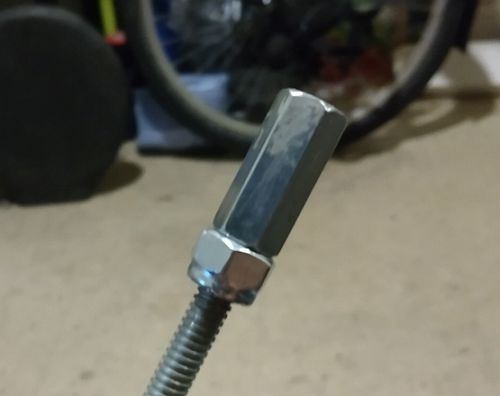
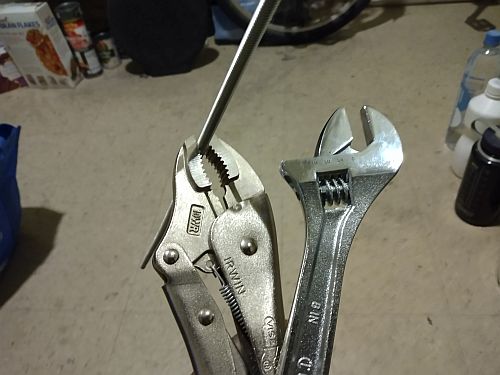
With the vise grips on the coupling nut, the bottom washer and lock nut were screwed into place the hard way. The other rods will be done with the coupling nut last...
These PVC sections are 7 inches. The bottoms will make tie points for bungee cords...
With another lock nut on top of the coupling nut and the PVC section locked into place, the extension rod will be solid, with plenty of room to secure the top rail...
Last work before producing the show - locking down the coupling nuts...
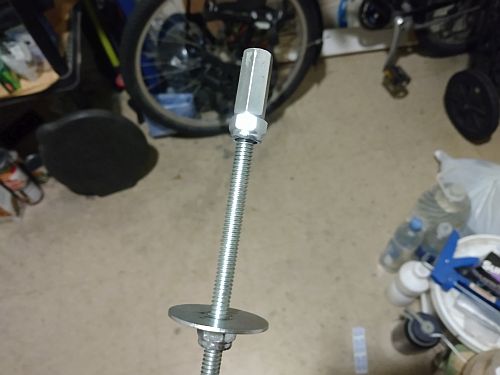
The support rods are now ready for the carriage bolt washers, due to arrive on Sat...
The carriage bolt fender washers came in 2 days early, with very little fender on them. Anyway, I'll install the mounts on the upper shelf and finish the rest of the cargo frame after the episode is dropped...
(04/15/22)
Now that I have my stealth bivy tarps, the ground tarp is next. Something nice, neutral color, heavy duty. Then a tarp I don't need yet because it's a 6x8 black cargo tarp to cover the cargo frame with the netting holding it all down. I need the ground tarp right now, so that one goes on the back burner...
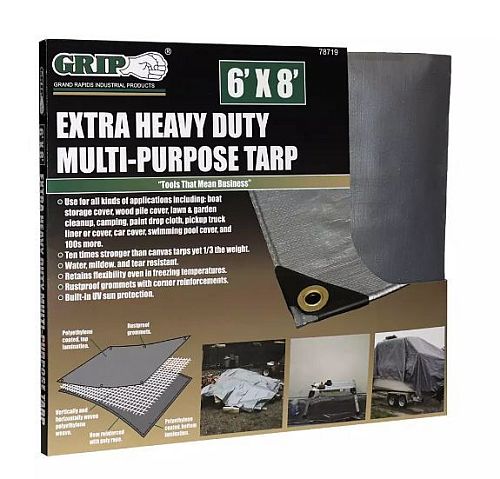
The type of ground tarp I'm looking for - GRIP 6' x 8' Extra Heavy Duty Tarp. $10, Dick's Sporting Goods...
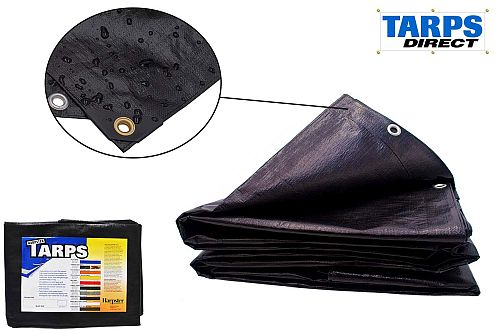
The 6x8 ft. black tarp to cover the cargo and frame while rolling, with my cargo netting tying it down. Tarps Direct sells it for $8, but the total will be closer to $20...
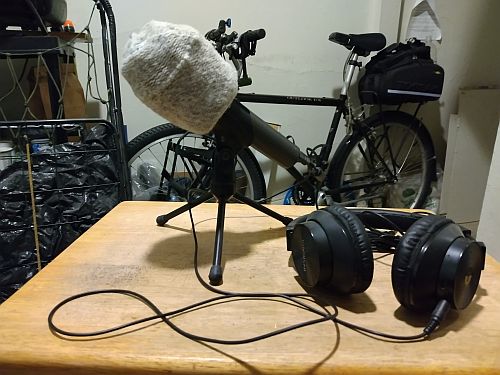
I switched over to mobile Internet to do the show on the road. My streamlined production studio is Audacity on the laptop, a Samson USB podcasting mic and Bluetooth headphones plugged into the mic. Until I get a proper windscreen I have a wool sock pop filter...
Spring is the right time to start using the gear outside...
The first two places on my list are GG Park and the first bike trail up the Embarcdero, past Fisherman's Wharf and Crissy Field to the bridge. Plenty of places to sit on a bench or lay out a ground cloth on the grass with the laptop...
Meanwhile, I spent the weekend constructing the cargo frame with many breaks between cranking down all those nylon lock nuts. Each step was a series of many baby steps that just took longer...
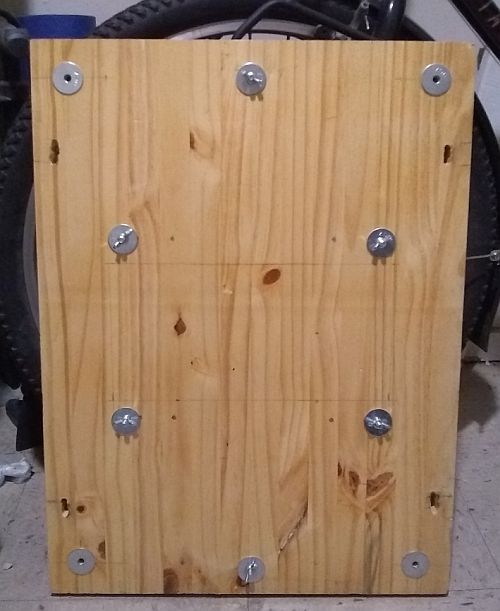
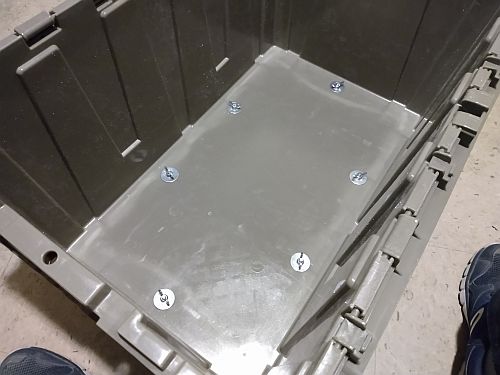
The first step in finishing the upper shelf is to mount the washers on all the holes with the super glue...
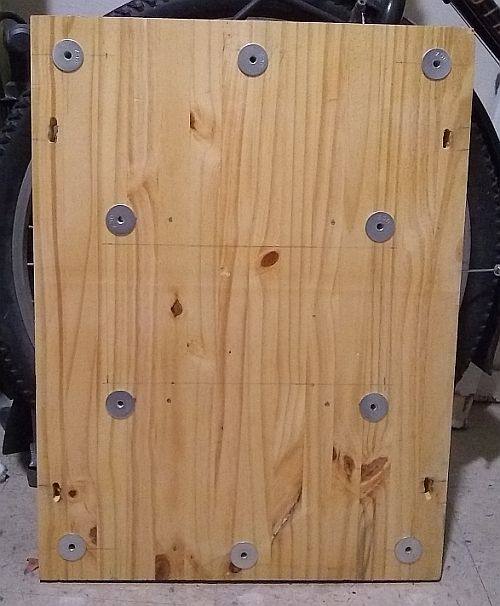
Bottom and top...

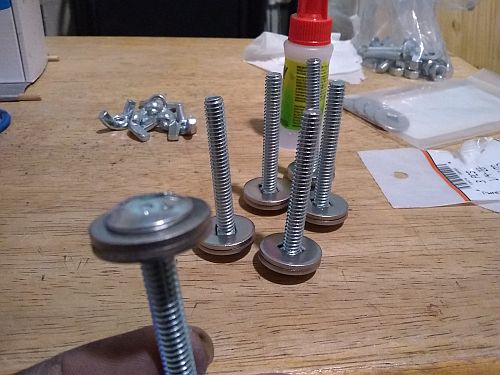
The square hole fender washers are thinner than the carriage bolt square, so it takes two...
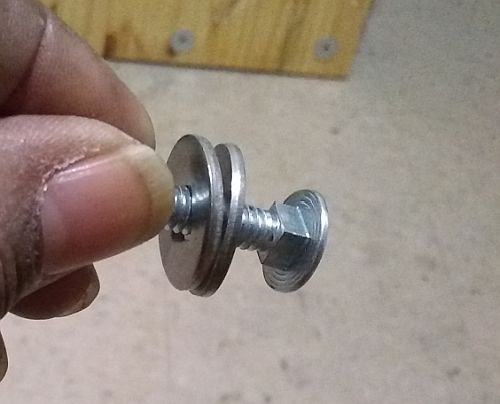
This makes the 1-1/2 inch bolts too short...
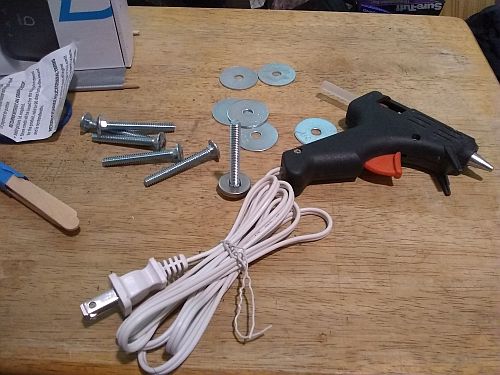
I replaced the 1-1/2 inch bolts with 2 inch bolts. The super glue didn't work on the cargo crate, so I switched to hot glue...
The washers are only mounted inside the crate...
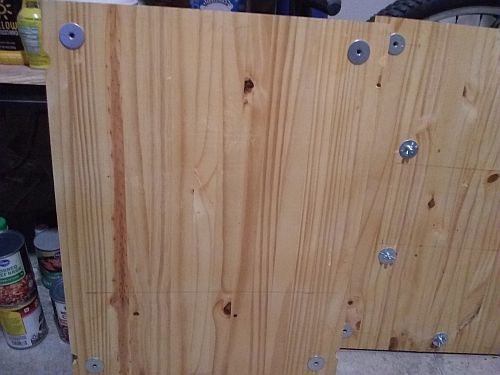
Just enough bolt left for a secure hold...
The crate is ready to mount to the cargo frame...
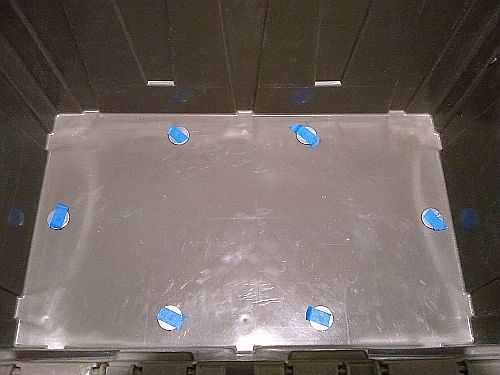
The bolts are ready to be super glued to the shelf mounts...
A dab will do...
The finished bottom of the upper shelf...
The topside with the mounts locked down to let the super glue set...
Since I had glue left over, I mounted the lower shelf washers too...
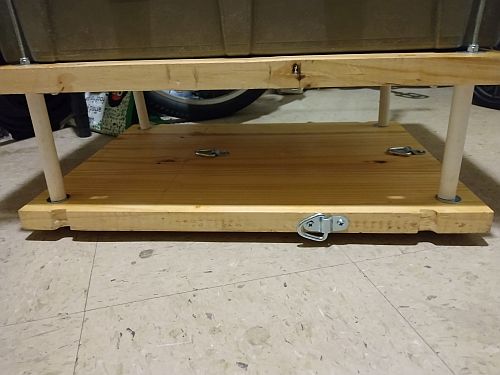
The first step in assembly is to install a lock nut upside down near the halwfay point, so the upper shelf is out of the way of the PVC support sections and the lower shelf...
The PVC sections are added, then the bottom shelf is installed and the support rod bases are locked down. The cap nuts will get some thread lock...
The upper shelf and lock nuts are cranked into place, making the two shelves a single solid unit...
Lastly, the top rail front hardware is locked down. The cap nuts here will also get thread lock...
It took the whole weekend to finish the frame, but finally the top rail rear hardware was locked down...
I applied threadlock to all the cap nuts...
Might as well fix the hitch. I removed the regular nut...
...Installed the breakaway security nut, had to use the vise grips and a wrench to break the nut off, then finished it off with a bit more threadlock and the regular nut...
(04/22/22)
This week I took note of the visit to the park last week to improve the next voiceover session, meanwhile, the assembled frame had to be dismantled again to tweak a few features...

The rear pannier can fit one of my older laptops, but not much else; they aren't exactly fat. My current 15 inch laptop would be tight, but I'd still rather carry it in a backpack. I'm looking into which tablet could work with an external hard drive...
The sculpture studio gear (minus the extra sandpaper on the left and the polishing wax inside the towel) is now in storage, freeing up a lot of room for camp gear...
The lower shelf has much less space for water now; I want to carry two gallons for camp use, but that second will bump space from the food canister...
The furring strip bus bars in the first imagined position...
Battery terminal mock up placement...
A better placement would be screwing it to the edge of the shelf...
[Post-Episode Ed. Note: Baka Baka Baka! Wood is not an insulator. You already have a place to mount the battery charging terminals - on the upper tray. The output cables to the Johnson connectors run from the bottom...]
(04/29/22)
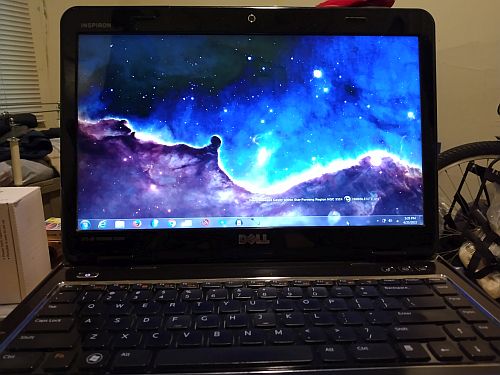
Ok, this week I considered my big-ass refurbished laptop going on the road and checked out other options for a touring machine. In the end a more practical and cost-saving move is to use the old Dell laptop that got me through the first hard year of living on the streets of San Francisco. Meanwhile, I re-adjusted the cargo frame and finished the battery box...
Forgetting the stupid wood busbar idea, a better use is to use the case to mount the battery charging terminals...
The float battery terminals go here...
Using a piece of the 1/2 inch PVC, I made a reference line for placement...
Drill marks...
More drill marks...
It took about an hour to step the holes up from 1/16 to 1/4 inch waiting for the drill batteries to charge...
The 'A' battery terminals on the right, 'B' on the left. The D-rings originally intended to hold down a stone on a previously bare shelf can now hold down the battery box...
The installed tie downs can work with bungee cords to secure the box. Unfortunately, there's only room for one big water bottle now...
After adjusting the mount holes in the cargo crate, it's secured to the shelf. The wing nuts will be replaced with permanent hex nuts...
The lower shelf with elbow room restored...

The upper PVC sections are too long now, pushing the rods out too much. I'll put the 5-1/4 inch sections here...
The solar panel once more sits on the top rails after the frame adjustment...
The shorter PVC sections now sit above the cargo crate lids...
The duffel bag stuffed with the bike touring gear barely rises above the rails; in use it'll sit below and help support the solar panel...
(05/06/22)

My plans to spruce up the Win 7 laptop for bike travel kinda went south last Sat. morning thanks to Murphy's Law, so I shifted to window shopping a new tablet/laptop to buy next year. But whether I'm using the refurbished or a new machine, now that I'm doing bike-only travel I'll need a second solar power kit to keep the laptop charged...
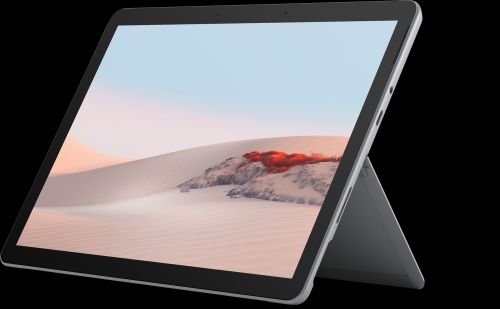
The MS Surface Go 2 tablet, a full service Win 10 machine I'll have to save up for (I don't like financing a product, I'd rather pay for it straight)...
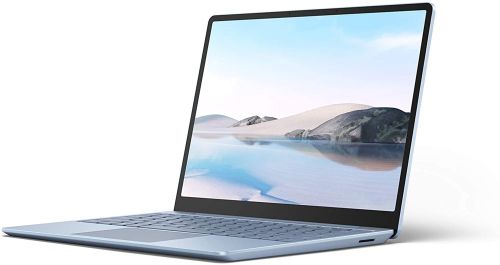
The Surface Go laptop costs the same as the tablet. Either one will become my new travel computer next year...
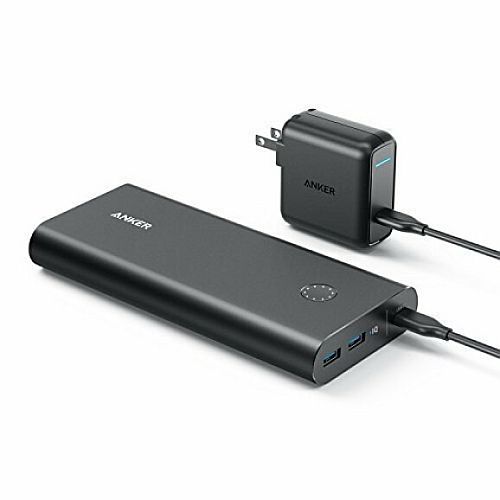
Anker PowerCore+ laptop power bank, an example of a laptop charger for travel...
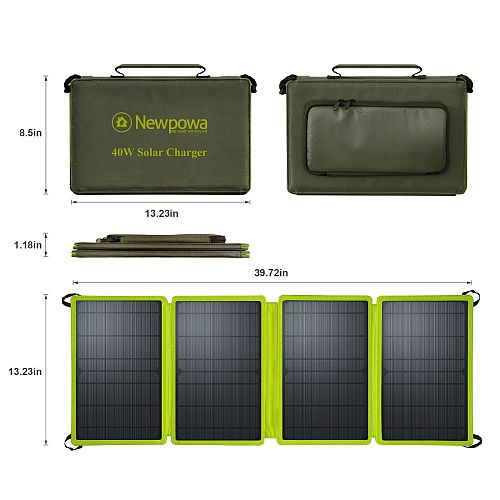
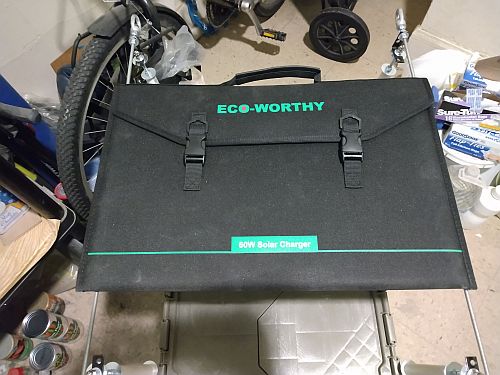
One example of a 40W portable solar panel for a bikepacking solar system...
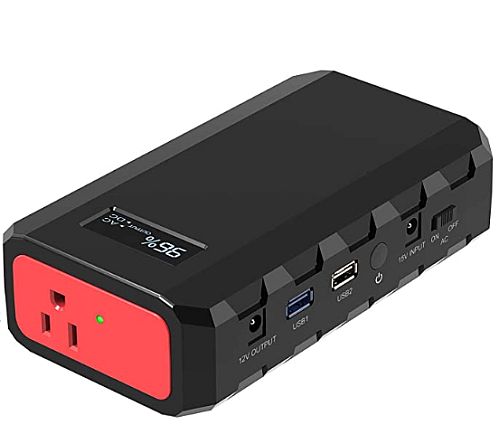
An AC laptop charger, a device I ultimately turned down for consideration because it doesn't have a USB Power Delivery port, only smartphone charging...
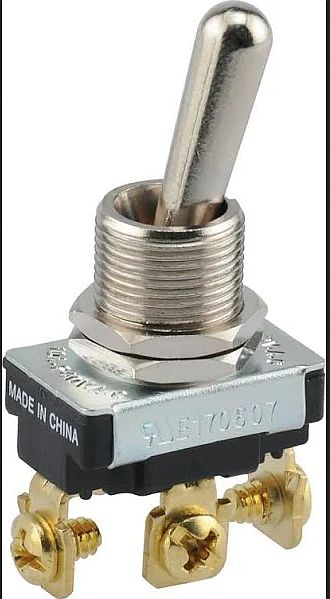
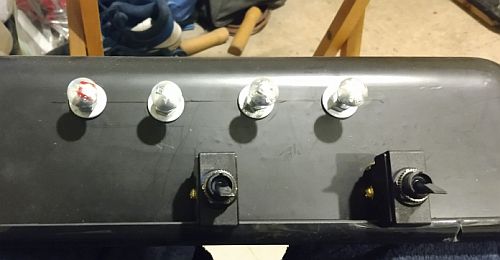
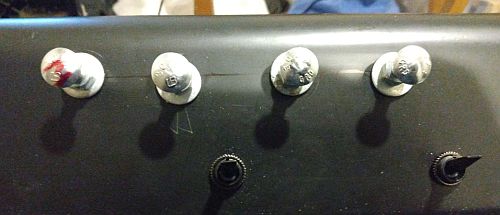
One example of a 10 amp on-off toggle switch for the battery box...
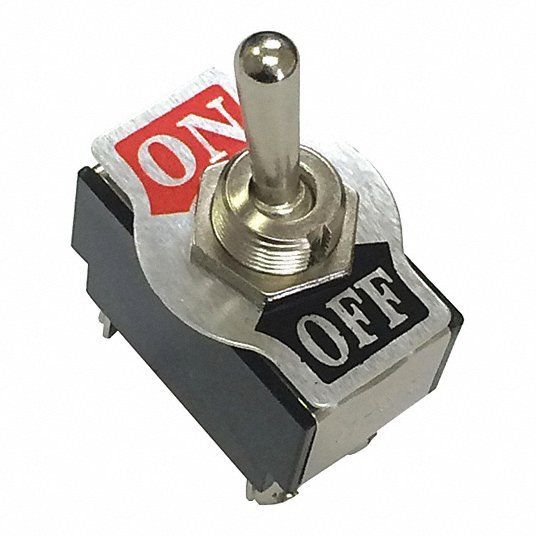
Another toggle switch example. This goes inline on the negative cable of each battery to turn off the live terminals when that battery isn't hooked up to the solar panel...
In the bike shop, the battery box is ready for wiring, so after paying most of the monthly bills I started on the hardware, which will be a bit harder and more expensive now that the electronics store is gone...

The only hardware found so far is 16 AWG ring terminals. The home improvement store only had stiff electrical wire and big clunky toggle switches...
(05/19/22)
Last week was spent dealing with the consequences of getting a bad salad at the store, as well as making a few more baby steps.
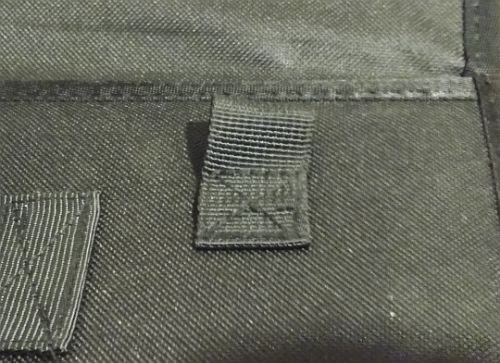
On the camo tarps, I decided not to rigidly tape them together in a grid, but just around the perimeter with the grommets zip tied.
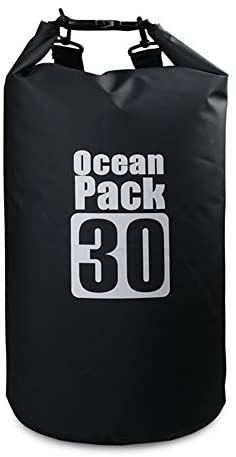
I compared my carry capacity to touring panniers and saw that mine was about half, so I need to add another set of gear - seat bags. Seat bags are often expensive, so better to go with a waterproof dry bag.
This 30 Liter bag should be big enough to carry all the clothes I'm not wearing, making the trunk bag that much more efficient.
Because there's not much space between the seat and the trunk bag, I might try a 40L bag to have more slack...
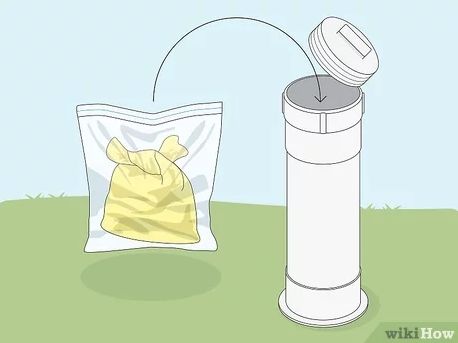
Example of a PVC poop tube. Image: Wikihow...
What climbers and some cyclists use instead of a potty...

Many cyclists also use wide-mouth plastic jars. I found these - a pair of 32 oz containers at Target...
The actual items at the store don't match the ad at all, not the same dimensions, but it does have a leak proof lid, and it was under $5, so I got them anyway...
One container can hold supplies (plastic bags, twist ties, ziploc baggies with a little powedered detergent), the other serves as the 'toilet' holding one days' worth of bagged loads (2 max). If they turn out too small, they can be replaced...
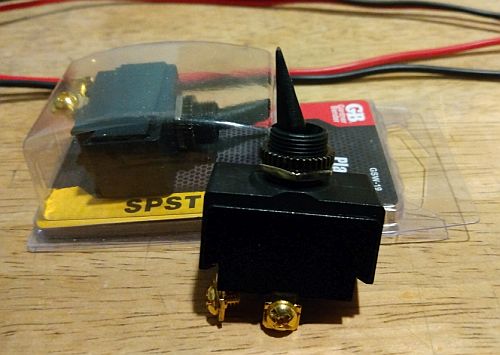
A second trip to the home improvement store to check toggle switches found these small 10 Amp plastic handle items for $5 each. The mounting hole is 3/8 inches, within the range of my tools...
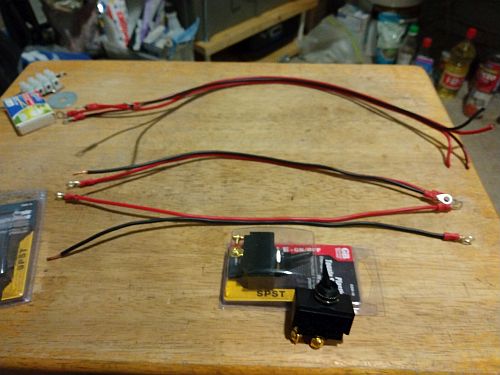
The last of my 14 AWG zip cord made two pairs of battery wires - the longer wires go to the power plant and the shorties go to the terminals. Still looking for Anderson PowerPole connectors and just regular red and black zip cord locally...
Mockup of toggle switch placement for the battery box negative terminals...
Placement of toggle switch for the float battery...
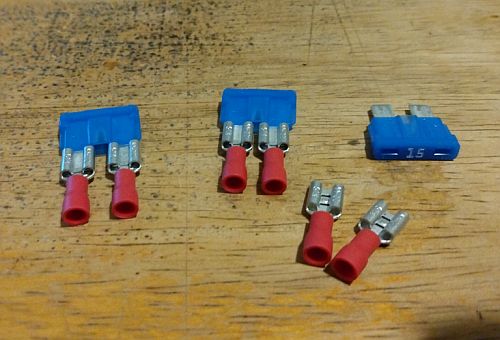
15 Amp blade fuses for the battery box positive terminals. Instead of inline fuse holders I'm using female spade connectors...
(06/11/22)
Now that I've had my visit to the eye doctor and am on the surgery on-call waiting list, I'm limited to 1-day and 2-day bike trips, but now I can plan actual itineraries. So before the month turned over I did a bit of housekeeping as I planned trips to check out San Bruno Mountain and the area between Pacifica and Half Moon Bay (HMB)..
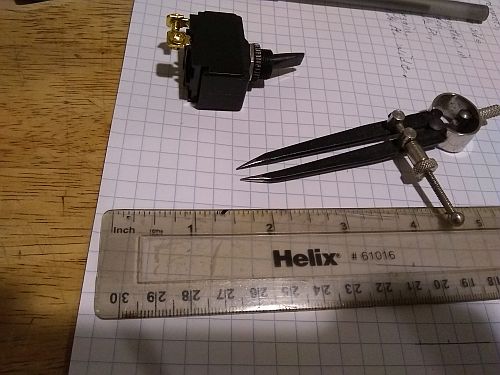
Calibrating my compass to make a 3/8 inch diameter circle...
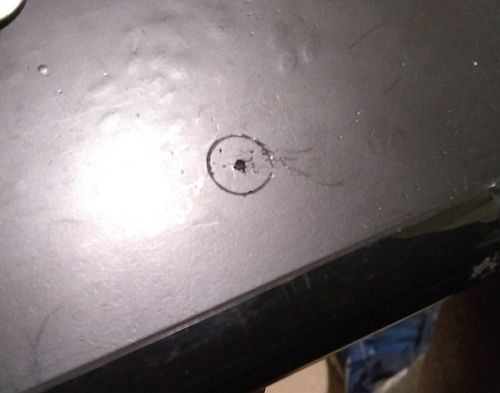
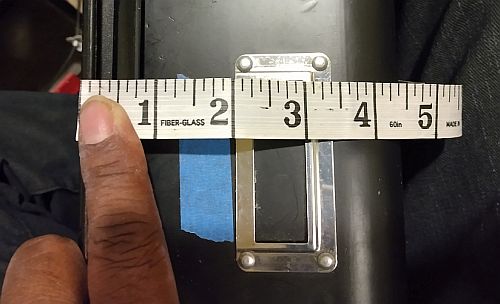
Registration mark and circle carved into the battery box case...
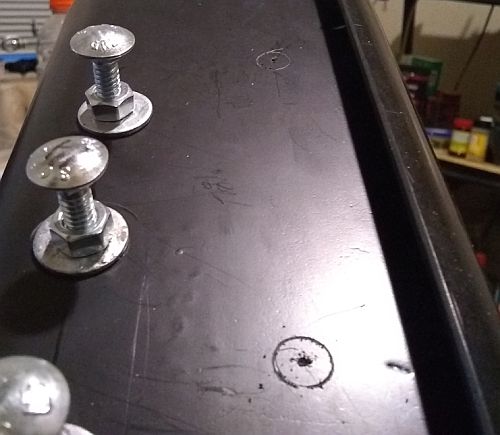
Both circles made for the toggle switch mounts...
The circle carved for the float battery. Time to charge the drill batteries again...
The circle rodded out, an almost perfect fit...
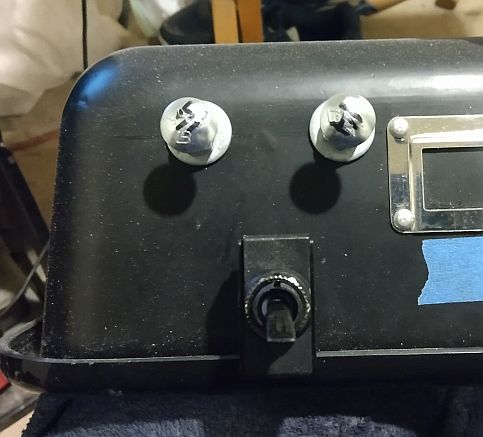
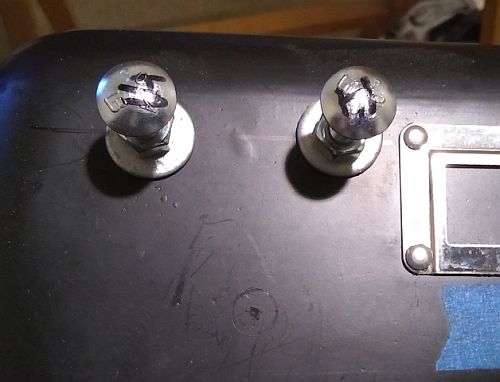
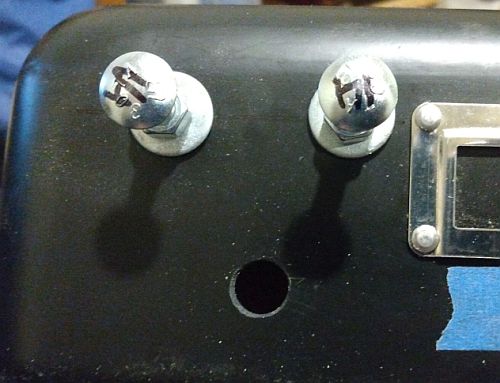
The front terminal toggle switch mounts finished and the hardware dry fit...
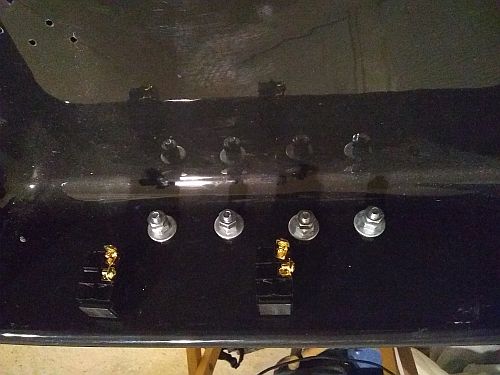
Inside view of the switches...
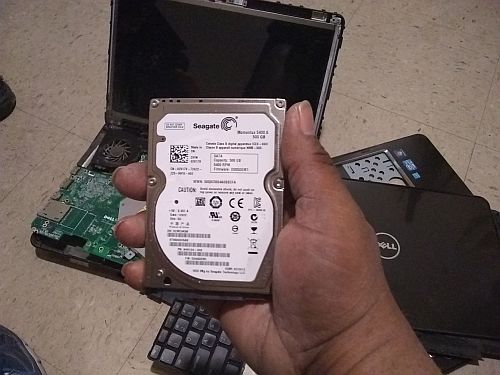
Breaking down the old Windows 7 Dell machine for the hard drive...
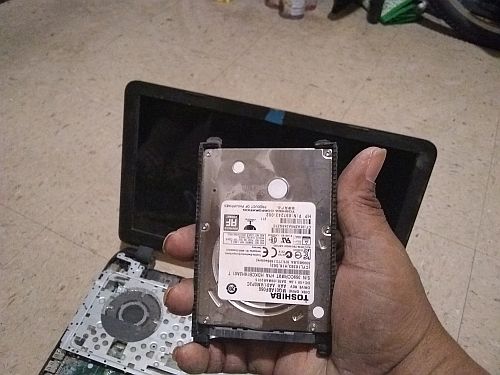
Breaking down the cheap old HP laptop for its hard drive...

I don't have a tiny star-shaped screwdriver bit to take the drives apart, so I pried into them and destroyed the disks inside. Done...
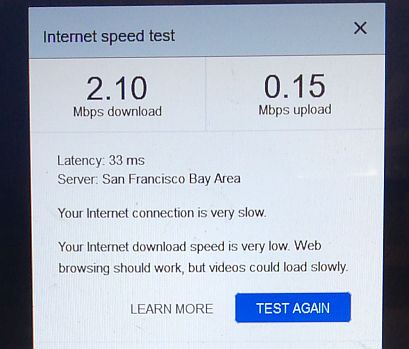
Here's the wifi signal at 2:30 PM. It's like this all day in the SRO building...
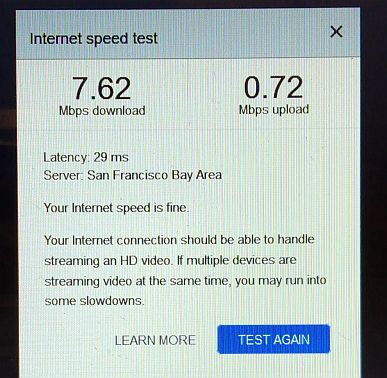
This is the signal at 2:30 AM...
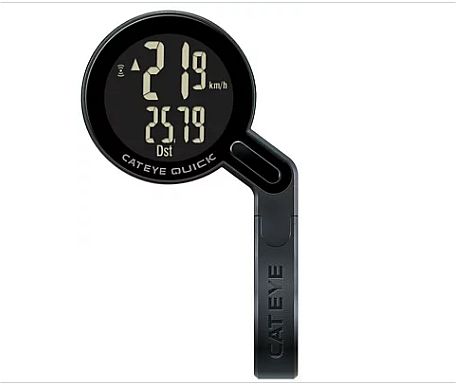
An example of a simple head unit - Cateye Quick Wireless Bike Computer. It displays speed, distance, ride time and a clock, uses a watch battery, around $60...
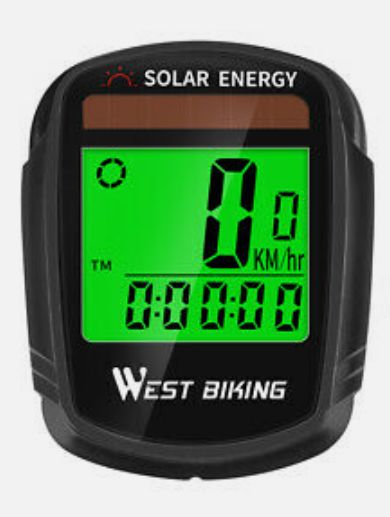
An example of a solar head unit - unbranded model, might be a piece of crap, around $20...
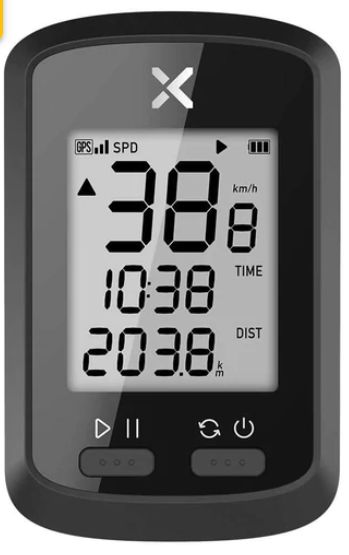
An example of a basic GPS head unit - Xoss G GPS Bike Computer, more features, around $30...
The big-ass laptop actually IS too big for the trunk bag pannier...
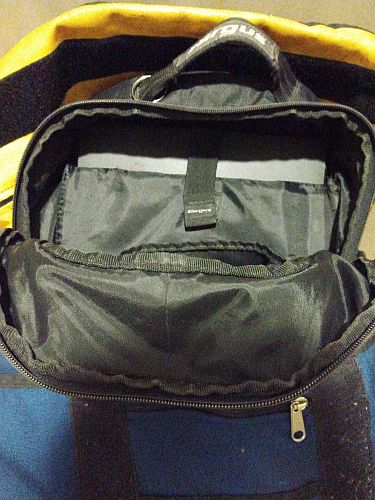
The HP laptop just barely fits in the backpack, but the backpack easily fits into the messenger bag as a padded case...
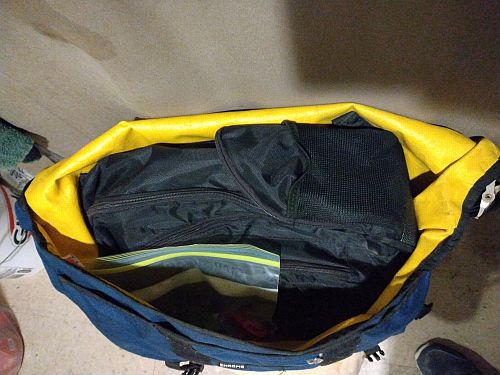
There's even room for a few extras, but the squishable food items go in the trunk bag...

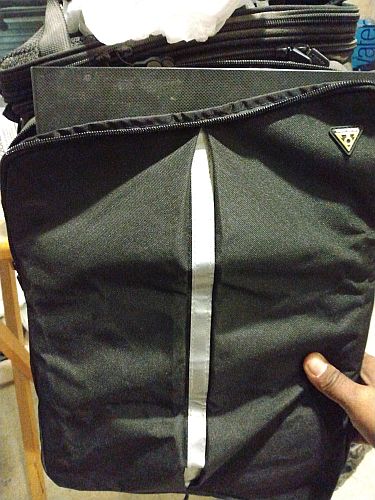
This is my bag from my mid-90's bike messenger days. Instead of leaving it in storage, I'm gonna use it as an almost 30 liter bikepacking dry bag. On my first ride through the park to the beach, the bag barely touched my back and the weight was negligible, even on inclines...
Yeah, the test ride was on Election Day. I packed the laptop, solar charger, podcast gear, road food and plenty of water and gave the trunk bag a good shakeout...
(06/29/22)
In this episode I considered and began an informal training schedule with my first rides lugging scoutig gear, and discovered how hard the hilly streets will impact my training. Meanwhile, I made a little progress in the shop...
The final toggle switch was installed on the battery box. Still looking for a local shop selling Anderson PowerPole connectors......
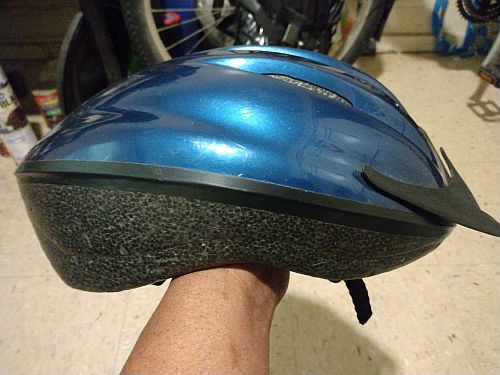
One immediate item needing an upgrade is my helmet, courtesy of the SF Bike Coalition. It's in good shape, no crash damage, but 7 years old. I checked the local non-bike stores and saw Bell helmets sold at Target - it's a brand name I know and some are on sale...
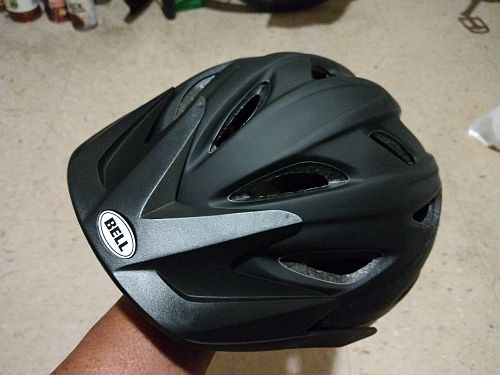
I picked up the Bell Sports Adrenaline helmet, which off the bat has more ventilation and fits fine. $20 on sale...
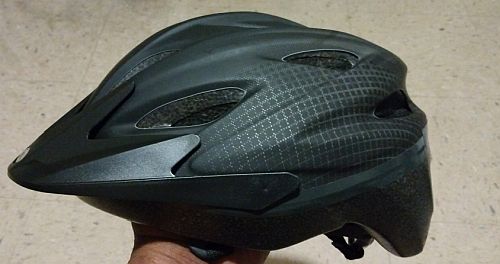
The more aerodynamic design is perfect for road cycling...
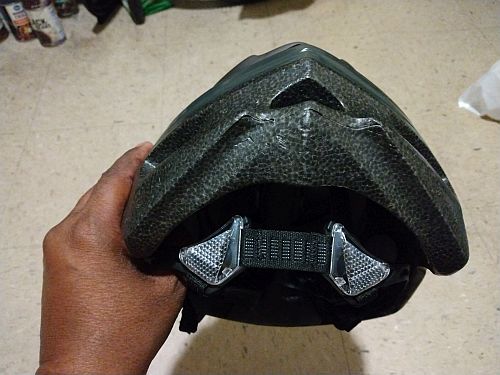
Nice touch, rear reflectors...
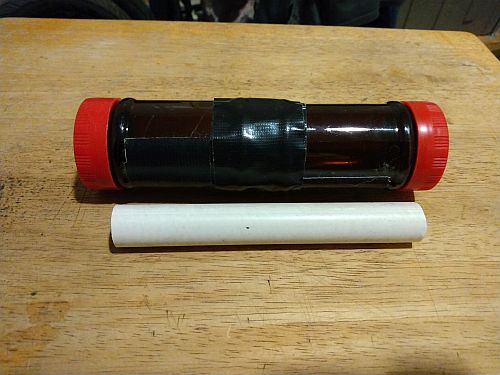
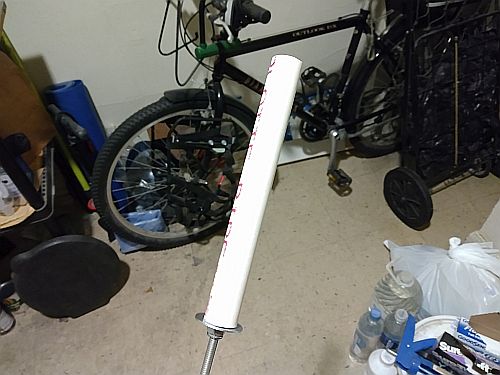
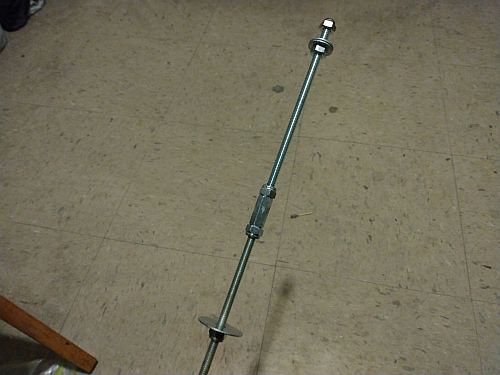
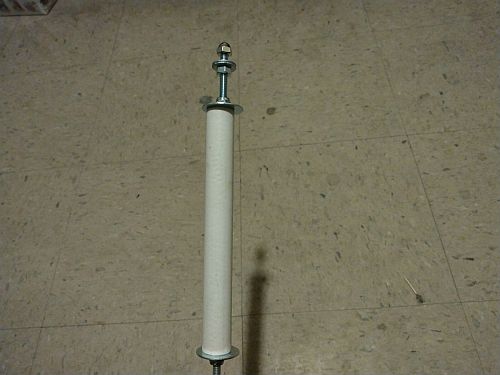
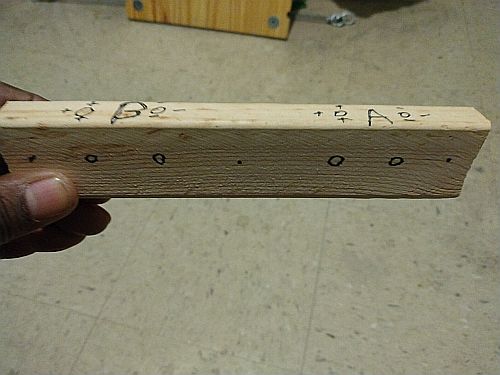
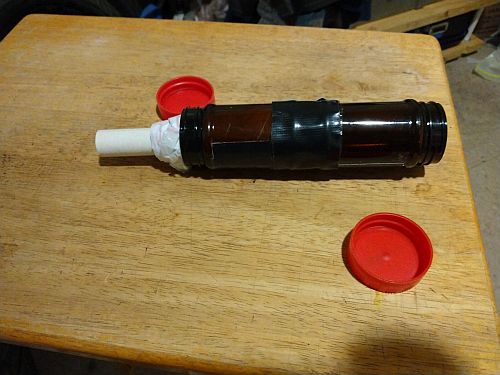
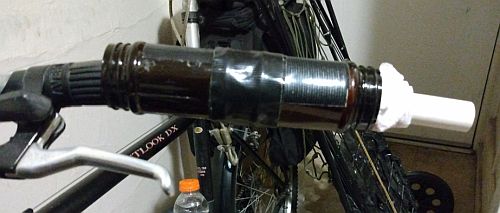
This is the DIY tent pole for my stealth camp camo tarp. It's designed to mount on the end of the 2 foot long handlebar and extend the tarp tent height to 2.5 feet...

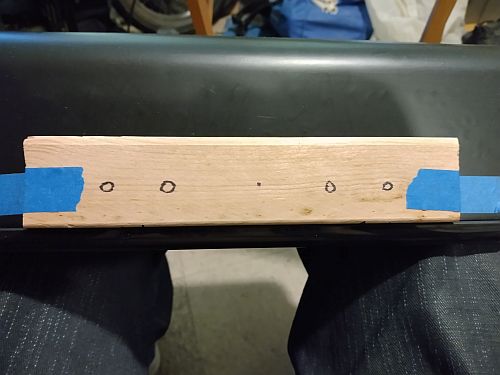
A medium sized plastic bag folded and wound around the 6 inch long piece of 0.5 inch pvc pipe holds it in place. The two containers held non-cubed chicken-tomato flavored bullion; they're fine for fitting over the grip...
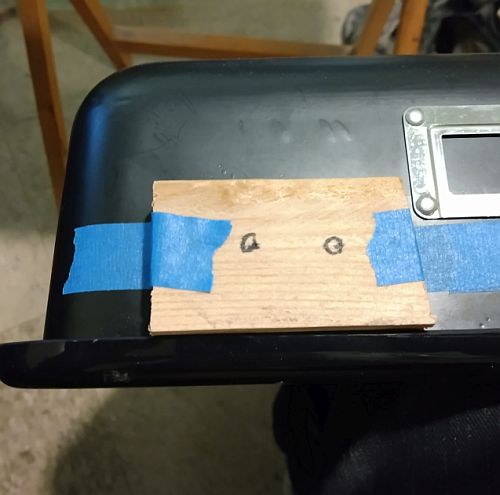
With the pole seated, it just needs a tennis ball to be complete...
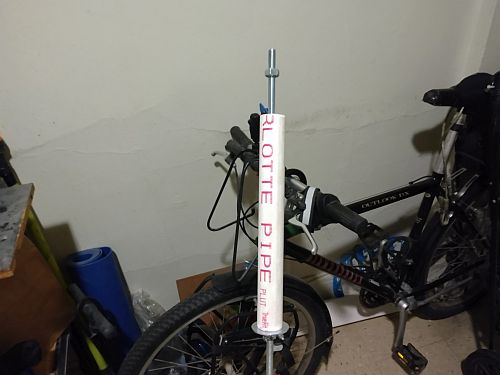
A mock-up view of the stealth tent pole on the bike...
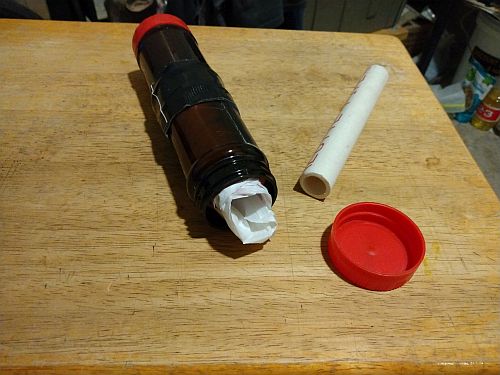
In the morning, just remove the pipe, tuck in the plastic, screw down the lid and put it away in a front rack. The two containers are only duct taped for now...
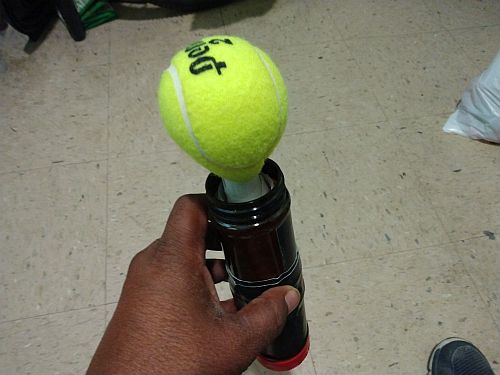
A fresh tennis ball tops the handlebar tent pole...
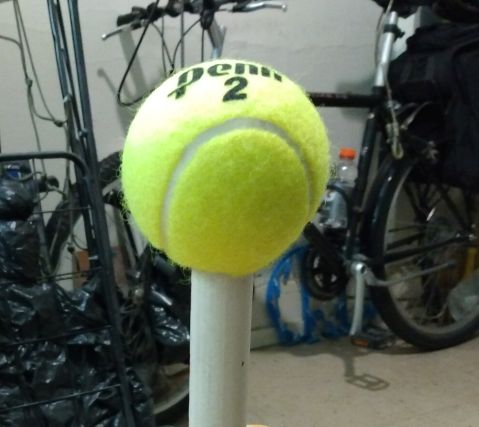
The first ball's 'X' cut turned out crappy, so I used my exacto knife to cut a pipe-shaped hole with a snug fit...
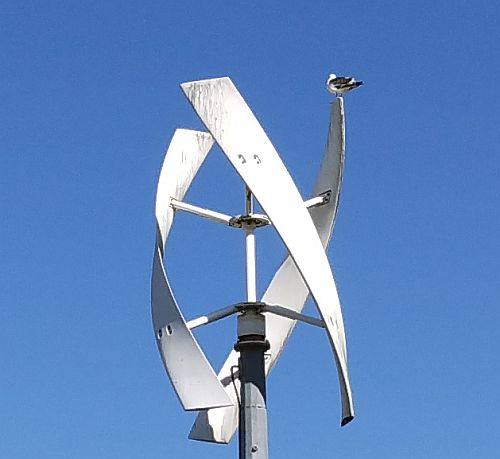
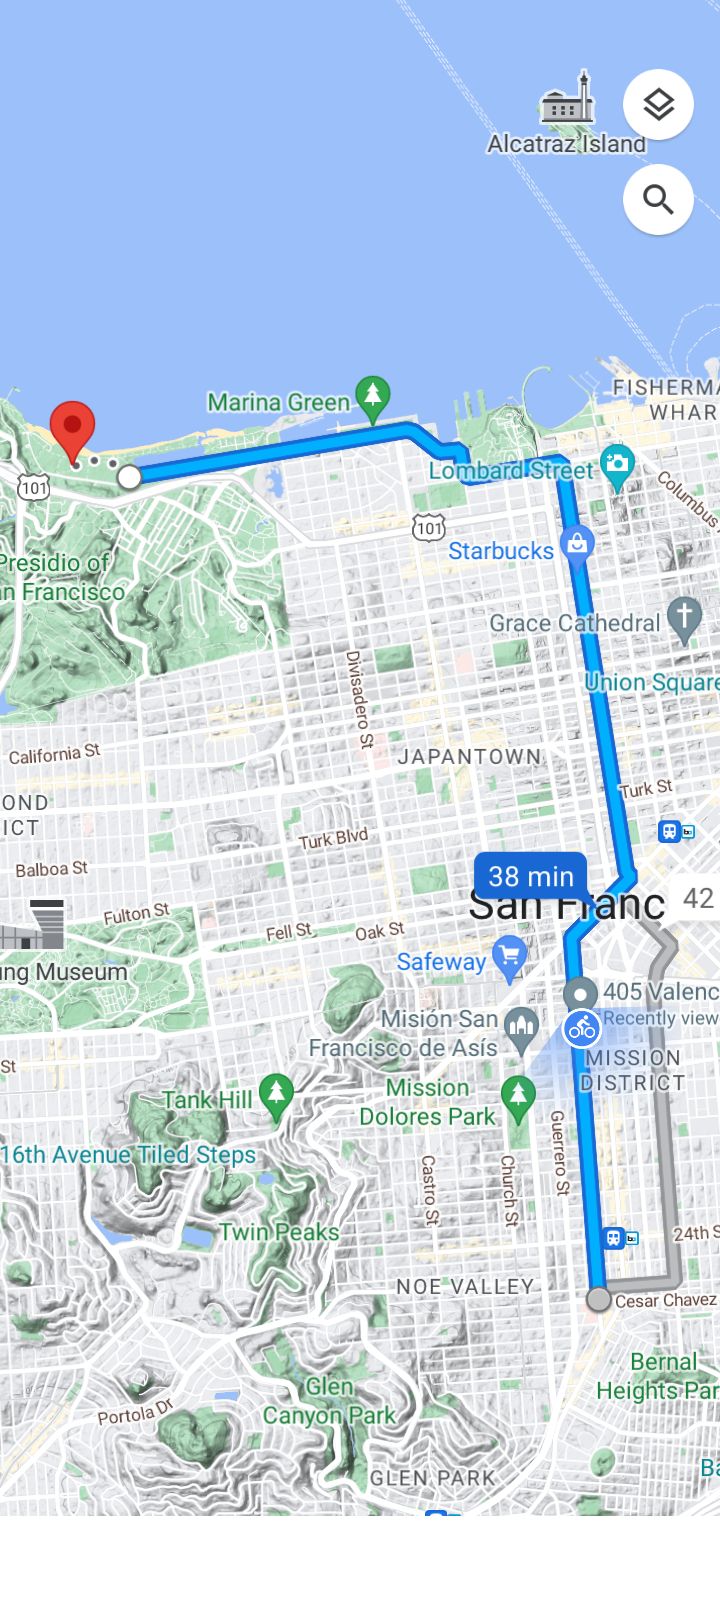
On Flag Day I set out to the Embarcadero a little after 7AM and rode to and across the Golden Gate Bridge. On the ride back I stopped for a bit at Crissy Field. When I broke out an imitation granola bar two Brewer's Blackbirds came outta nowhere, walked right up, waiting for some crumbs (no, I didn't feed 'em,,,). Anyway, this Gull perched on a becalmed windmill looked nice...
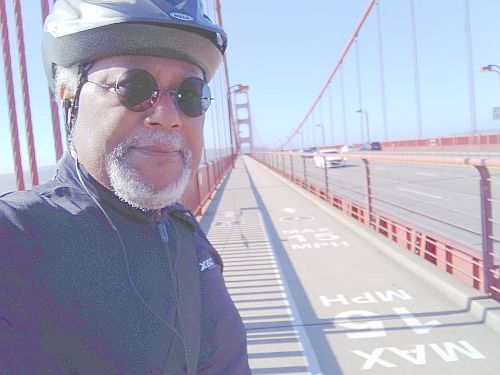
Bridge selfie on a beautiful morning where bikes had lots of room with very few pedestrians...
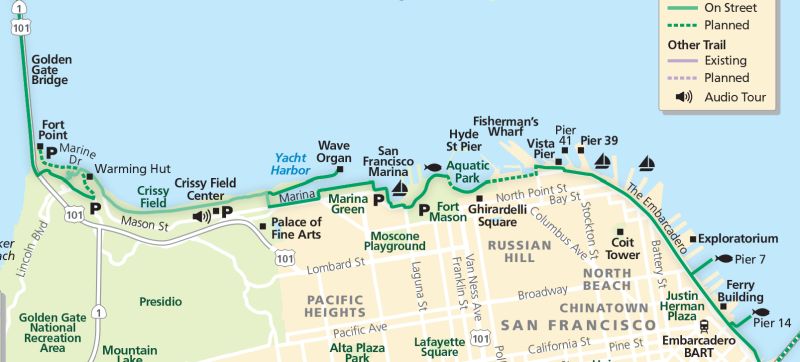
The 10 miles of Embarcardero I rode out and back, from the Cupid's Bow sculpture to the bridge...
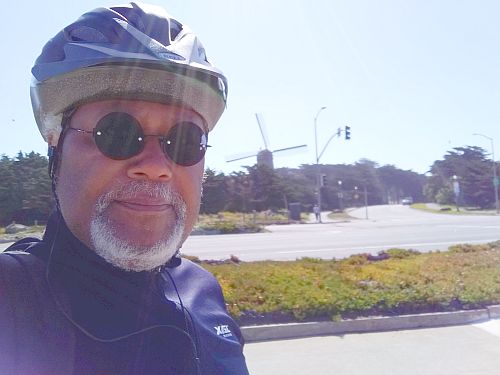
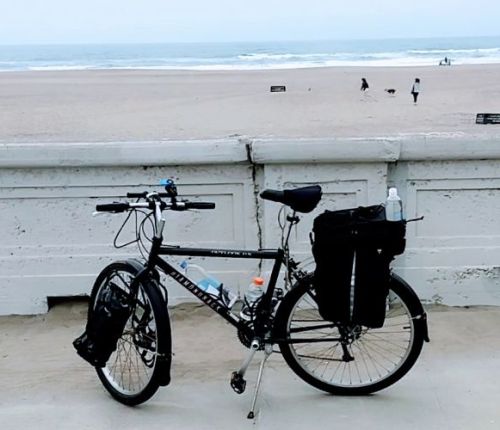
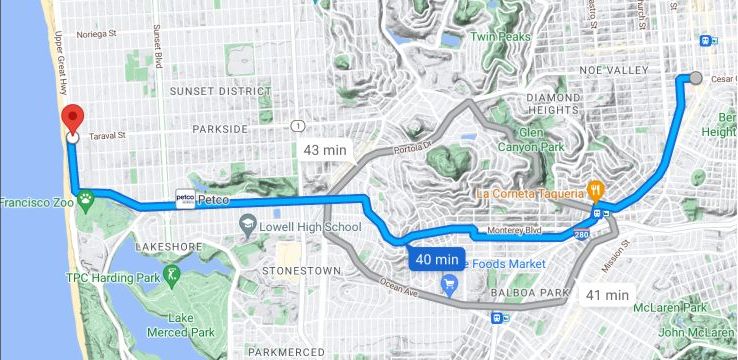
Ocean Beach selfie across from the Kennedy Pkwy corner of GG Park. This is from the 15th; the 2.5 hr ride didn't produce a Charley horse, but the rubbery legs were a little worse after a second straight day of cycling...
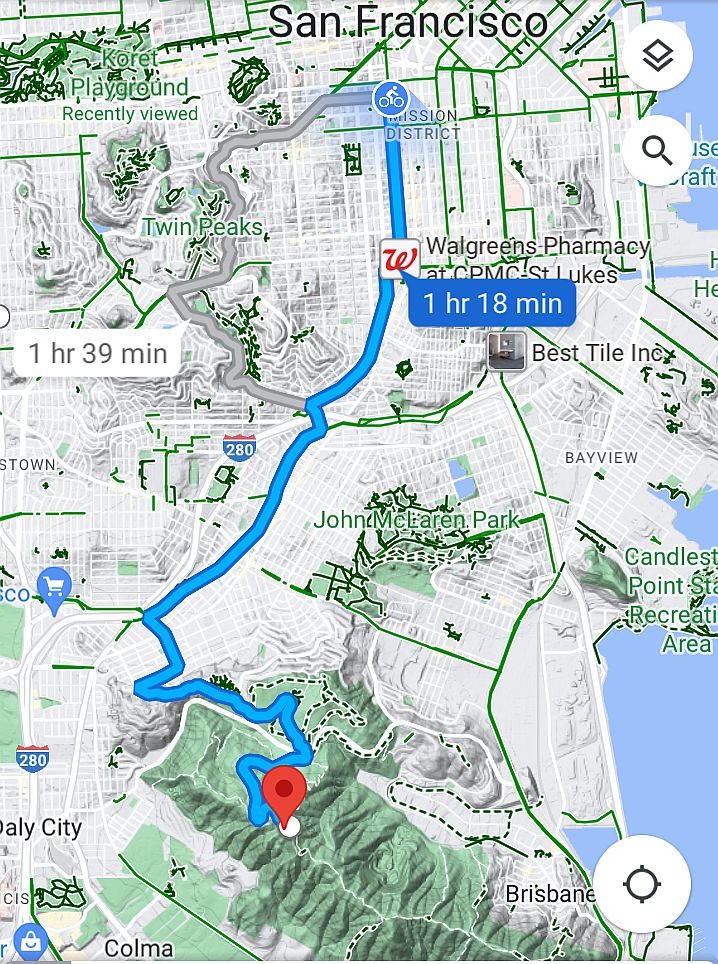
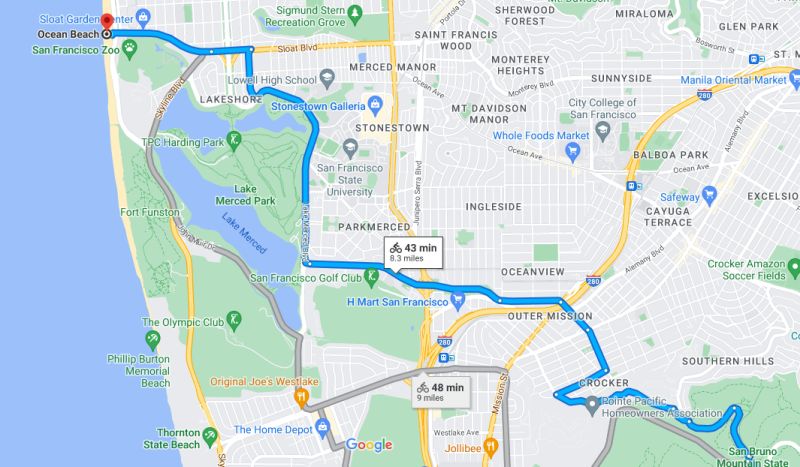
The first leg Google bike map from my crib to the county park. Almost 10 miles...
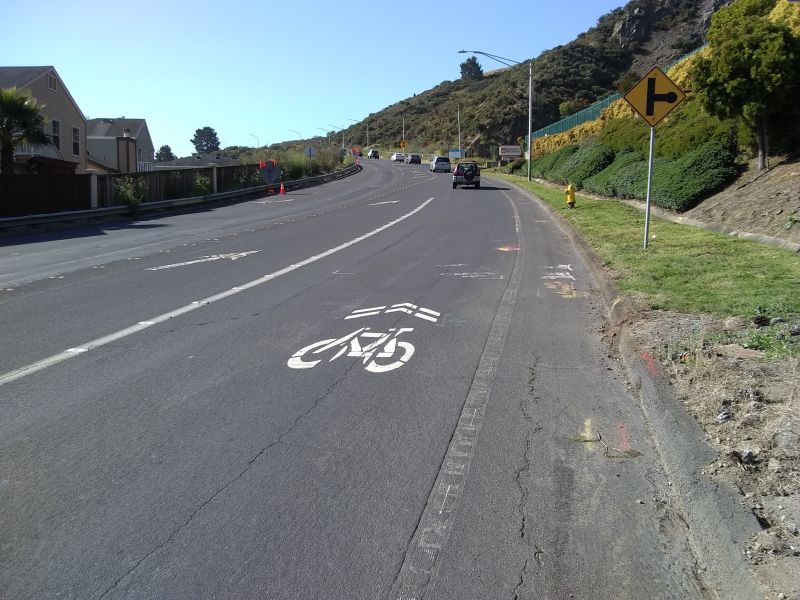
The first leg went a lot faster than I expected - I wound up on Carter St., walking the bike up the long incline of the mountain's base for what seemed like a couple miles...
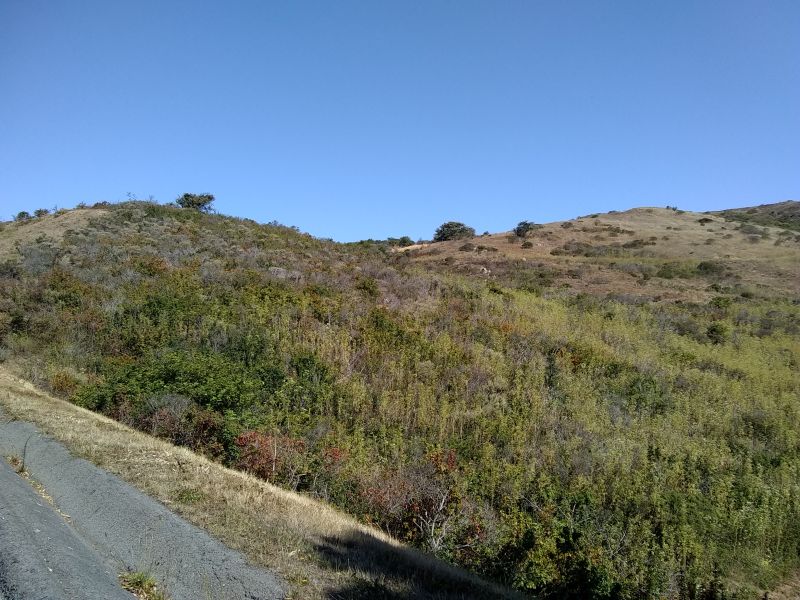
Further on I walked past the Daly City - Brisbane border, just inside the official county park. I can't stealth here - no trees, and I'd be seen humping up that hill without knowing what else is up there...
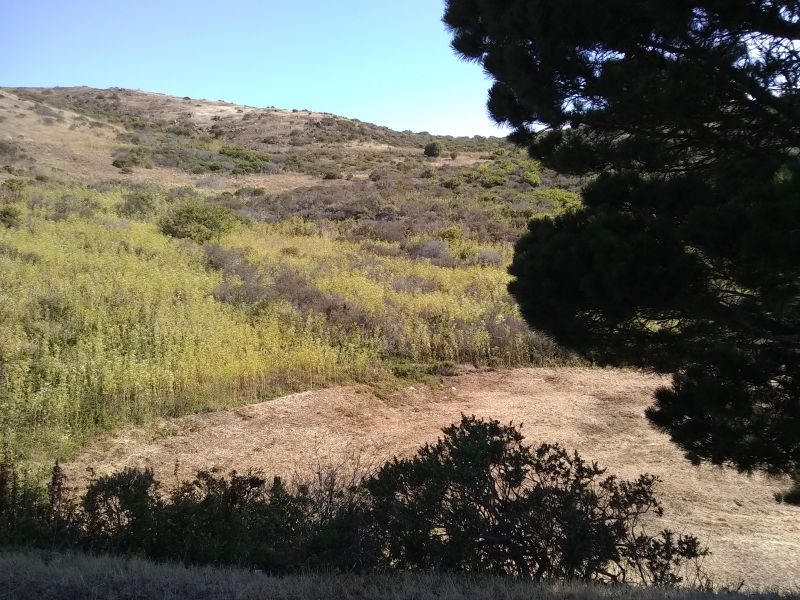
This is along the Guadalupe Canyon Parkway before reaching the park entrance. I suspect a lot of the mountain is covered in scattered trees and chaparral with very little cover, and actual boondock-type areas are deep in the park and not suited for overnight camping. The county park charges a $6 vehicle fee on the honor system and there were daycampers there so I couldn't scope the area, but I ain't using an official entrance anyway. I decided to use Google Maps at home to look for a back door and rode back down to the starting poing of the second leg...
The second 10-mile leg took me from the foothills of the mountain up and over to the Lower Great Hwy, then to GG Park. After too short a break, I rode back through the Park, having to walk the bike a few times because I almost got another Charley horse on the weak inclines of King Dr. and Kennedy Pkway...
A Google terrain map of the city shows little pockets of somewhat flat streets in the Marina Dist., the Mission and the Sunset Dist...
A less hilly route to Crissey Field, also on Google Maps...
A southern route around Twin Peaks and Diamond Hts. to the ocean...
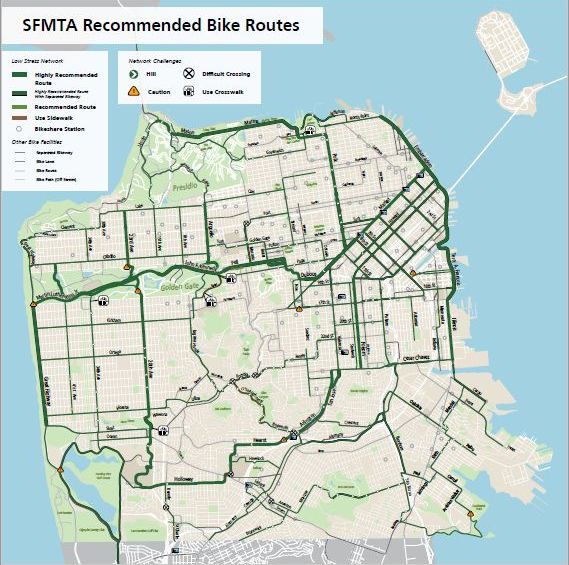
The SFMTA Recommended Bike Routes Map. I can use this and Google Maps to make a few long training routes...
Youtube channel for Bike Shop and Travel Vids 