Matchbox Studio
(04/11/17)
Yes, the studio blog is, once again, up to speed, with Spring in full swing, and now that my room's back in order from last week's upheaval and the studio is back up, I put in a better work light for better pics.
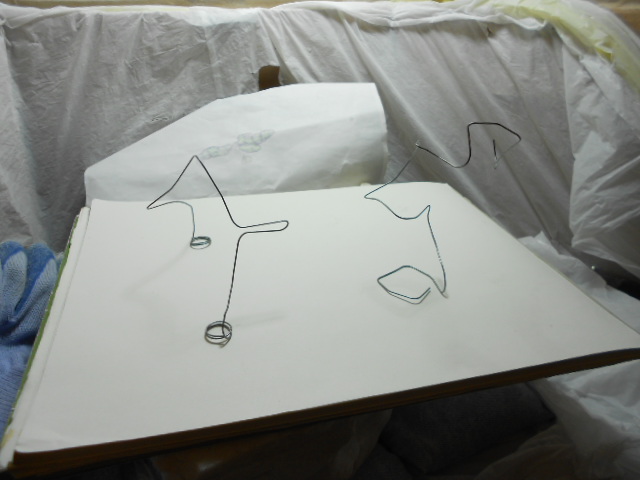
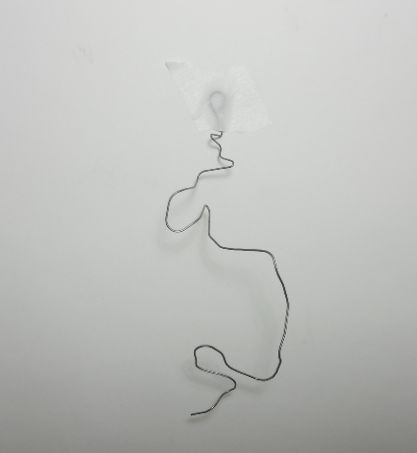
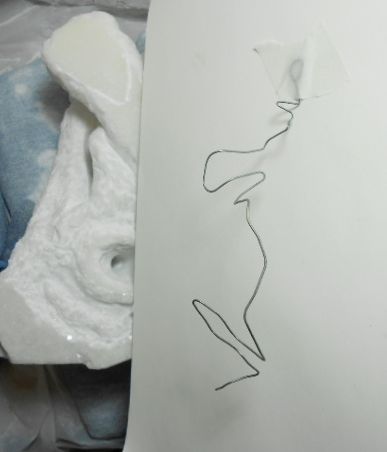
The clock's ticking on my inventory building, so the ADC figurines are up, starting with a couple simple forms...
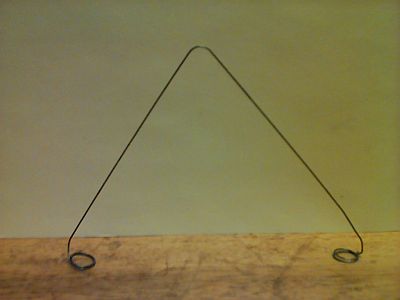
The forms are lightly detailed and re-balanced, turned from plain armatures into blanks, with vague 2-D suggestions for 3-D elements...
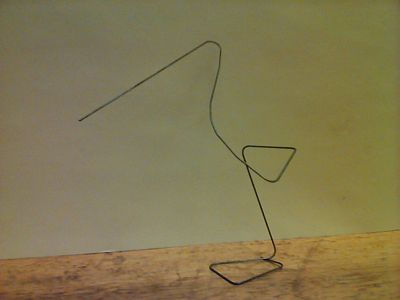
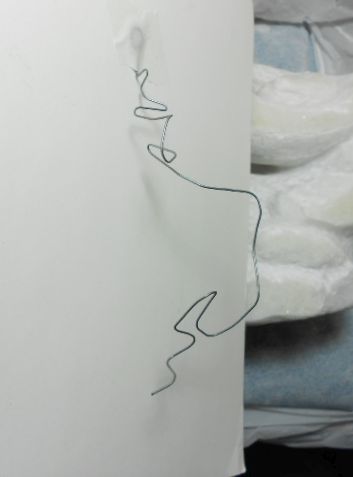
...Trying to maintain dynamic flow...
...From each angle...
I want to have six of these figures by year's end, hopefully with silicone molds, but as pre-castings, they could still be shown...
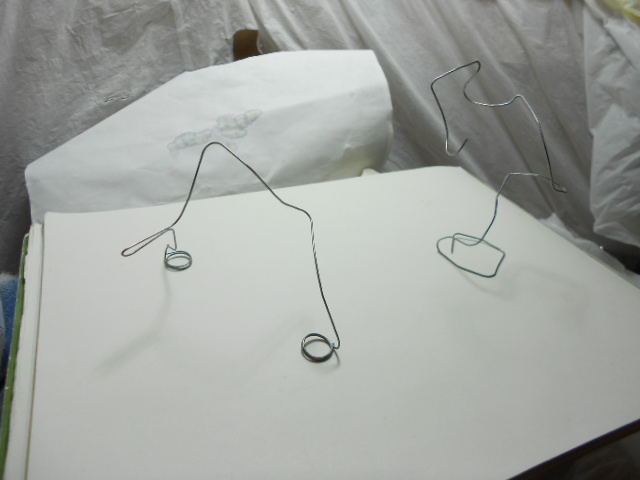
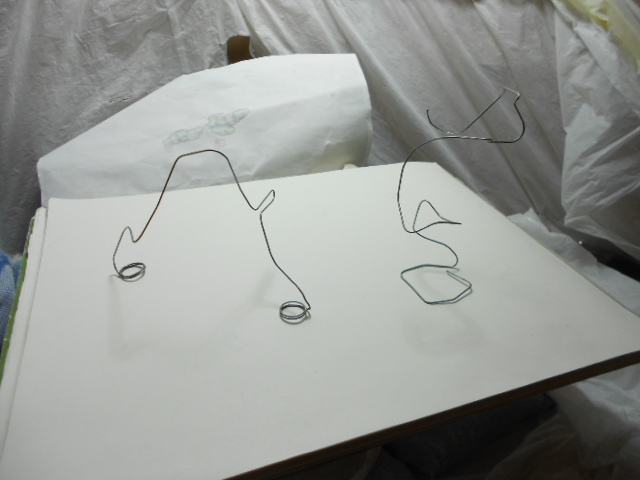
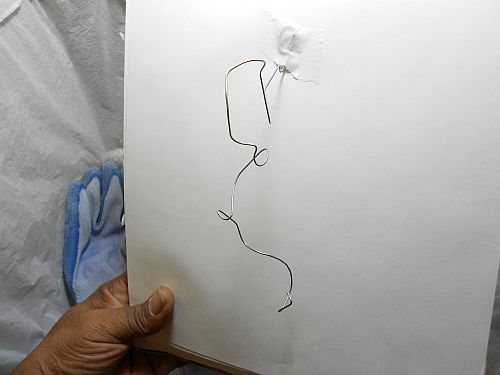
Ok, these shots are strictly updating the progress...
Ditto...
Etc...
More ditto...
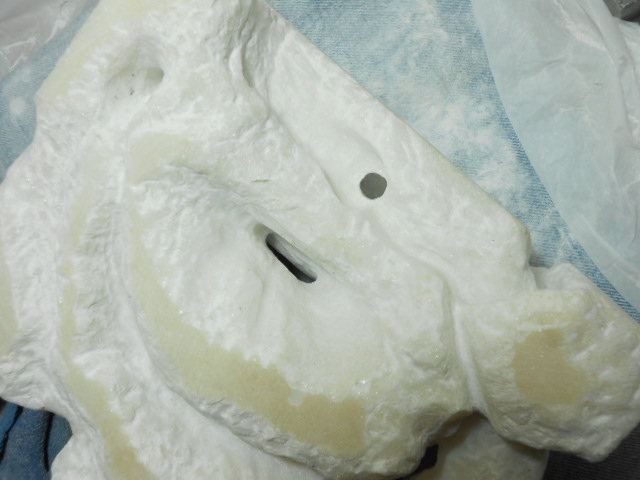
The one remaining place where a hole could go would be through the roof into that lower negative space, to ensure that light plays inside the space, and a hole wouldn't compromise the structure. Cool...
(04/12/17)
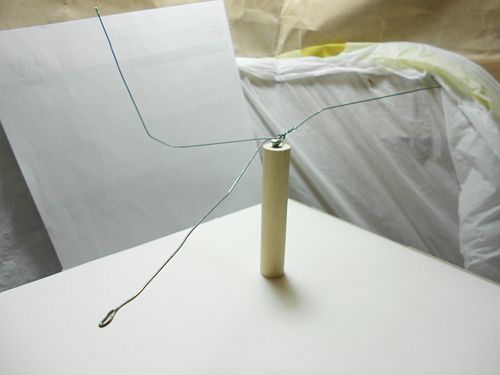
Blank #3 will hang on a wall...
It'll be smaller with thinner elements, to take advantage of the hemisphere of the floating negative space...
This series will be complete with another wall blank and another pair of, something... Six figurines will really help my display shelf, though (ok, portfolio page)...
(04/13/17)
Blank #4...

The final pair of blanks for pieces that will float on a perch...
I decided not to go bronze mobile style; an extra headache for gallery setup...
(05/04/17)
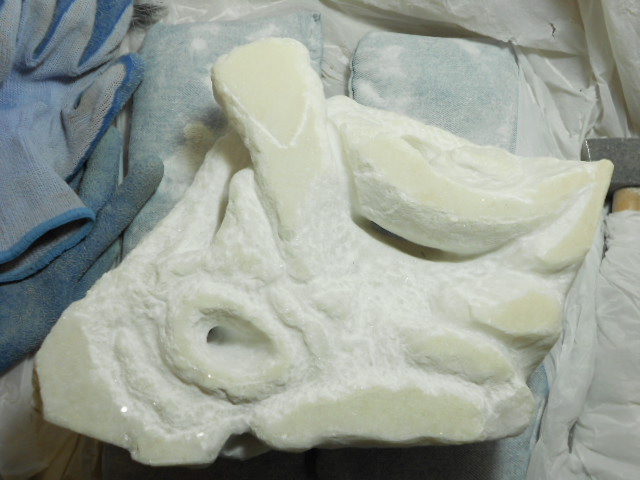
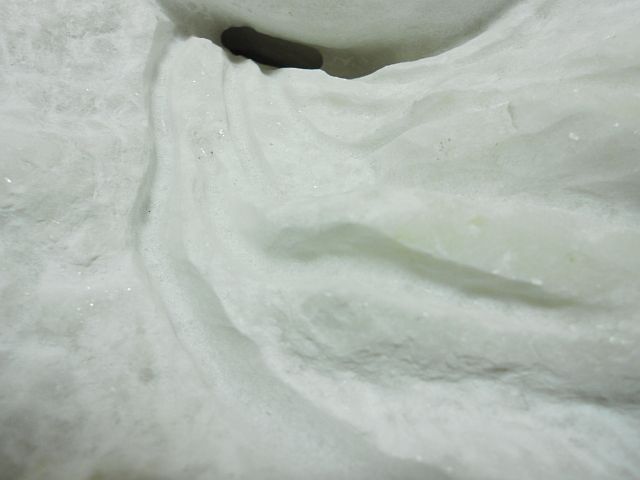
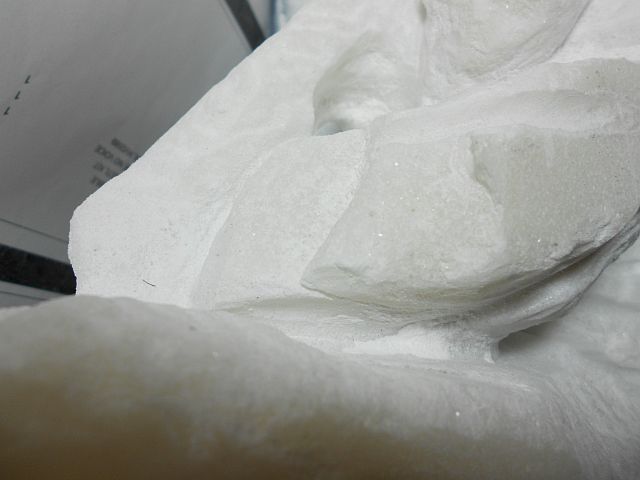
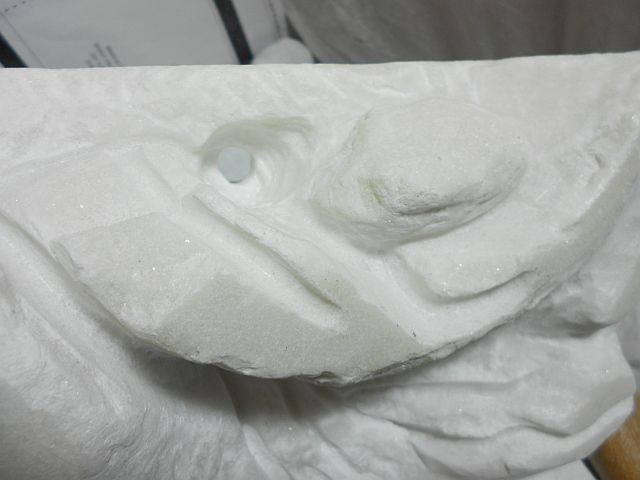
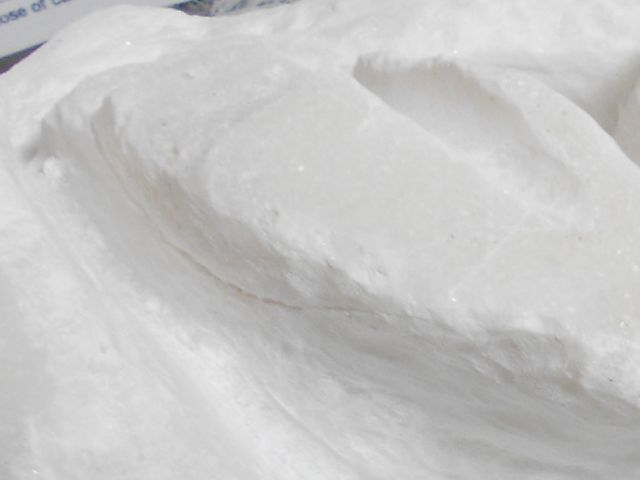
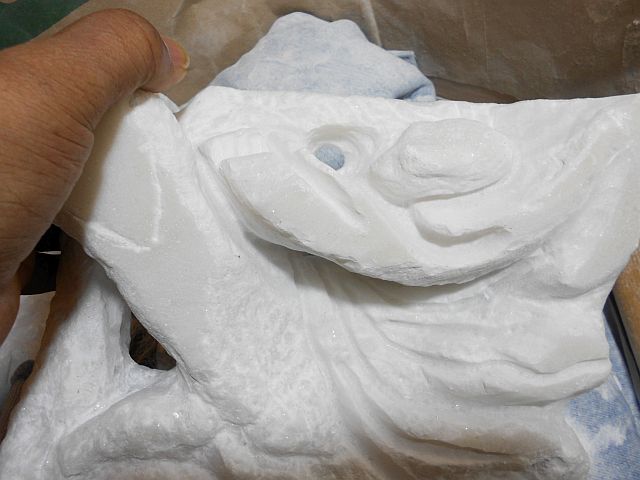
Ok, it seems two weeks between postings is becoming a thing, so in between doing the podcasts I'm slowly working on the marble...
...Areas that were up to now blank come into focus...

...To try to deal with a potential break...
The load-bearing side gets a rest for right now...
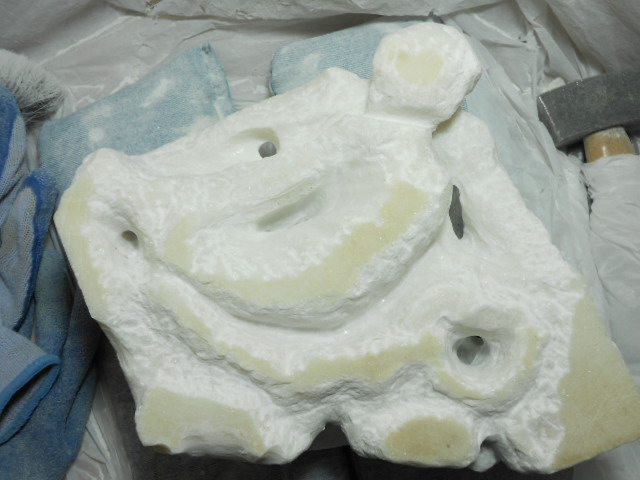
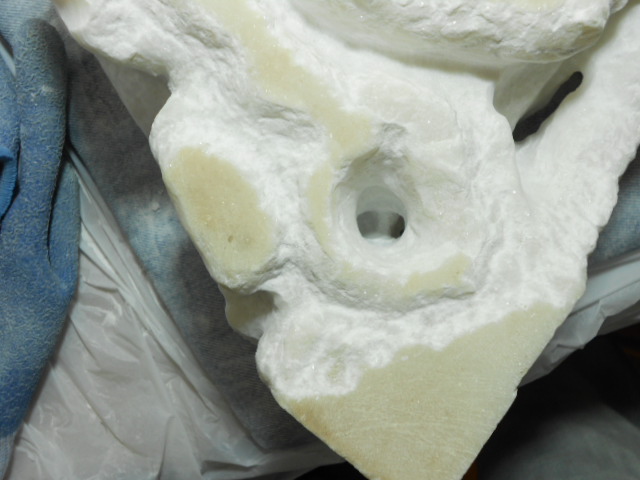
This element is still just a perfect round hole...
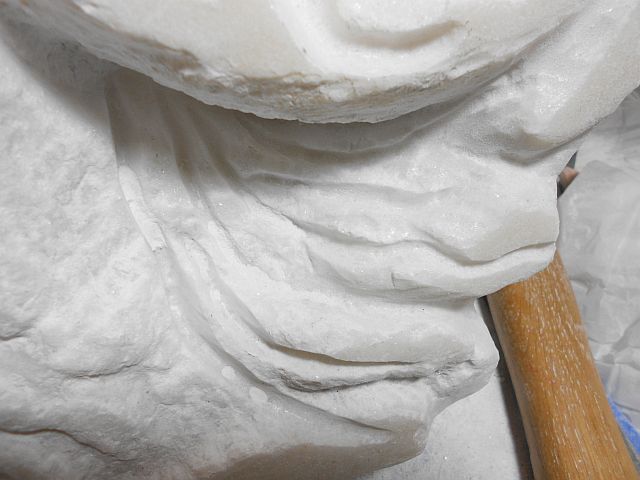
The back side of the big column element will let me really open up the top to the cavern...
Back to the working side...
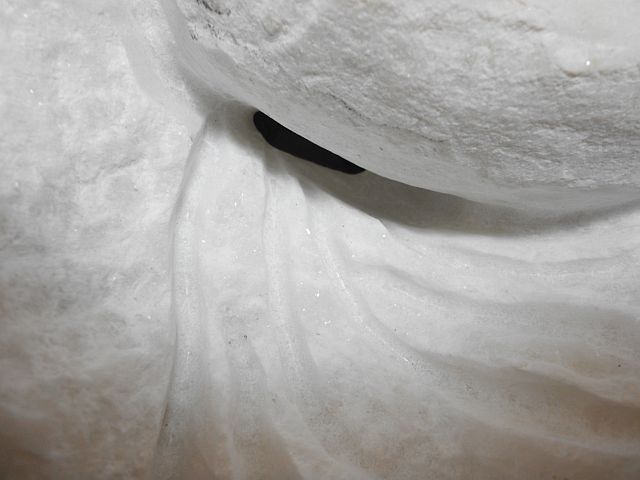
These grooves will go deeper as that hole is enlarged...
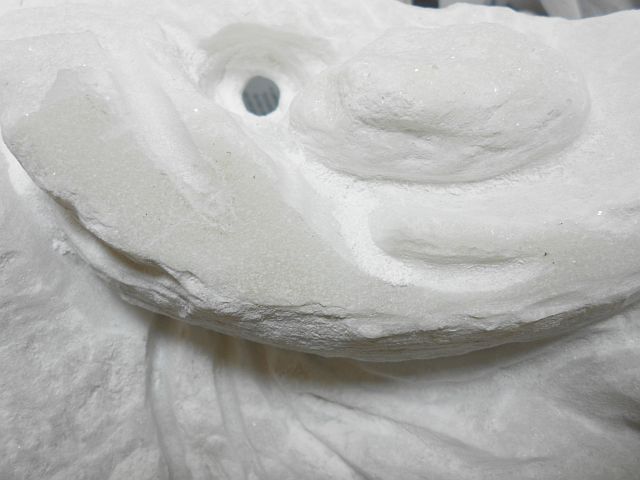
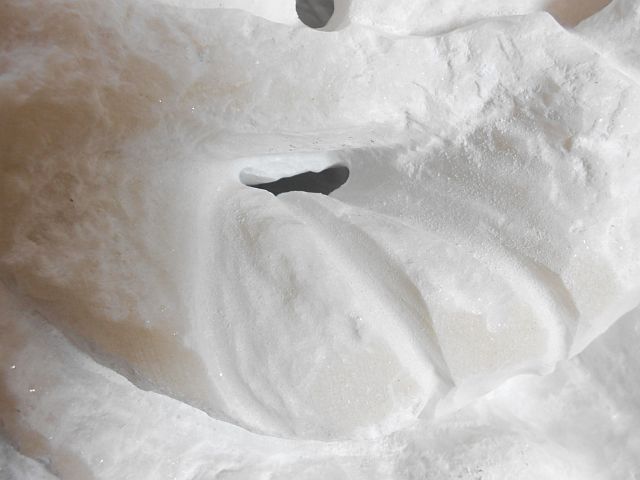
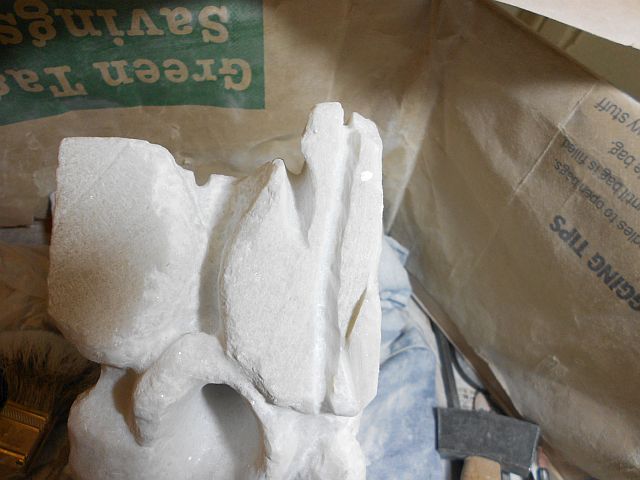
The upper structure took a little time to imagine, but this part suits the dremel...
As this area gets cleared, that broad shallow section is just waiting to pop off...
It really stands out here...
This part I want to project out, not across...
(05/06/17)
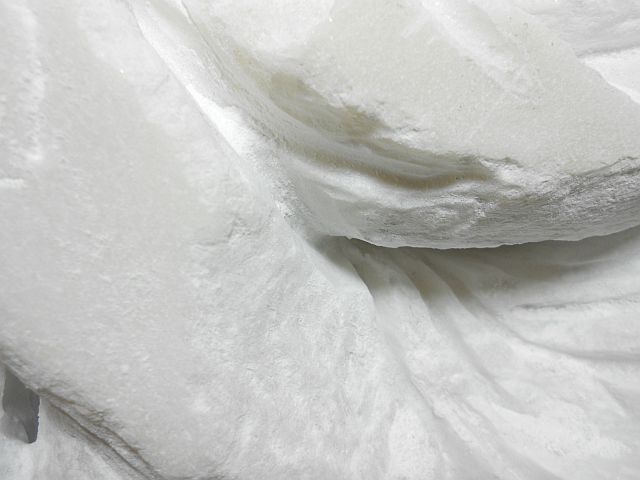
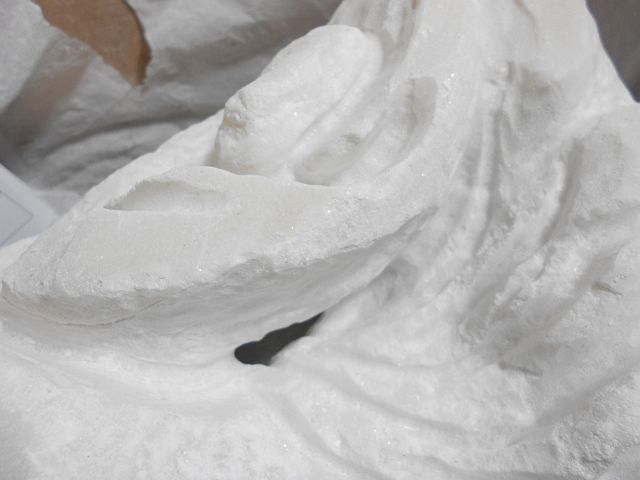
That overhang took a session of gentle chisel work to clear...
Another view...
With the overhang cleared, the size of that fragile section is more apparent...
This whole part will end up looking fragile no matter what I do...
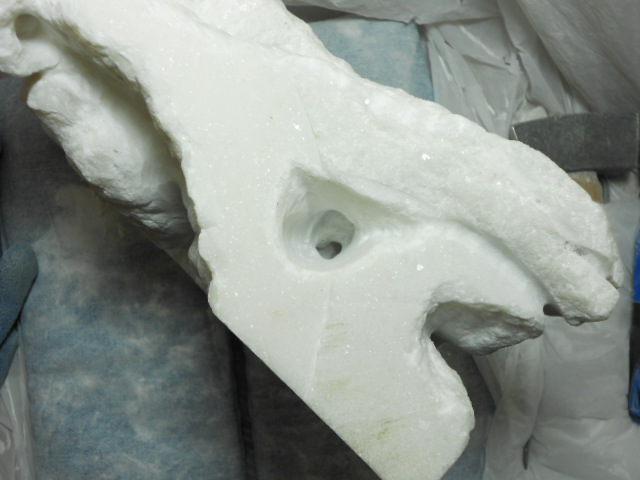
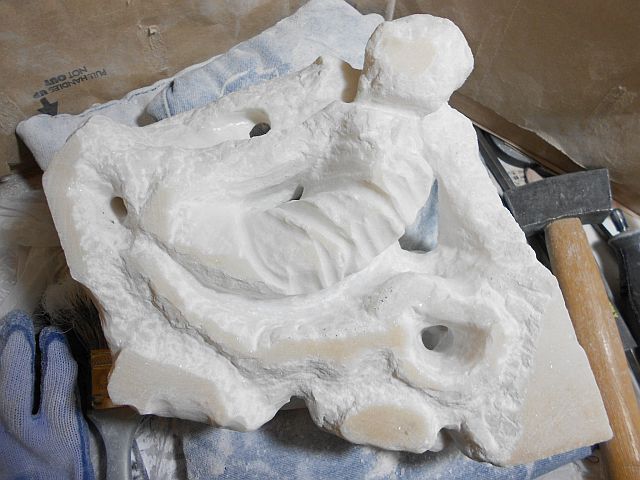
A top view...
The lower features stand out more now. This part is the closest to final form so far...
(05/17/17)
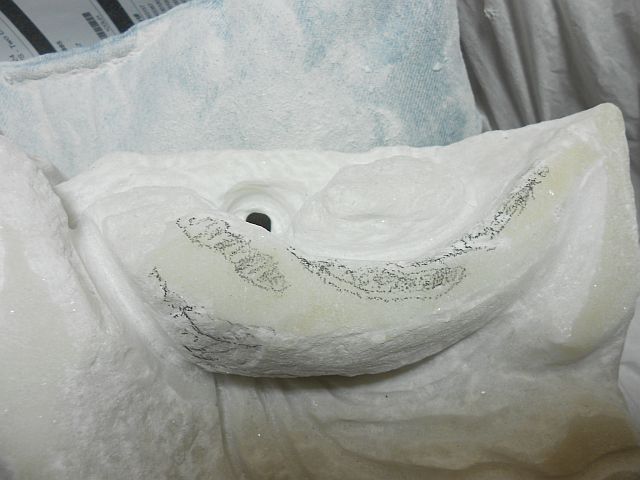
Ok, updating the stone from last week to this morning these first 4 are from the 11th...
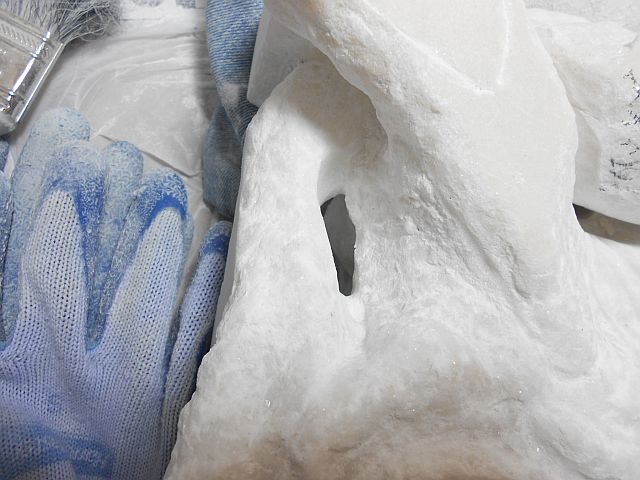
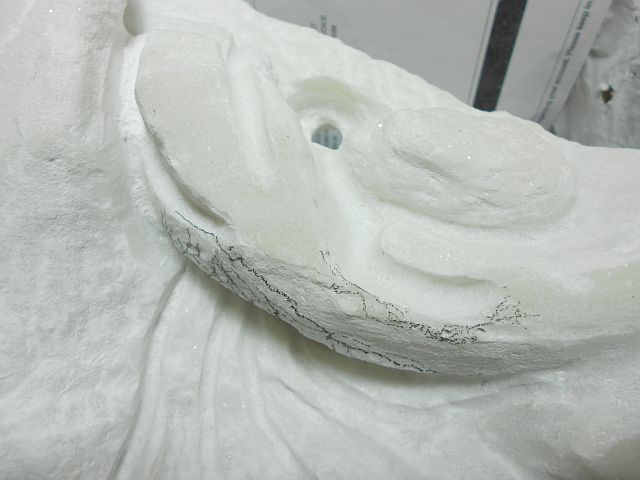
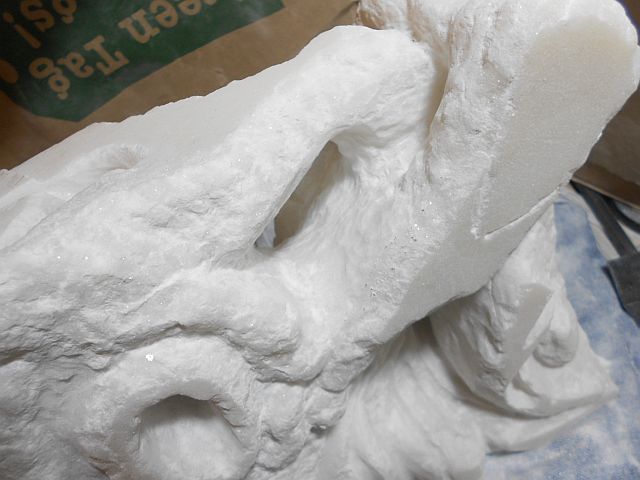
Opening up the load-bearing side in front...
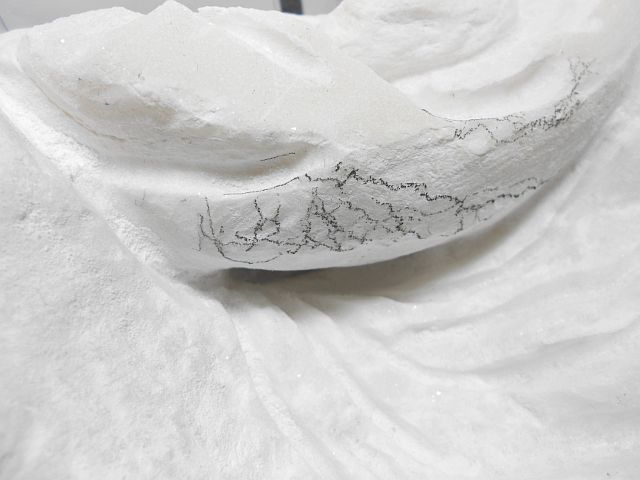
Still the only crack so far, but now you can see it clearly, so I'm gonna try going into and under it...
This whole part will end up being, not just looking fragile...
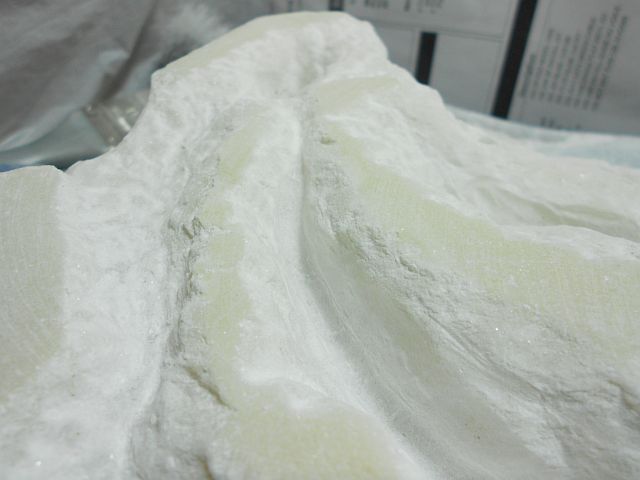
Ok, these 5 are fresh shots...

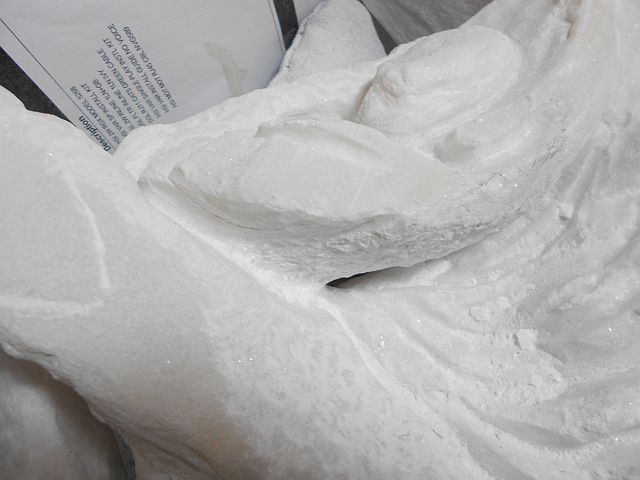
The front element comes into focus as the stone is cleared away...
Another view...
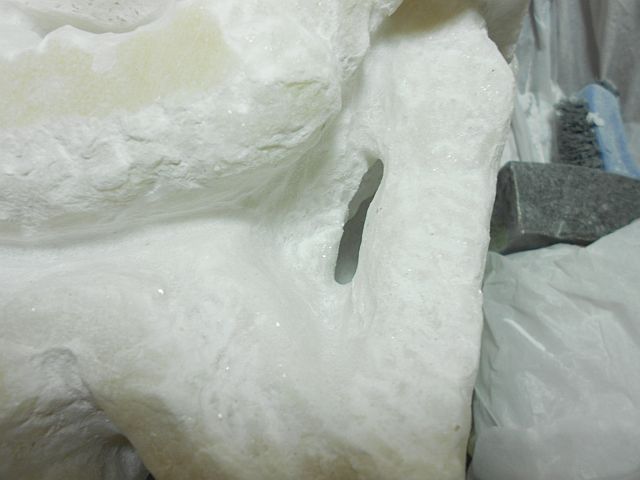
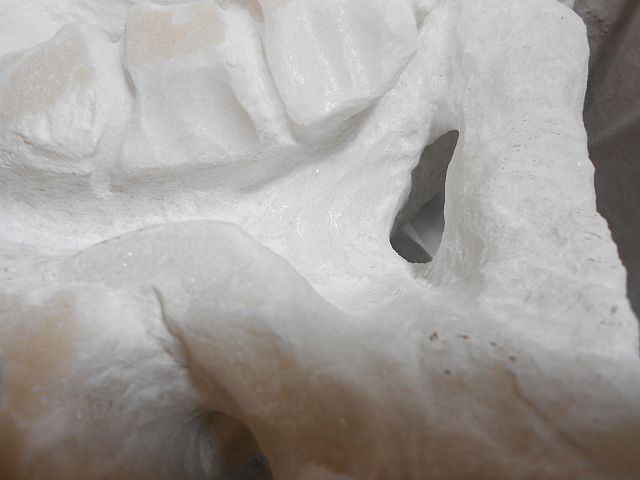
That little flying wing part will take longer to clear using the dremel, but I do wanna save that piece...
The foot I've decided to fully carve and sand down to the contact points, but nothing fancy...

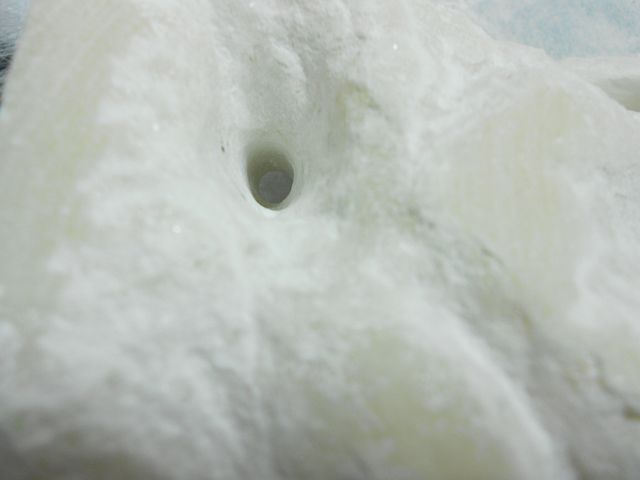
The final hole, a skylight, is cleared enough to start on...